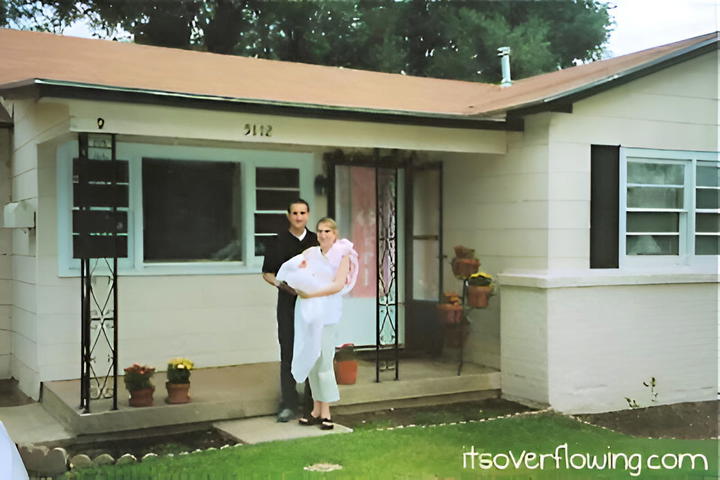
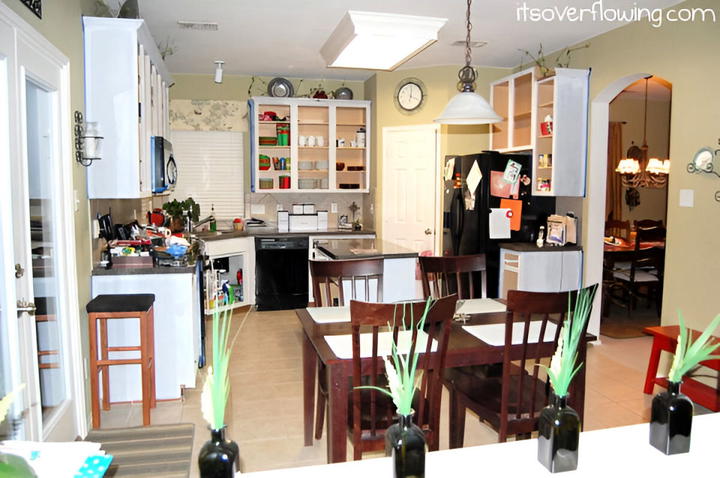
When we first moved into our 1950s ranch-style house, I knew the kitchen was going to be a project. The cabinets were outdated, the fluorescent light fixture was a bit of an eyesore, and the overall vibe just didn’t feel like “us.” But with a limited budget, we had to get creative. I’m excited to share how we transformed our kitchen step-by-step by painting cabinets and installing recessed lights—both of which completely changed the space without breaking the bank.
Why I Decided to Paint the Cabinets
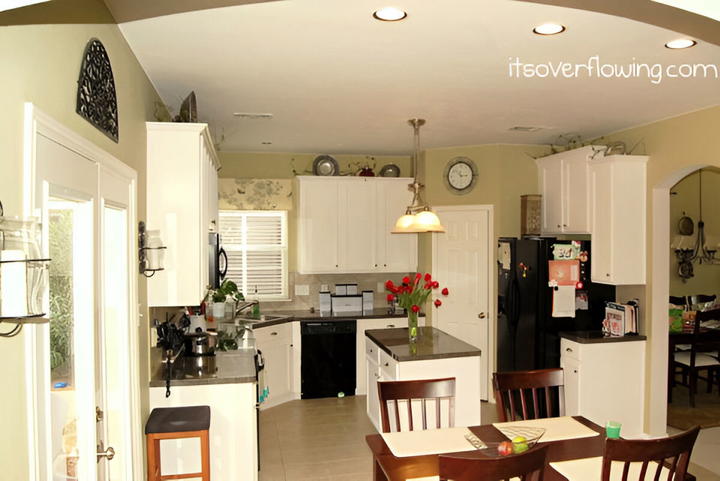
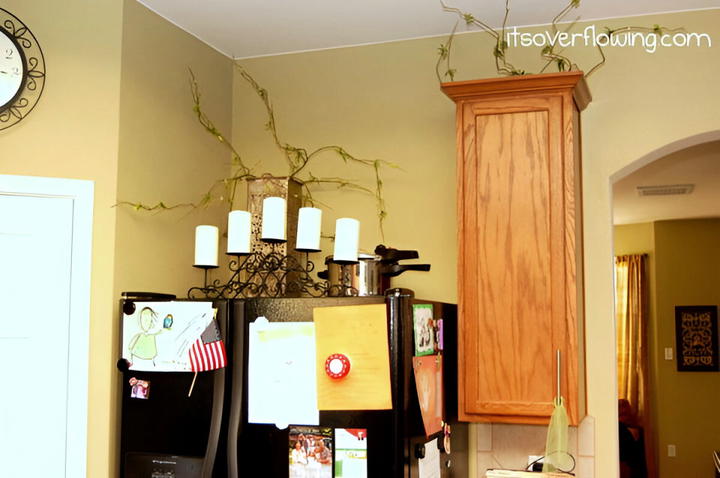
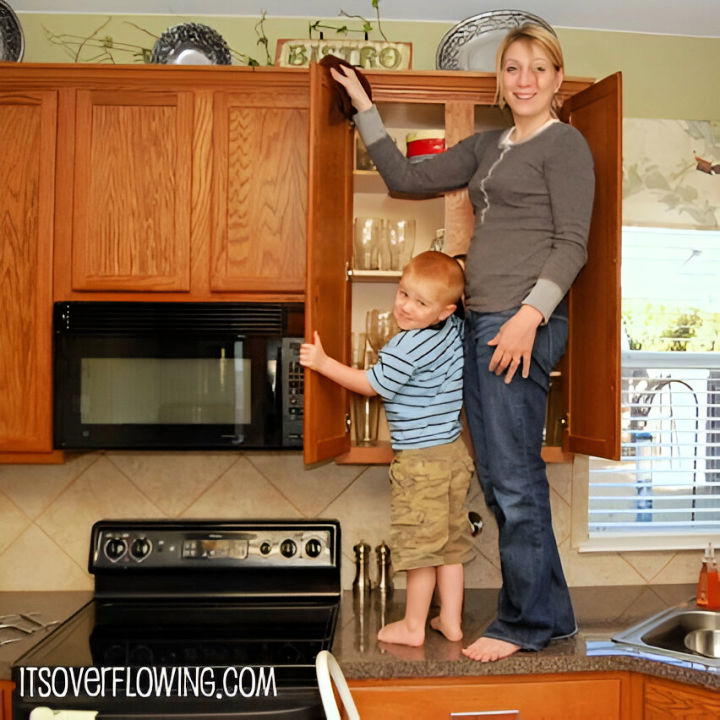
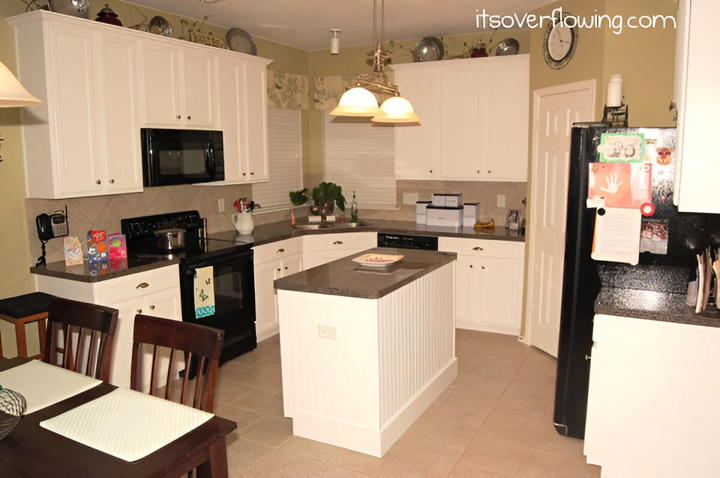
The first thing that caught my eye in the kitchen was the cabinets. They were a dull shade that didn’t mesh well with the rest of the house. Plus, the black laminate countertops didn’t help. I had always dreamed of having bright, white cabinets that would open up the space and make it feel airy and fresh. However, replacing all the cabinets wasn’t an option because of the cost. That’s when I decided to paint them.
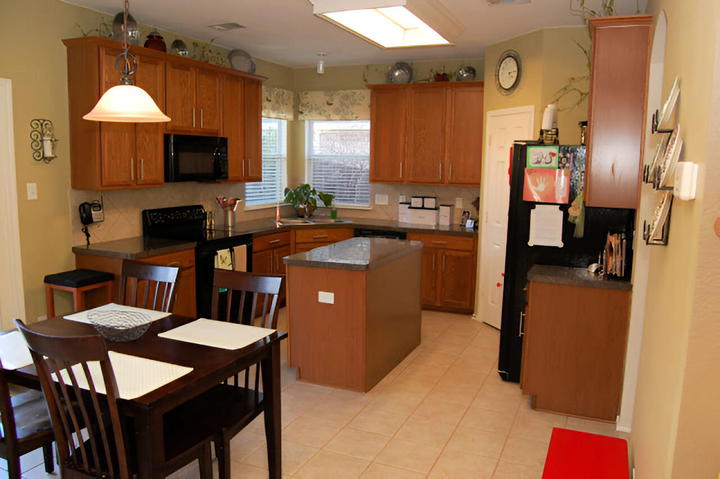
Painting cabinets can be a bit daunting, especially if you’ve never done it before. I had to learn as I went, figuring out the best techniques, tools, and products to use. But trust me, it’s doable! And the result is so worth it.
Gathering the Right Materials
Before diving in, I made sure to gather all the necessary materials:
- Degreaser: For cleaning the cabinets. In a kitchen, grease and grime are inevitable, and you need a clean surface for the paint to adhere properly.
- Sandpaper (Medium and Fine Grit): Essential for smoothing the surface and ensuring the primer sticks.
- Primer: I used Kilz 2 latex primer and sealer, which worked wonderfully to cover the old cabinet color.
- Paint: I chose a durable, semi-gloss white paint for a clean and timeless look.
- Small Foam Roller and Paintbrushes: For smooth application without brush strokes.
- Plastic Sheeting and Painter’s Tape: To protect the kitchen from dust and paint splatters.
I learned that investing in high-quality materials makes all the difference. A good primer, for example, will prevent the old color from bleeding through and will keep the new paint looking fresh longer.
Prepping the Cabinets: Cleaning and Sanding
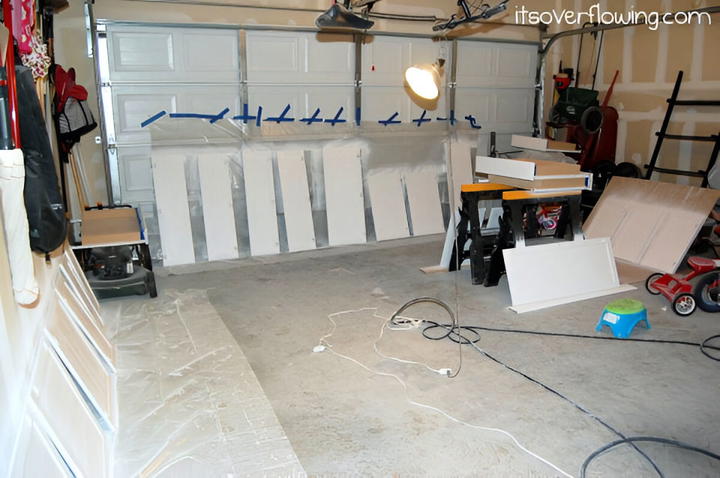
The preparation phase was the most time-consuming, but it’s also the most important. First, I removed all the cabinet doors and hardware. Then, I wiped everything down with a degreaser. This step is crucial because paint won’t stick to oily surfaces.
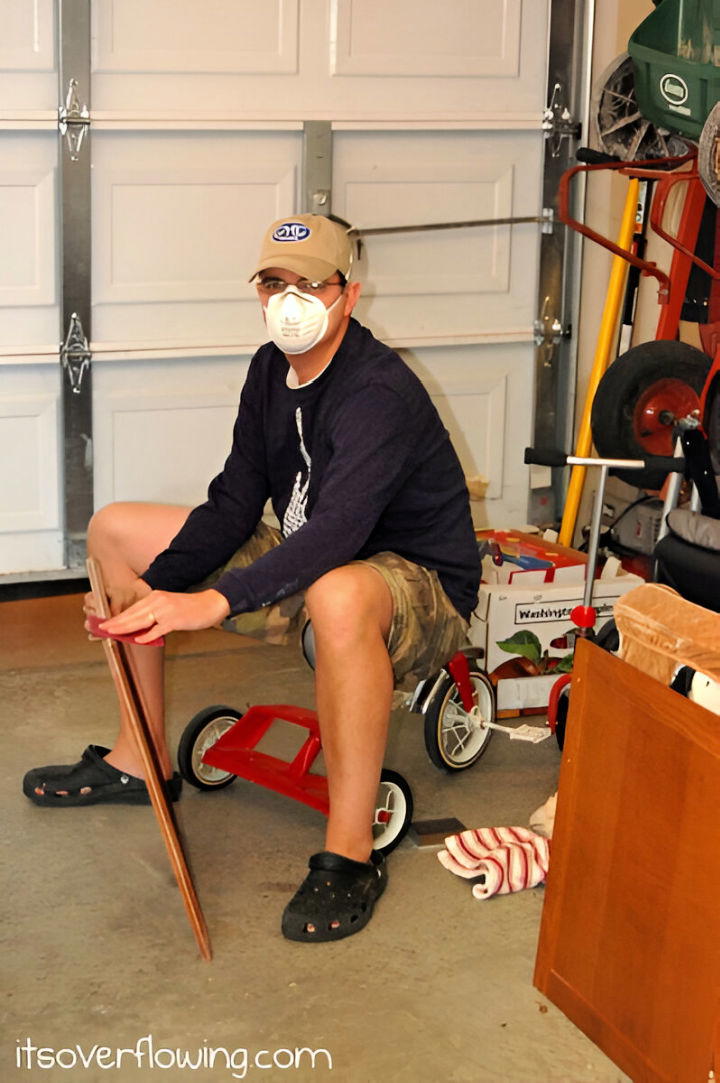
Once everything was clean, I started sanding. I used medium-grit sandpaper first to rough up the surface, which helps the primer adhere better. Then, I followed up with a finer grit to smooth everything out. Sanding may sound tedious, but trust me—if you skip it, you’ll regret it later when the paint starts to chip.


Priming and Painting: Bringing the Vision to Life
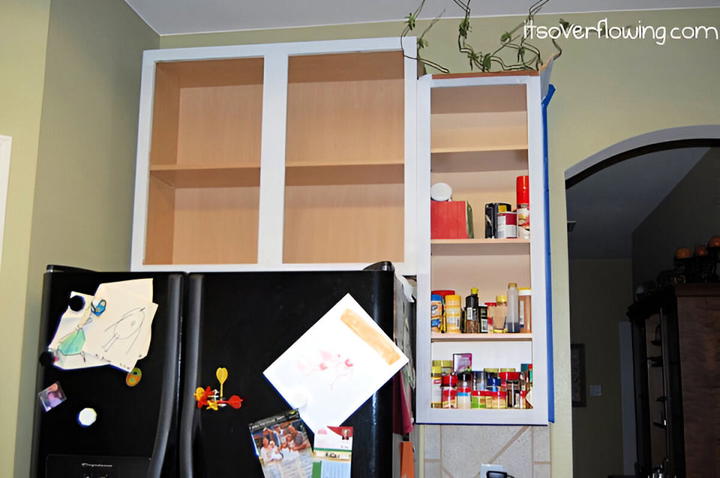
With the cabinets prepped, it was time to prime. I used a thin foam roller to apply the primer, which helped avoid any brush strokes. Two coats of primer were enough to cover the old color and create a smooth base for the paint.
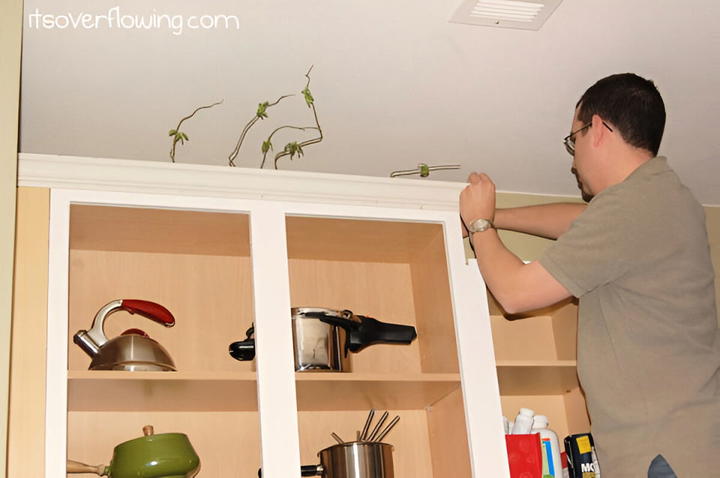
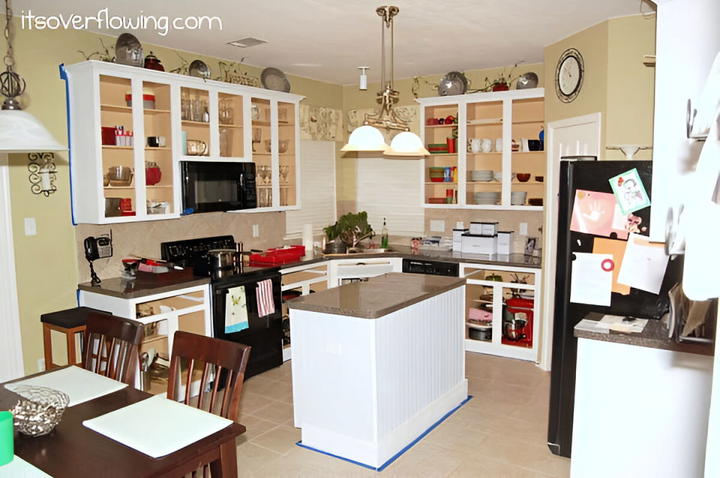
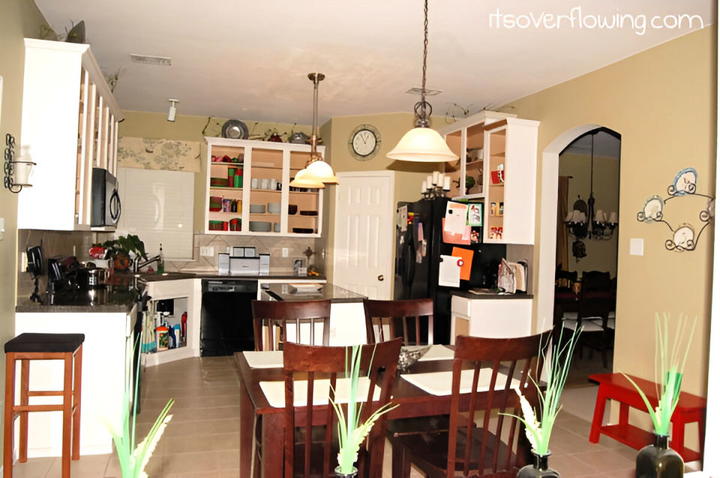
Painting was the fun part! I used a small foam roller for the larger surfaces and a brush for the detailed areas. It took three coats of paint to get that dreamy white finish I had envisioned. Each coat needed time to dry, so patience was key. During this phase, my kitchen looked like a disaster zone, but I kept reminding myself of the beautiful end result.
Tackling the Island: Adding Beadboard for Texture
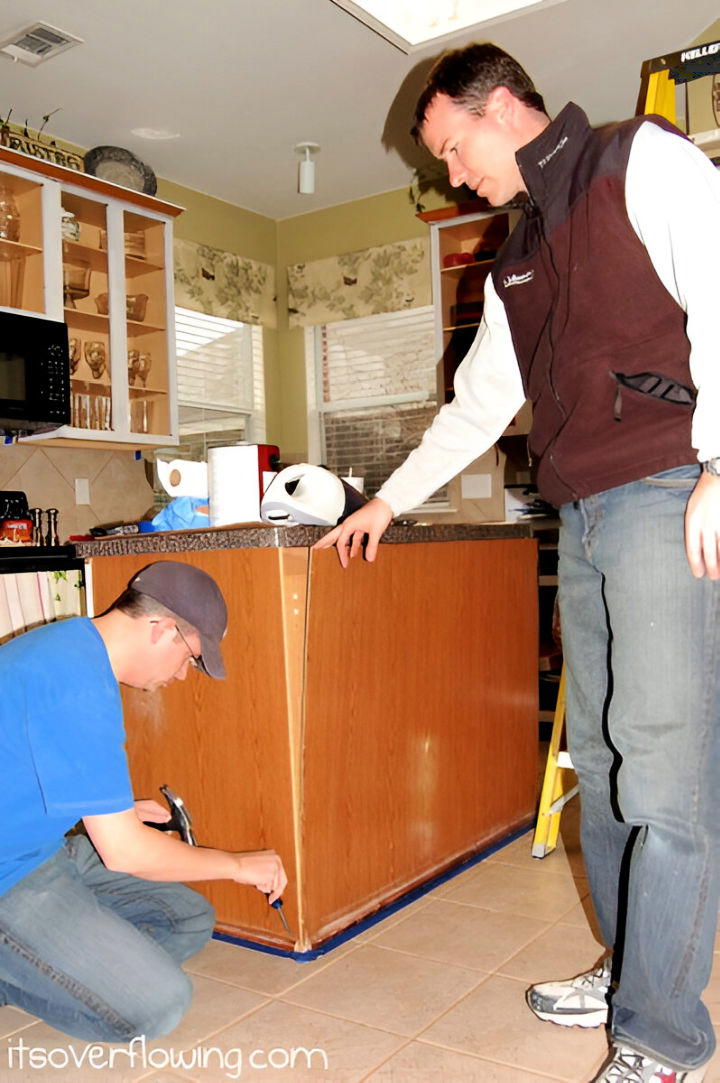
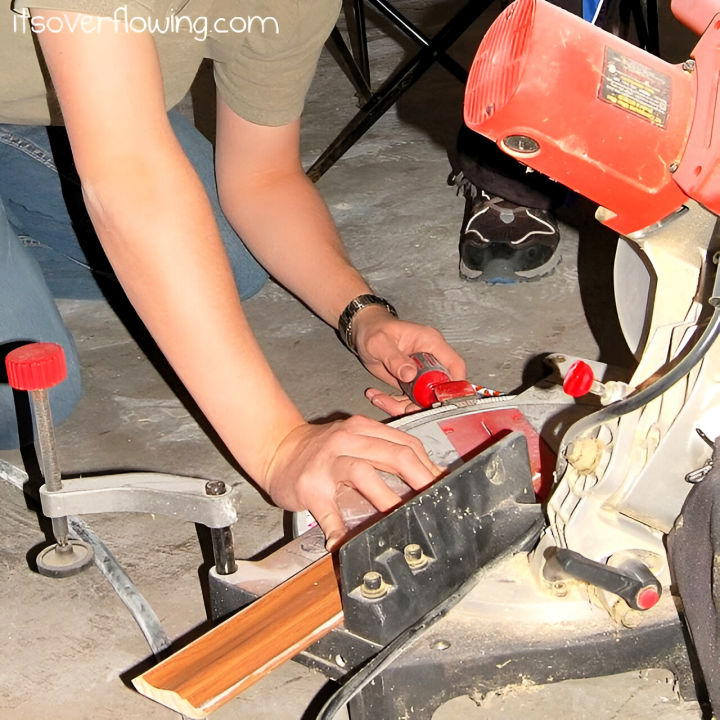
While the cabinets were drying, we moved on to the island. I wasn’t a fan of the shiny sheets that were there initially, so I decided to replace them with beadboard. Beadboard added much-needed texture and character to the space. We simply removed the old sheets and attached the beadboard with adhesive and a few finishing nails. A quick coat of paint later, and the island looked like it belonged in a different kitchen—one that I actually loved.
Installing New Hardware: Small Changes, Big Impact
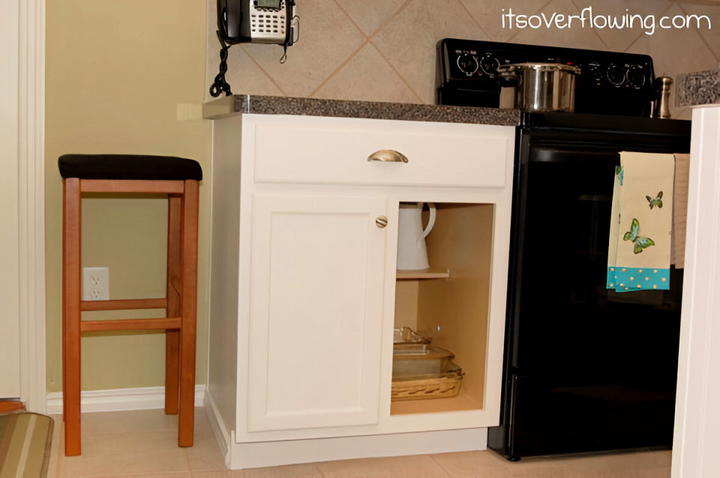
Once the cabinets were painted and dried, it was time to install new hardware. I found some beautiful satin nickel cup pulls and knobs on clearance at Home Depot. Replacing outdated hardware with something modern and chic instantly elevated the look of our cabinets. It’s a small detail, but it makes a huge difference.
The Recessed Lighting Project: Shedding New Light on the Kitchen
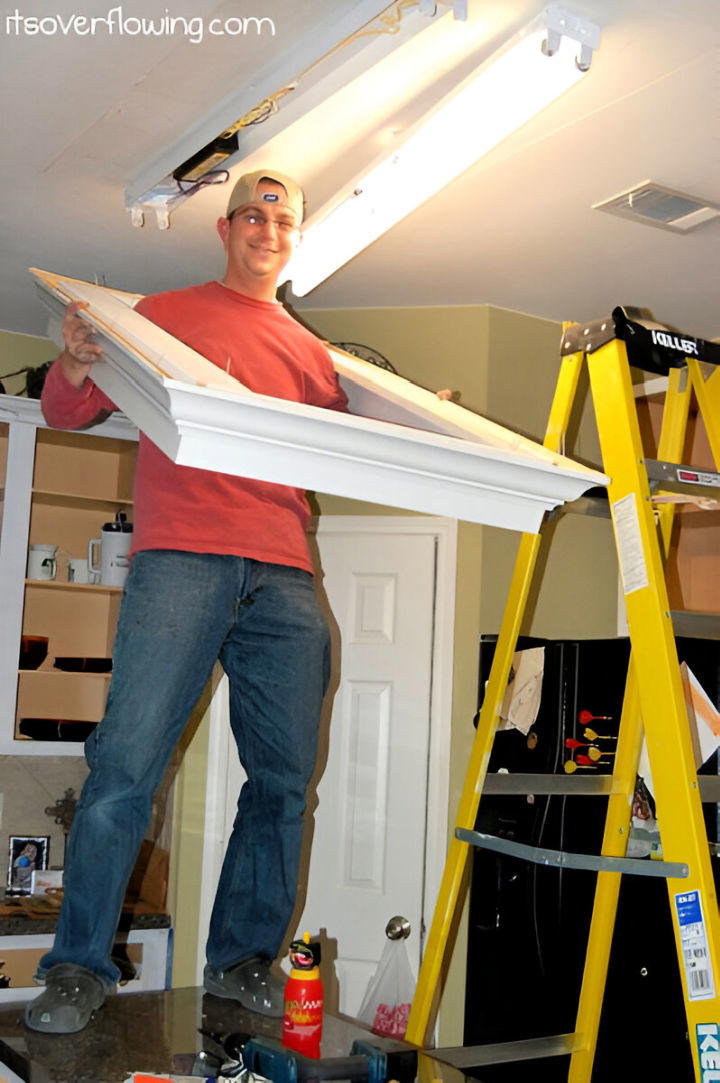
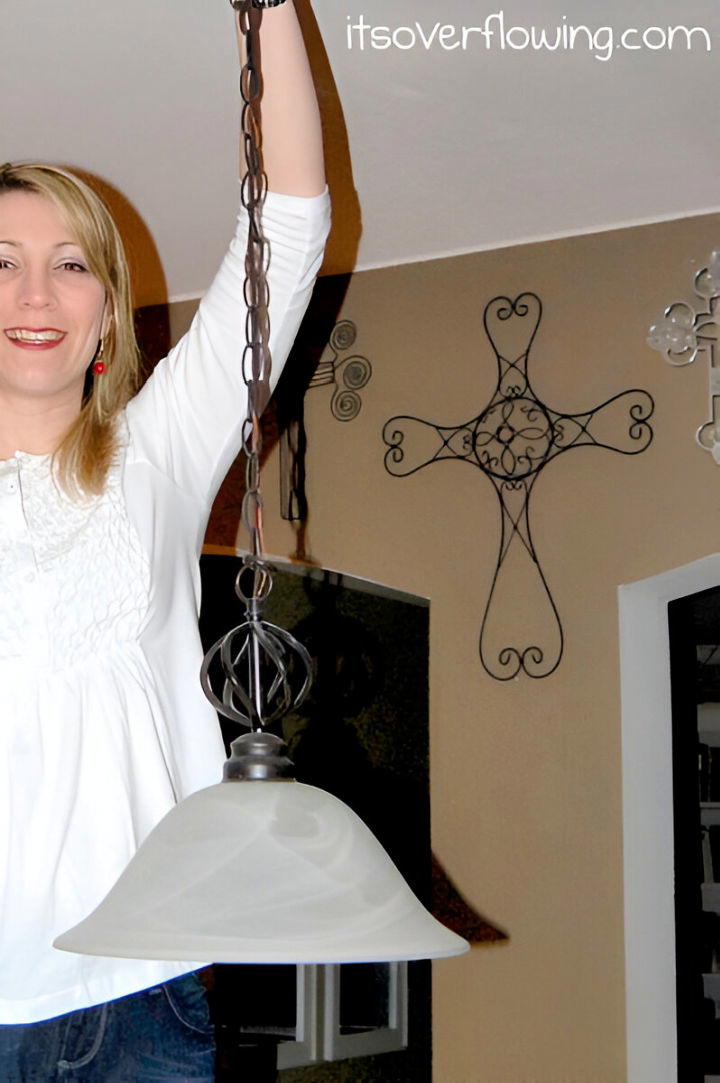
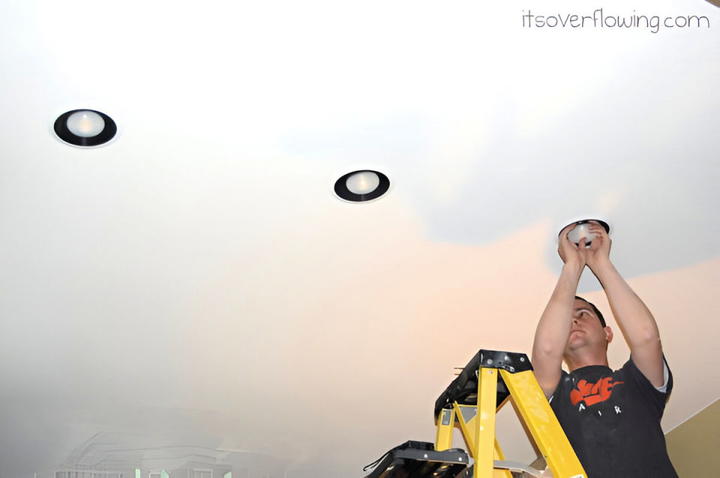
After transforming the cabinets and island, it was clear that the fluorescent light fixture had to go. I’ve always loved the clean, modern look of recessed lights, and they seemed like the perfect solution for our kitchen. Surprisingly, installing recessed lights isn’t as difficult as it might seem. Here’s how we did it:
- Choose the Right Lights: We opted for black reflectors to match our existing black appliances, which tied everything together.
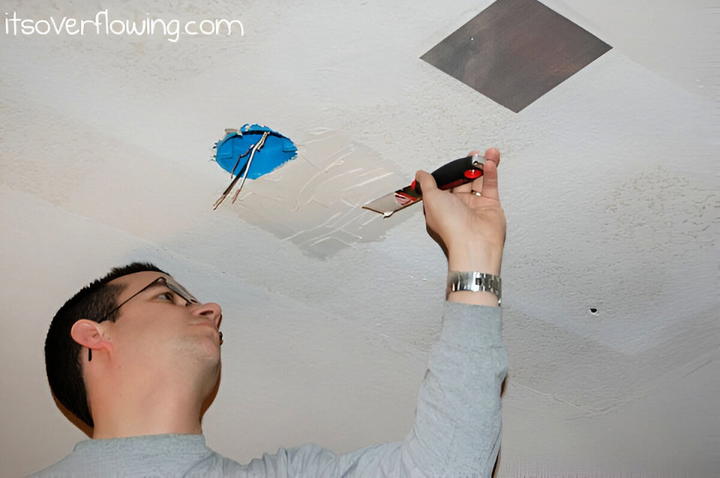
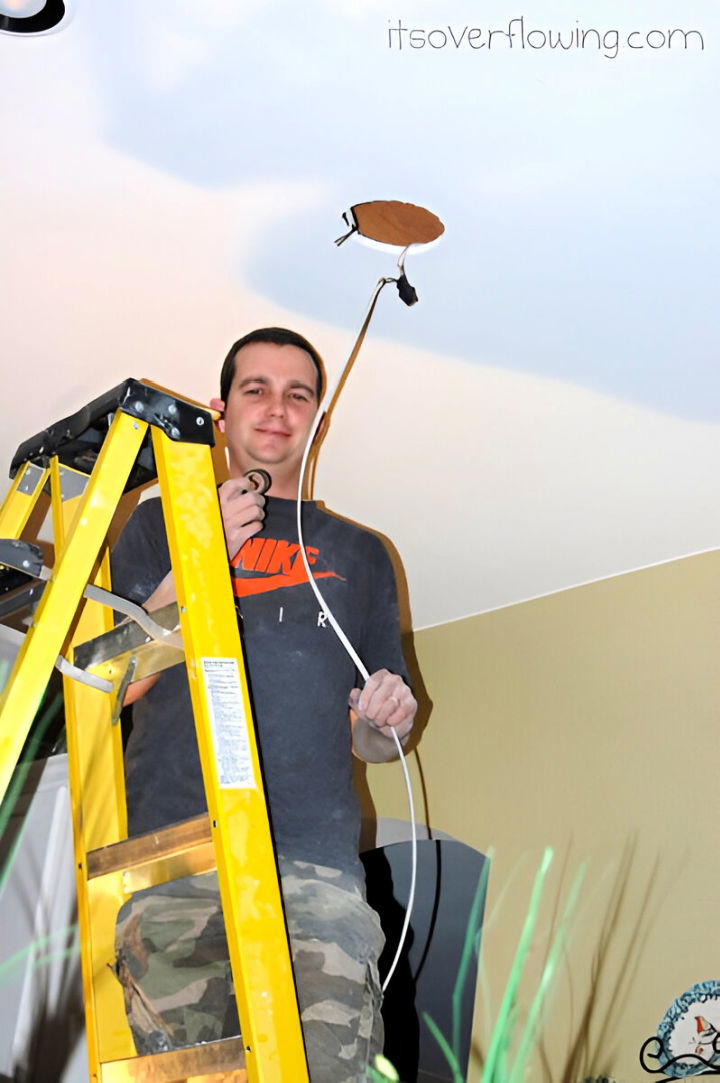
- Use the Template: Each recessed light came with a template. After deciding where to place the lights, we traced the template on the ceiling.
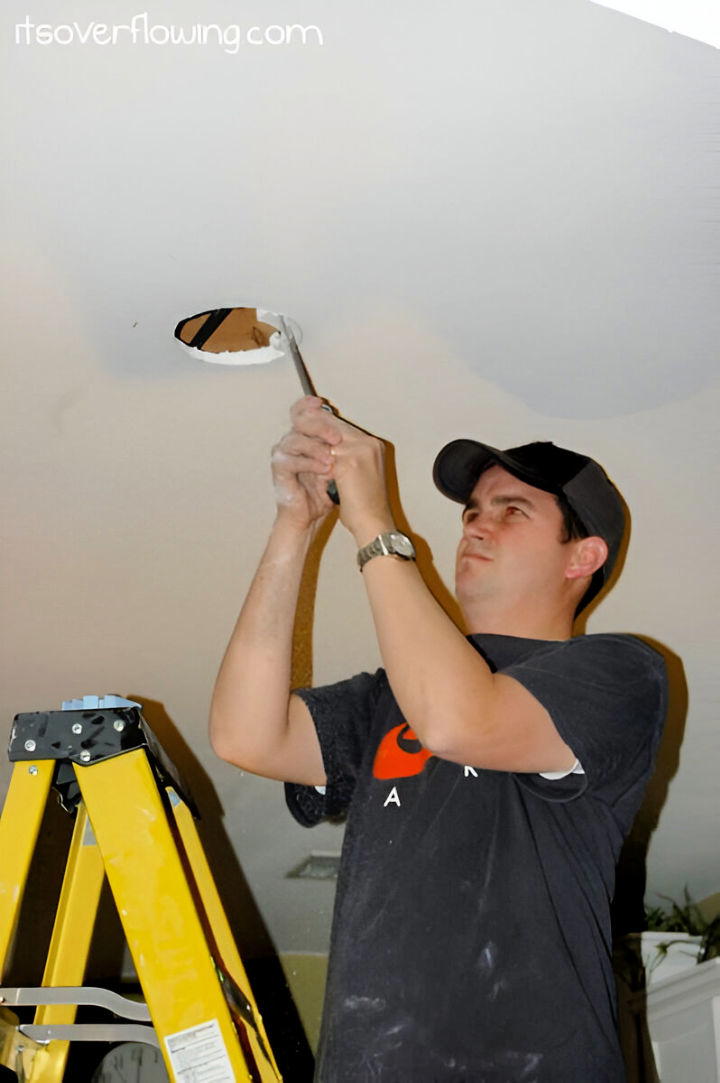
- Cutting the Holes: Using a drywall saw, we carefully cut around the traced lines. This was probably the most nerve-wracking part, but it went smoothly.
- Splicing Wires: We wired all three recessed lights together, ensuring everything was properly connected and safe.
- Install a Dimmer Switch: This step is optional, but I highly recommend it. A dimmer switch allows you to control the brightness, which is perfect for creating different moods in the kitchen.

The Big Reveal: How It All Came Together
After two and a half weeks of hard work, our kitchen finally came together. The bright white cabinets, textured beadboard island, and sleek recessed lighting made the space feel modern, fresh, and uniquely ours. It was a lot of work, but seeing the transformation was incredibly rewarding.
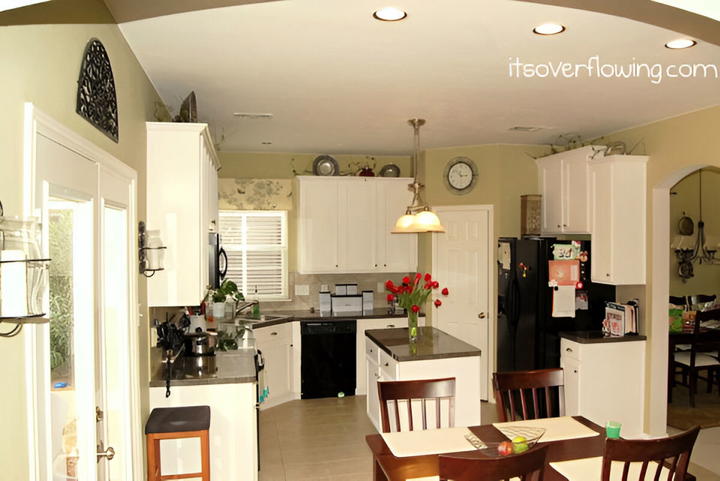
The kitchen now feels like the heart of our home, a place where we gather, cook, and make memories. If you’re thinking about tackling a kitchen remodel but are worried about the cost, I hope our journey inspires you. With a little creativity and a lot of elbow grease, you can create a space you love without breaking the bank.
Lessons Learned: Tips and Tricks for Your Own Remodel
- Be Patient with the Process: Prepping and painting can take time, but rushing through it can lead to mistakes.
- Use Quality Materials: Don’t skimp on primer, paint, or tools. They are worth the investment for a professional-looking finish.
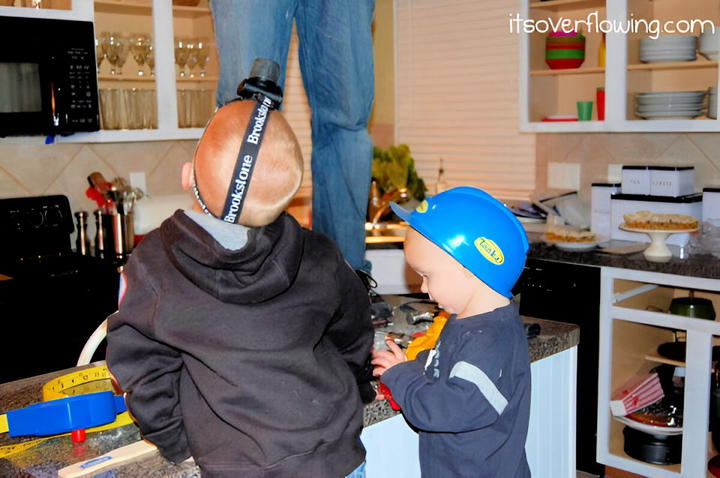
- Involve the Family: This was a big project, but having my husband and kids involved made it more fun and memorable.
- Don’t Fear the Unknown: Installing recessed lights seemed intimidating, but breaking it down step-by-step made it manageable.
- Enjoy the Journey: Every project is a learning experience. Embrace the process and have fun with it!
I hope our kitchen transformation story offers some inspiration and practical advice for your own DIY endeavors. Remember, you don’t need a massive budget to make a big impact—you just need a vision, some determination, and a willingness to get your hands dirty. Happy renovating!

