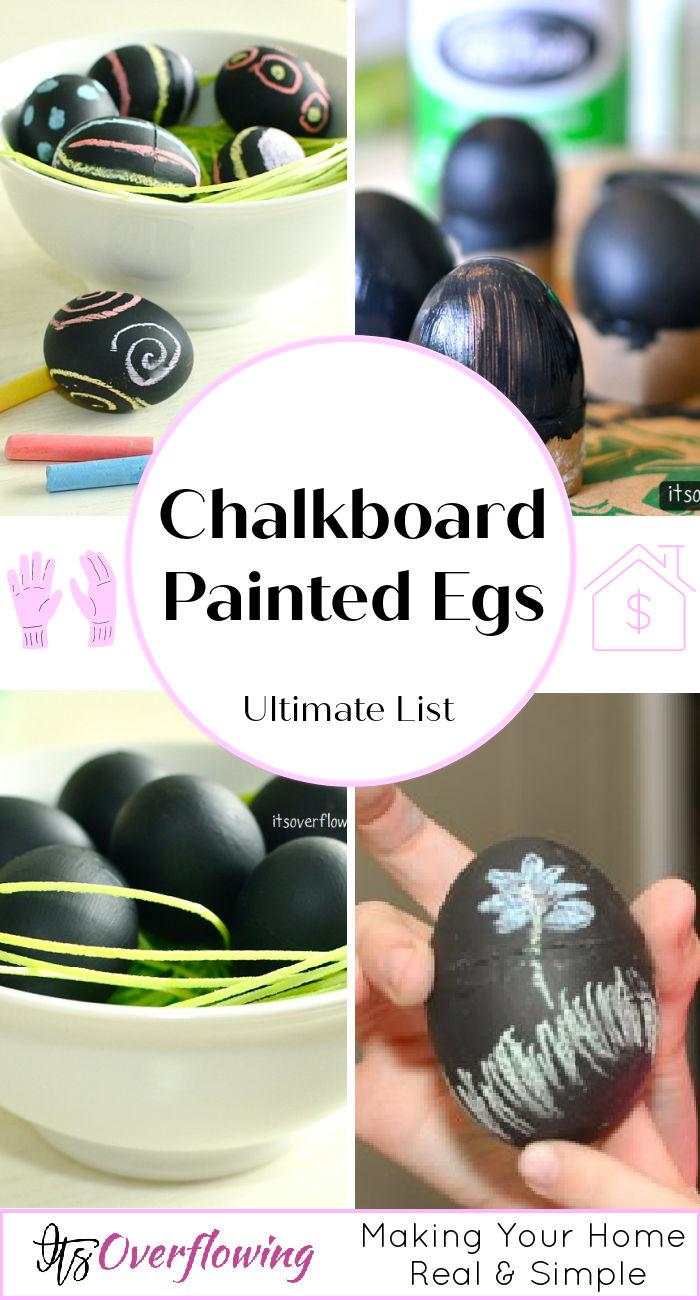
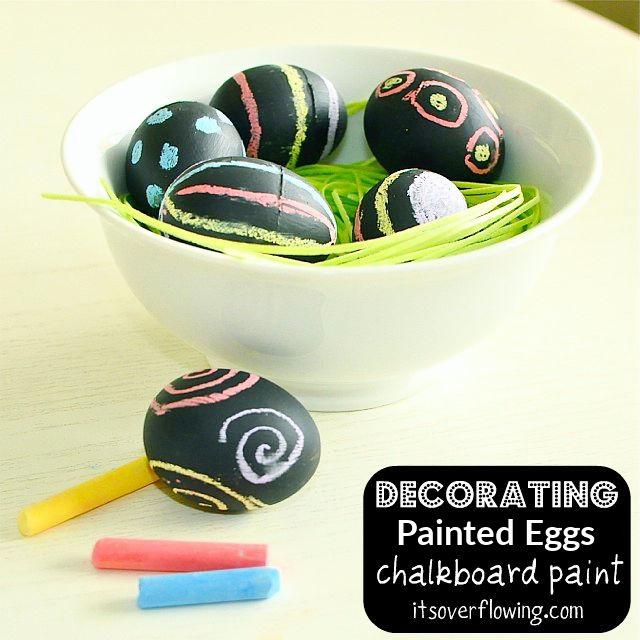
Chalkboard Painted Eggs! Sounds fun? Well, wait till you really start working on these! I love to experiment with chalkboard paint because of its versatility! You can literally apply it to anything and get a fully blank canvas. A blank canvas can make anyone feel creative, right? However, the best way to use the chalkboard for your creativity is by making painted eggs out of it! Do you have ideas just by hearing this? Well, I felt the same when my friend first told me about it! You’re going to have so much fun!
You can also have quite a lot of fun with this DIY project by having your kids around. Why would you do something this fun on your own? Children love to paint and draw so these would be the perfect way to have some family bonding time. I know exactly what you’re thinking – but who will clean up the mess? You don’t need to worry about that! I just painted these eggs already and then gave them to my kids to draw! This will help you minimize the mess and have a lot of fun! Isn’t that just what you need?
1. Gather the supplies
There isn’t much that you need to make this chalkboard paint project a success. Just a few supplies and they can be found easily at almost any grocery store. I picked my supplies up from Target, but you could even order them online! Honestly, just go to your local market instead of paying extra money for shipping. You will also have a nice car ride while listening to your favorite bops.
- Eggs
- Toilet Roll
- Chalkboard Paint
- Chalk
Yes, these are the only supplies you need! Isn’t that just crazy? This project is so simple and doesn’t cost a lot too. These supplies would probably cost you a couple of bucks, which is just great!
2. Start off by boiling the eggs
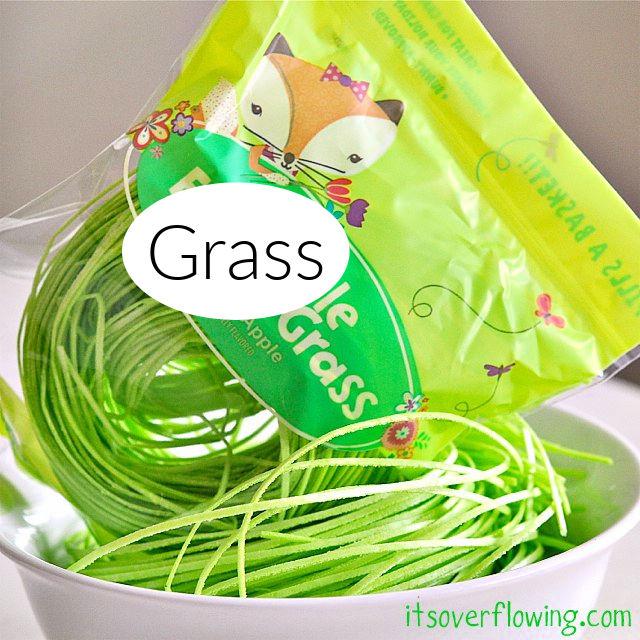
A little garnishing goes a long way. Well, these eggs can’t be eaten, but you can still add a little bit of greenery on the sides to make it look super cool! You can go to your yard and pick out some leaves and flowers for this step. This will also be very adventurous when your kids get involved! My children loved having so much family time together. The most fun part – other than seeing the final result – was when we headed to the yard to pick out some leaves! Place the eggs and the leaves in a bowl – now you’re ready for the next step!
You will need hard-boiled eggs. It definitely doesn’t need to be the most perfect boil as you will not be eating it! You’re just going to paint over the imperfections! Start off by placing a few eggs in a pot and then filling the pot up with water – preferably 2.5cm higher than the eggs. I mean, I’m sure you know how to boil an egg, right? Once it’s done, cool it down, and you’re ready to paint!
3. Time to paint!
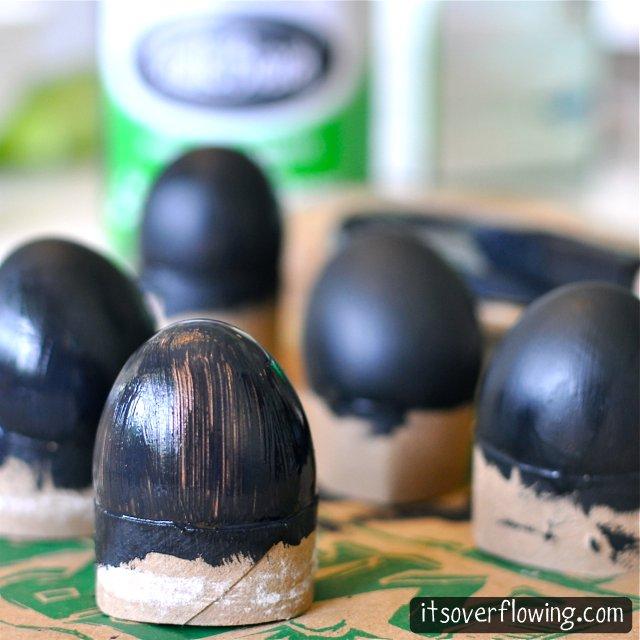
I decided to create this super cool chalkboard project a few days back. However, I ended up buying some extra chalkboard, so I had to make these eggs! I placed the eggs on the toilet paper and painted all over them. The toilet paper will help a lot with creating less of a mess. Who wants to clean up later? No one! Your fingers will stay cleaner, as well.
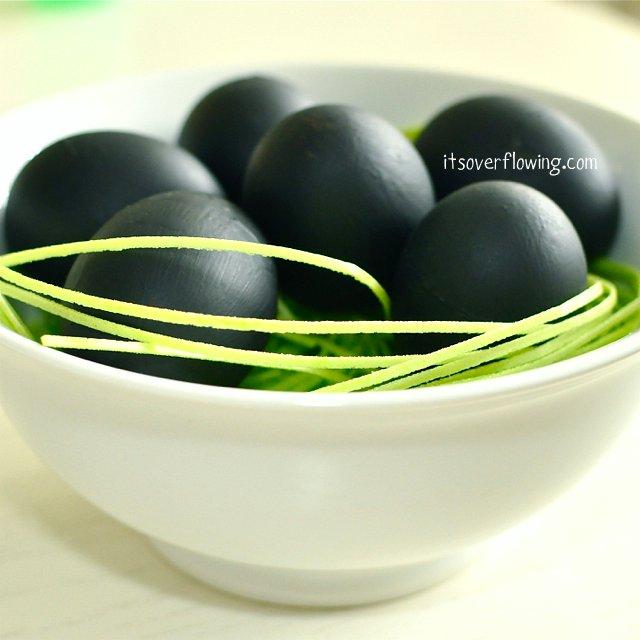
Don’t ask your kids to do this as they will, most definitely, create a mess. Go for thinner coats if you’re impatient and want the project to be done quicker. However, if you want a really aesthetically pleasing look – patience is key. You will be able to draw better on a thicker coat, as well.
4. Decorate it
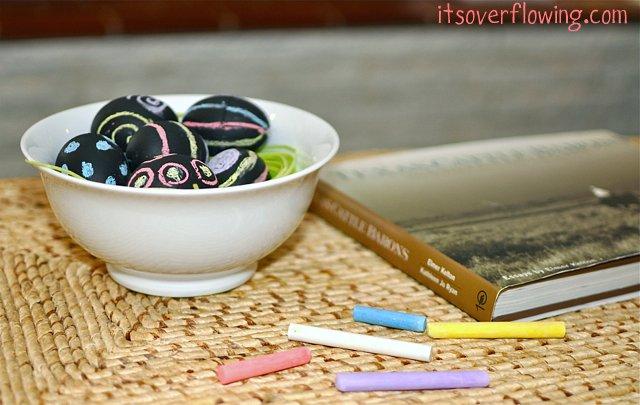
5. It’s time to draw!
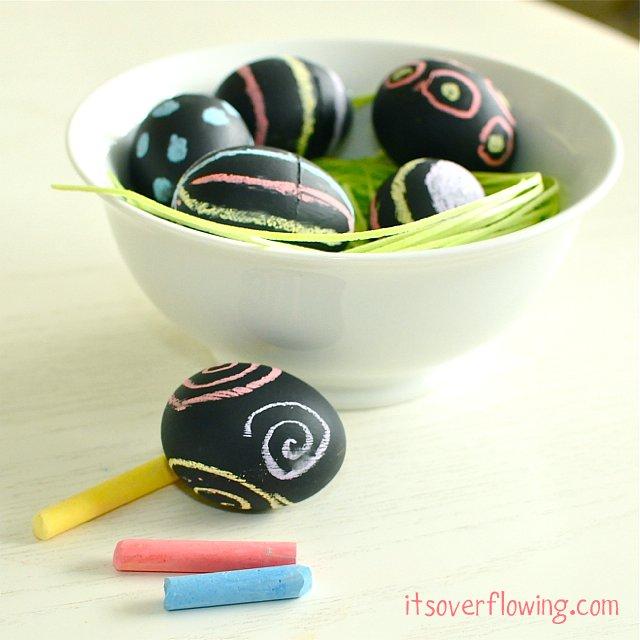
This is going to be the most fun part! You will be able to understand your children better by what they draw. Give everyone an egg and a wide range of colors to choose from. You can also draw something. Be creative with your thinking process, and you’ll come up with something absolutely stunning! Everyone can hide their eggs and then reveal the final product together! Do you know what is the most important part of this project is? Asking your children about what they drew!
It’s great to carry out projects like these with your children as it helps to open up their minds and make them think creatively. When they start telling you of the different scenarios they thought about while making these sketches, you’re going to be fascinated and surprised.
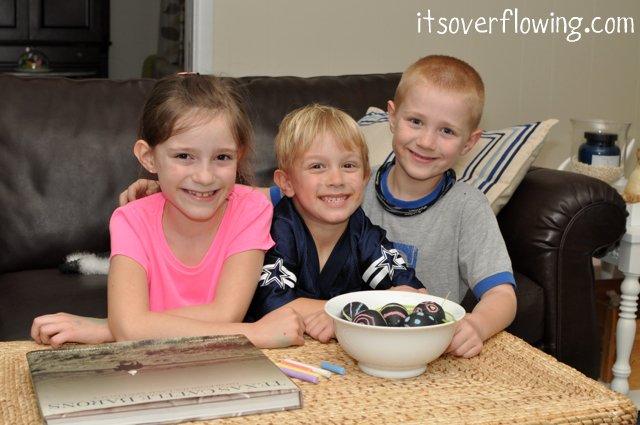
6. Time to display Chalkboard Painted Eggs!
If this was a memorable experience for you, it’s time to display it! That’s a great way to remember this forever. You can either keep it in a bowl or place it on your bookshelves. It can also be placed on your vanity, side tables, and almost any corner of your house. There are just so many ways to display these absolutely stunning chalkboard painted eggs!
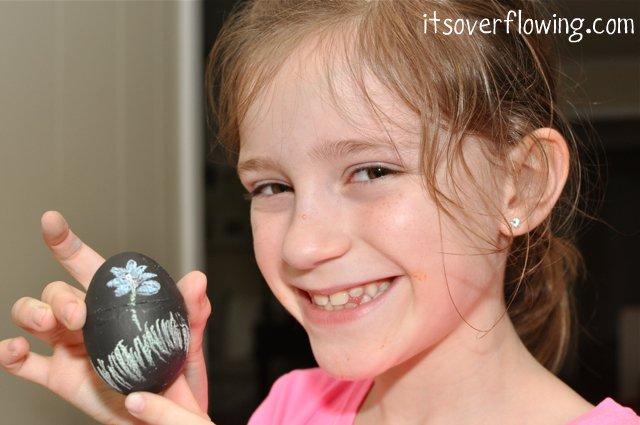
Are you ready to experiment with this lovely chalkboard painted eggs and have some fun? I had a lot of fun, from driving to the grocery store to assembling everything in the bowl! Every part of it felt ecstatic. You can try it out, as well! It’s going to give your children a chance to use their brains and be a little creative. They are burdened by their academic pressures most of the time, so this would be great for a change.
