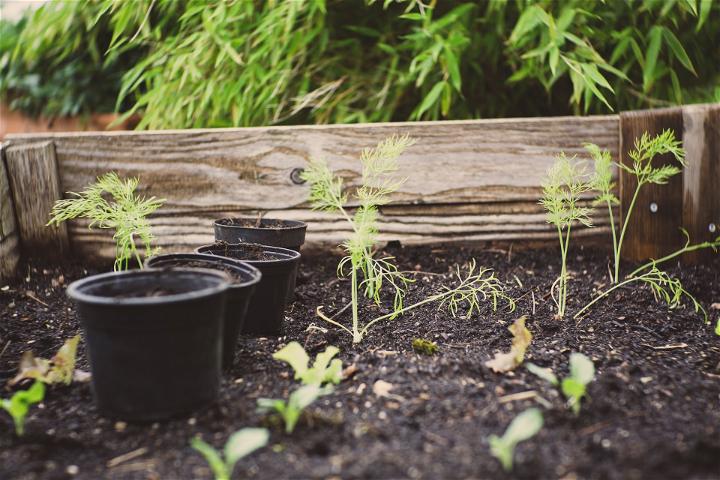
Do you dream of having a lush garden filled with vegetables and beautiful flowers? If so, building your own wooden raised bed is the perfect way to bring this dream to life! With minimal carpentry skills and basic materials, creating a wooden raised bed is an easy project that can be completed in no time. In this blog post, we will explain exactly how to build your own wooden raised bed from start to finish — including selecting the right wood, assembling the frame, filling it with soil, and planting your preferred plants. Read on for all the details you need to make gardening easier than ever!

Gather the necessary supplies and gather your tools
Before beginning, make sure you have all of the supplies and tools necessary for building your wooden raised bed. You will need a few items from the hardware store: deck screws, drill bits, saws, and various wood pieces such as deck boards or landscape timber. Additionally, you will need to purchase soil and plants of your choice to fill up the finished bed. Once you’ve gathered all of the supplies and tools, you are ready to begin building your wooden raised bed. This is great for sowing your seeds outside or in a controlled environment. When done correctly, you’ll be able to watch your plants grow and enjoy the fruits of your labor for years to come.
Choose a location for your raised bed and measure the dimensions
Deciding on a location for your raised bed is an important step in creating a thriving garden space. You’ll want to choose an area that receives plenty of sunlight, as most vegetables require at least 6 hours of direct sunlight per day. Additionally, consider the proximity to your water source, as you’ll want to ensure your plants receive enough water without having to carry heavy watering cans too far. Once you’ve determined the best location, it’s time to measure the dimensions of your raised bed. This will help you determine the amount of materials you’ll need to build it and ensure that it fits the available space without overcrowding or obstructing any pathways. With the right location and accurate measurements, your raised bed is sure to flourish with healthy and abundant produce. If you plan to build multiple raised beds, be sure to leave room for pathways between the beds.
Cut the wood for your frame according to the measured dimensions
As you embark on the exciting journey of building your own wooden raised bed, the first step is to cut the wood for your frame. Start by measuring and cutting each piece of wood according to the measurements you’ve taken earlier. Be sure to use a saw with sharp blades so that you get clean, even cuts on all your pieces of wood. Additionally, consider pre-drilling holes for screws if needed for extra stability. Once all of your wood pieces have been cut to size, you can begin putting together your frame. If you’re feeling adventurous, you can even add accents such as a decorative top rail or corner posts to make your raised bed stand out even more.
Assemble the wooden frames with nails or screws
Assembling wooden frames is a task that requires precision and patience, but the end result can be rewarding. Whether you choose to use nails or screws, make sure they’re the appropriate length to secure your frame. Start by driving two screws or nails into each corner of your frame, making sure that the points are facing inward. This will ensure that your bed will stay secure and sturdy for years to come. Once you’ve finished assembling all four corners, continue nailing or screwing along each side of the frame until it feels secure. Additionally, make sure that all of your screws or nails are flush with the wood and not sticking out so they don’t snag on clothing or skin when you’re moving around.
Secure the wooden frames in place with anchor stakes
With all of the hard work that goes into building your wooden raised bed, you’ll want to make sure that it stays in place no matter the weather. Anchor stakes are a great way to keep your frame secure and prevent any shifting or movement. Simply drive anchor stakes into the ground on each side of your frame and tie them off with rope or bungee cords. This will ensure that your bed remains sturdy and stays in place even on the windiest of days. With anchor stakes, you can rest assured that your hard work won’t go to waste when the weather strikes!
Line the bottom of the frame with landscaping fabric
Landscaping is one of the best ways to enhance the beauty and functionality of any outdoor space. Whether you want to add a touch of greenery or create a lush garden, landscaping fabric is your secret weapon. Before filling the raised bed with soil, line the bottom of the frame with landscaping fabric to prevent weeds and grass from infiltrating your plants. The fabric also helps keep moisture in, which will help your plants thrive and produce plentiful fruits and vegetables. When selecting landscaping fabric, make sure to choose a type that is UV-resistant and durable enough to withstand the elements.
Fill the frame with potting soil and compost
Once you’ve lined the bottom of your frame with landscaping fabric, it’s time to fill it up with soil! Start by mixing potting soil and compost in a wheelbarrow or other large container. Make sure to mix the soil thoroughly so that you get an even distribution of nutrients throughout your bed. When selecting potting soil, be sure to choose a type that is specifically designed for raised beds as it will provide your plants with the best possible growing conditions. Additionally, add extra organic matter such as manure or peat moss to provide your plants with a nutrient boost.

Building a raised bed for your garden is a great way to add beauty and energy to your outdoor space. Not only will the construction of the raised bed require dedication, but it also requires a certain level of handiness that will help ensure that your finished product looks as amazing as you envisioned. With proper planning and preparation, your new garden bed will be able to weather all types of climates and offer nutritious produce year after year. And don’t forget to bring the family in on the fun; building a garden bed is an exciting activity that allows everyone to get creative with their backyard while also creating great memories together. So what are you waiting for? Get out there and show off your DIY skills by constructing an incredible raised garden bed!
