In the sweltering heat of summer, finding efficient and cost-effective cooling solutions becomes a priority. DIY air conditioner side panels offer a perfect blend of practicality and personalization for your cooling needs. Not only do they provide a customizable option to enhance your home’s comfort, but they also offer a way to save on professional installation costs. These panels can significantly improve the efficiency of your air conditioner, making your space cooler while keeping energy bills low.
Installing DIY air conditioner side panels is a straightforward task that can lead to a more comfortable and energy-efficient home. With detailed guidance on selecting the right materials and measuring accurately, you can ensure a perfect fit for your window AC unit. This introduction sets the stage for an engaging exploration of various DIY side panel projects. Each project is designed to help you achieve optimal cooling performance, making your summer days more enjoyable. Let’s dive into how you can easily install these panels and elevate your home’s cooling system.
Why Choose DIY Air Conditioner Side Panels?
When you’re considering how to enhance your home’s cooling system, you might wonder why opting for DIY air conditioner side panels is beneficial. Here are some key reasons:
- Cost-Effective: By installing the side panels yourself, you save money on professional installation fees. DIY means you only pay for materials, not labor.
- Customizable: You have the freedom to create panels that perfectly fit your window’s dimensions and aesthetic preferences. No one-size-fits-all—your solution will be tailor-made for your home.
- Improved Efficiency: Properly installed side panels can improve the efficiency of your air conditioner by sealing gaps that allow air to escape or enter, thereby maintaining a more consistent temperature and reducing energy consumption.
- Sense of Accomplishment: There’s a certain satisfaction that comes from completing a home improvement project with your own hands. It boosts your DIY confidence for future endeavors.
- Quick Solution: Instead of waiting for a professional to schedule a visit, you can address your cooling needs immediately, providing relief from the heat whenever you need it.
Remember, while DIY projects can be rewarding and cost-saving, always prioritize safety and ensure you’re comfortable with the task at hand. If in doubt, consulting with a professional is the best course of action.
How to Install DIY Air Conditioner Side Panels
Installing DIY air conditioner side panels can greatly enhance the efficiency of your window AC unit by sealing off gaps and preventing air leakage. This straightforward guide will help you complete this project smoothly, ensuring you stay cool during the hot summer months.
Choosing the Right Materials
Firstly, select the materials for your side panels. Foam insulation boards or flexible foam weather stripping are popular choices due to their insulating properties and ease of handling. Ensure that the materials you choose can be easily cut to fit the dimensions of your window and AC unit.
Measure Your Window and AC Unit
- Measure the width and height of the gaps around your installed AC unit.
- Record these dimensions to cut your materials accurately.
Cutting the Materials
Using the measurements you’ve taken, carefully cut your chosen materials to fit. For foam boards, a utility knife works well for a clean cut. If you’re using weather stripping, scissors may suffice.
Attaching the Side Panels
- Dry fit the panels to ensure they snugly fill the gaps around your AC unit without forcing them into place.
- For foam boards, apply adhesive on the sides that will face the window frame and the AC unit, then press them into place.
- If using weather stripping, simply peel off the adhesive backing and stick it where needed to seal gaps.
Sealing for Extra Insulation
- Check for any small gaps or areas where air might still escape.
- Use additional weather stripping or caulking to seal these spots, ensuring a tight fit.
Safety and Maintenance Tips
- Always turn off and unplug your AC unit before starting this project to avoid any accidents.
- After installation, check the side panels regularly for wear and tear and replace them as necessary to maintain efficiency.
By installing DIY air conditioner side panels, you not only enhance the cooling efficiency of your unit but also contribute to energy savings by preventing air leaks. This simple yet effective project can make a significant difference in your comfort and your utility bills during the summer. Remember, a well-insulated window AC unit works less to cool your room, extending its lifespan and reducing your environmental footprint.
FAQs: DIY Air Conditioner Side Panels
Learn how to make your own air conditioner side panels with our easy-to-follow FAQs. Keep your space cool and comfortable all summer long.
Why should I consider DIY air conditioner side panels?
Cost Efficiency: Installing the panels yourself saves you the money that you would otherwise spend on professional installation fees.
Customization: You can tailor the panels to precisely fit your window and air conditioner, ensuring an aesthetic and functional match to your home.
Improved Cooling Efficiency: Properly installed side panels can seal off gaps, preventing cool air from escaping, which in turn enhances the efficiency of your air conditioner.
Personal Achievement: Completing a DIY project brings a sense of satisfaction and confidence in handling future home improvement tasks.
What materials do I need for DIY air conditioner side panels?
- Foam Insulation Boards or Flexible Foam Weather Stripping: These are popular for their insulating properties and ease of customization.
- Utility Knife or Scissors: To cut the materials to the right dimensions.
- Adhesive: For securing foam boards to the window frame and AC unit.
How do I measure my window and AC unit for side panels?
- Width and Height: Measure the gaps around your installed AC unit to know the width and height needed for the side panels.
- Dry Fitting: Before final installation, place the cut panels around the AC unit to ensure they fit well without needing to force them into place.
What is the installation process?
- Cut the Materials: According to your measurements, cut the foam insulation boards or weather stripping.
- Attach the Panels: For foam boards, apply adhesive to the sides that will face the window frame and the AC unit, pressing them into place. For weather stripping, peel off the adhesive backing and stick it around the AC unit to seal gaps.
- Seal for Extra Insulation: Check and seal any remaining gaps with additional weather stripping or caulking for an airtight fit.
How do I maintain my DIY side panels?
Regular Checks: Inspect the side panels periodically for signs of wear or damage.
Replacement: If you notice significant wear or gaps forming, replace the materials as necessary to maintain the efficiency of your air conditioner.
Can installing DIY side panels really save money?
Yes, by preventing air from escaping, your air conditioner operates more efficiently, reducing the energy required to cool your space. This efficiency can lead to noticeable savings on your electricity bills over time.
Is it necessary to have any special skills for this project?
Not necessarily. The process is straightforward and can be accomplished with basic measuring and cutting skills. However, always prioritize safety and ensure you are comfortable with the task. If unsure, seeking professional advice is recommended.
Installing DIY air conditioner side panels is a practical and cost-effective way to improve the efficiency of your cooling system. With the right materials, measurements, and a bit of patience, you can achieve a cooler, more comfortable home environment while also saving on energy costs.
7 DIY Air Conditioner Side Panels You Can Easily Install
Explore 7 DIY air conditioner side panels easy to install for improved efficiency & comfort. Perfect for beginners & experts alike. Start cooling smarter!
1. DIY Air Conditioner Side Panels
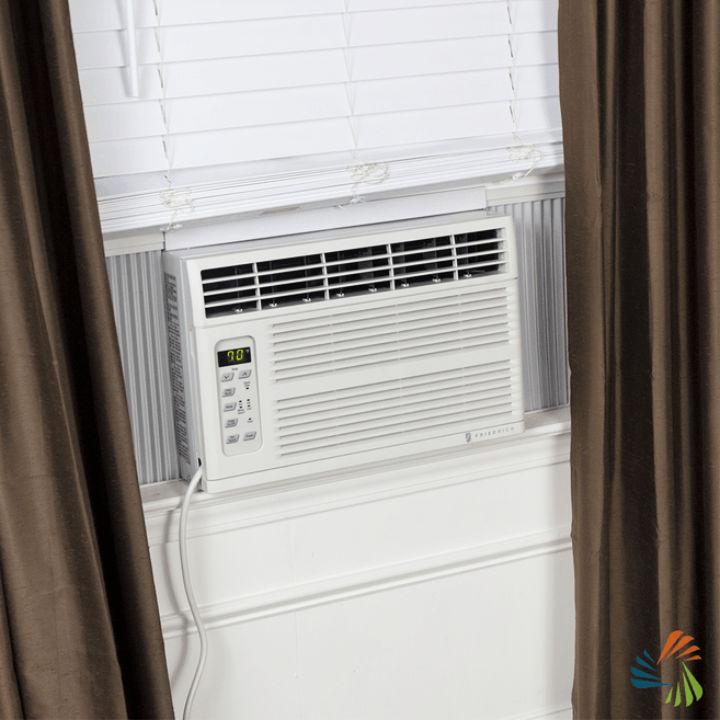
Installing a window air conditioner can be a breeze with the right guidance. Sylvane‘s step-by-step tutorial is tailored to help you through the process smoothly and efficiently. From selecting the ideal window close to an outlet to securing your unit for optimal cooling, this guide covers all you need to know. Essential tools are outlined, ensuring you’re well-prepared before beginning. If you have any lingering questions or need to pick the perfect window AC for your space, expert advice is just a call away. With clear, helpful instructions, you’ll have your room chilled in no time.
2. DIY Air Conditioner Replacement
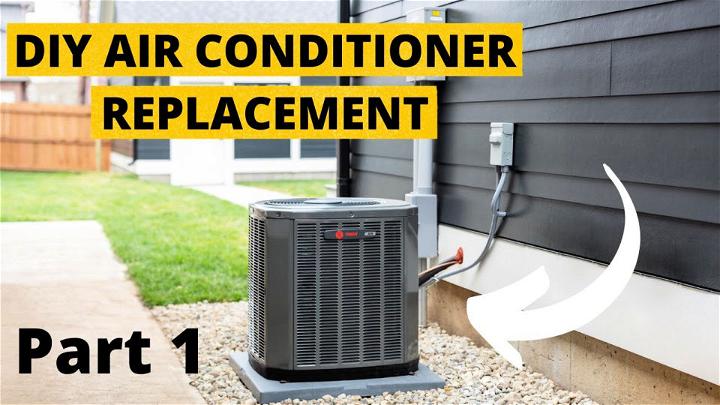
In this step-by-step tutorial, viewers are shown how to remove an old AC unit and install a new one, including tips on handling refrigerant, wiring, and ensuring a safe and efficient installation process. The guide covers everything from disconnecting electrical wires to brazing freon lines. It’s a comprehensive resource for anyone looking to save money and take on a DIY HVAC project.
Make sure to follow all safety guidelines, especially when working with refrigerants, and consider getting an EPA 608 certification if you plan to handle them. Remember, proper tools and preparation can make all the difference in a successful AC replacement.
3. Air Conditioner Window Panel
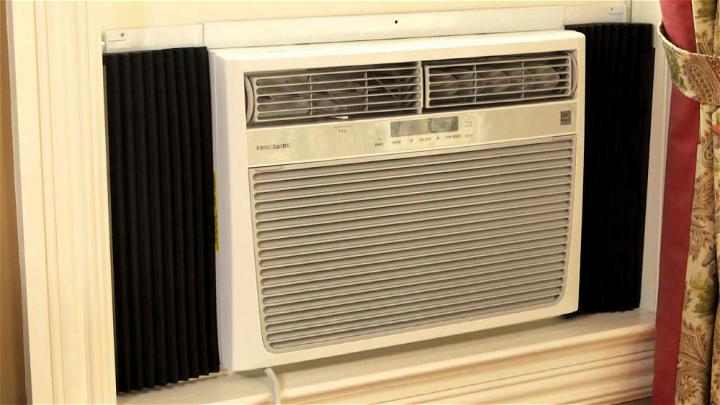
Maximize your air conditioner’s efficiency and maintain a comfortable home environment by insulating your unit with Air Conditioner Insulators from BulbHead. These simple-to-install foam panels are designed to stop cool air from escaping and warm air from entering through the gaps in your window AC unit.
This not only helps keep your space consistently cool during the scorching summer months but also prevents cold drafts in the winter if you choose to leave your AC in place year-round. With the easy peel-and-stick side rails, there’s no need for tools or extensive DIY knowledge. Optimize your energy usage and enjoy a more comfortable home with these convenient AC insulators.
4. How to Install a Window Air Conditioner
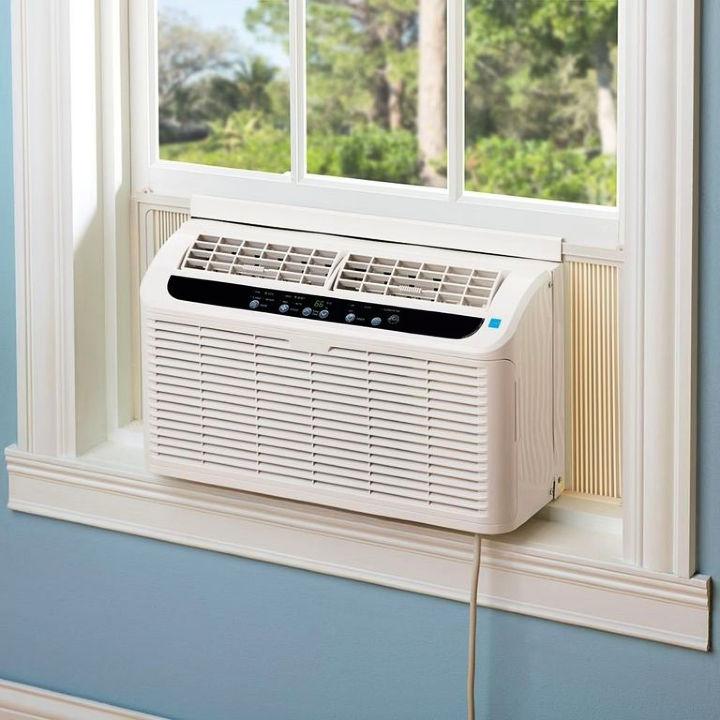
Struggling with a hot room? Installing a window AC unit can be the quick fix you need. Popular Mechanics offers expert guidance on choosing the right air conditioner for your space, focusing on room size, energy efficiency, and unit capacity. The instructive content walks you through a step-by-step installation process, ensuring your unit is secure and ready to provide relief from the heat. Discover how to maintain your AC for optimal performance and learn about removal and storage when the cooler days arrive. Stay comfortable with these helpful, engaging tips designed to make your AC installation smooth and efficient.
5. Install a Ductless Air Conditioner
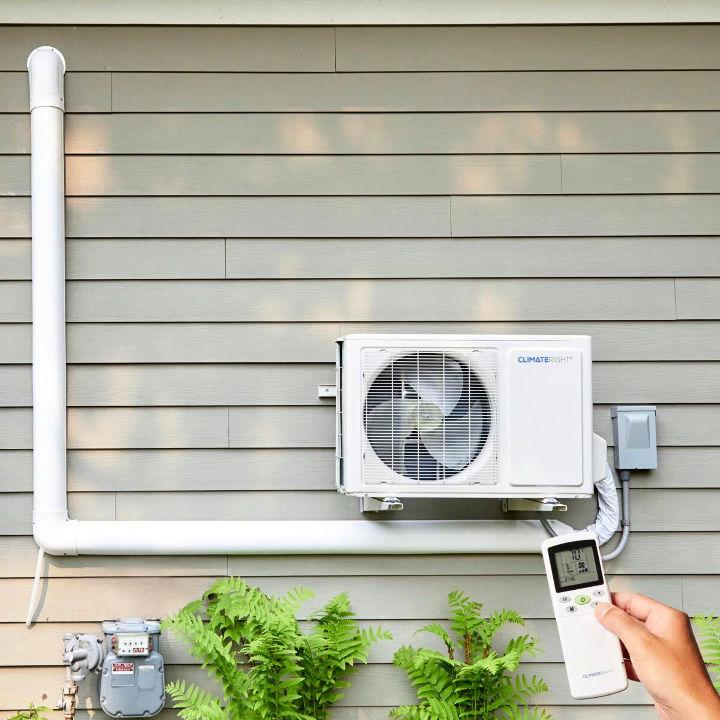
Transform your living space with the ease of installing a ductless mini split air conditioner, guided expertly by Family Handyman‘s practical advice. This step-by-step guide empowers homeowners to enhance their comfort with an efficient cooling—and possibly heating—system, suitable for various settings, from homes to garages.
Learn to select the right size unit, provide adequate power, and secure necessary materials. With a focus on simplicity and clarity, this instructive content walks you through each phase of the installation process, ensuring a smooth DIY project that brings lasting benefits to your indoor environment.
6. Install Central Air Conditioning Yourself

Installing central air conditioning on your own can be a rewarding DIY project, and AirAce Heating & Cooling offers a comprehensive guide to help you through the process. Learn to choose the right location for your unit, ensure energy efficiency, handle refrigerants safely, and connect your system correctly for optimal performance.
Our instructive content makes installation manageable, guiding you to improve your home’s comfort while potentially saving on costs. Keep in mind, regular maintenance is key to your AC’s longevity, and for certain tasks, consulting a professional is advised for safety and efficiency.
7. How to Install a Ductless Mini Split Air Conditioner
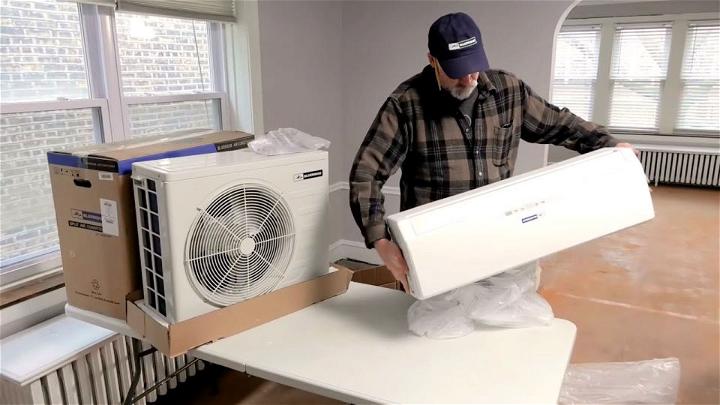
Installing a ductless mini-split air conditioner, like the Blueridge model, is a savvy move for heating and cooling rooms without existing ductwork. Alpine Home Air’s helpful tutorial breaks down the process into manageable steps. With their guidance, you can mount the indoor air handler and the outdoor condenser, connect the copper tubing, and handle most of the installation on your own. Just remember to call in a professional for the critical final touches, ensuring your system is leak-free, pressurized correctly, and electrically safe. By following this instructive video, you can enhance your home’s comfort efficiently.
Conclusion:
In conclusion, these 7 DIY air conditioner side panels offer a practical and cost-effective solution for enhancing your RV experience. Whether you’re considering DIY panels for the first time or seeking installation guidance, this comprehensive guide covers everything from material selection to maintenance tips. By choosing DIY air conditioner side panels, you can optimize insulation, save on costs, and enjoy a comfortable and efficient travel environment.
