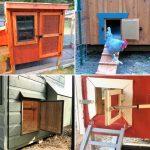
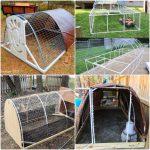
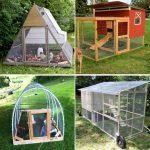
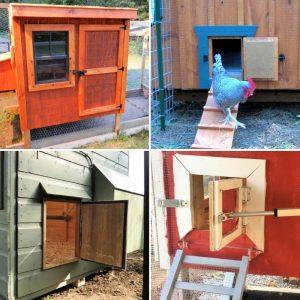
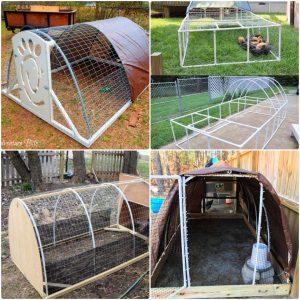
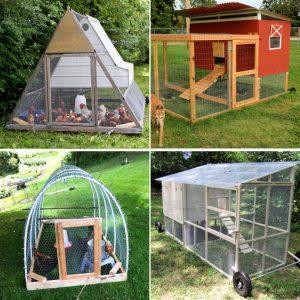
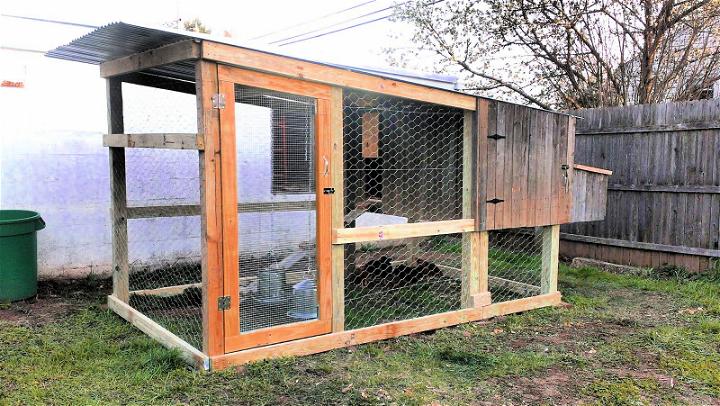
For the love of do-it-yourselfers and, of course, chickens! No matter how small of a feathered flock you are looking to raise, every house with hens needs a top-class chicken coop. Now, combine this realization with my ultimate love for DIYing everything that I can! And, hence, I am proud to present you my DIY chicken coop with a run tutorial. I must confess that I did put a lot of thought, some of my basic yet pretty detailed carpentry skills to come up with this plan. It had to be thoughtful!
With the little chickens all growing up and ready to run free using their feathers and my wife pushing me to FINALLY do something about them, this is where I have landed. So, I did my research and found many DIY chicken coop plans online. My basic requirement was to build a large chicken coop with enough space for my feathered friends to live, sleep, and lay eggs in. While at the same time, enough space to roam around freely without me worrying about losing them to any stray predator! You see, I had to do my homework. Finally, we decided to go with something more module-ly, to make it easier for us to move it or take it apart when needed.
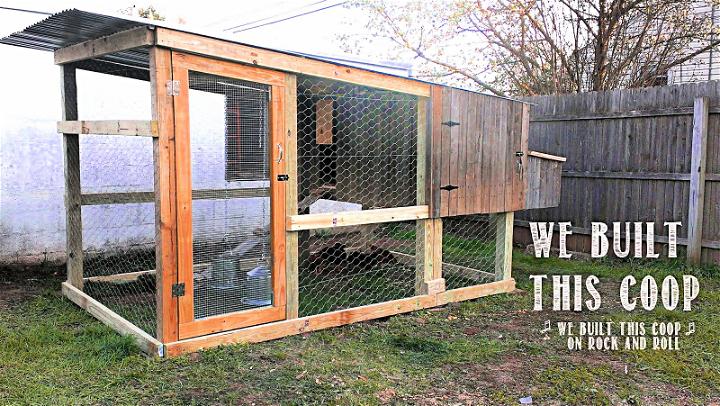
Let me first share with you the supplies you need to get hold of before starting this DIY chicken coop!
Why Choose a DIY Chicken Coop with Run
- Customization: One of the greatest advantages of building your own chicken coop is the ability to tailor it to your specific needs and preferences. You can decide on the size, materials, and features that will best suit your flock and your backyard.
- Cost-Effective: DIY projects can significantly reduce costs. By using reclaimed wood or materials you already have on hand, you can save money compared to purchasing a pre-made coop.
- Satisfaction: There’s a unique sense of accomplishment that comes with completing a DIY project. Watching your chickens enjoy a space that you created can be extremely rewarding.
- Learning Experience: Building your own coop is a fantastic learning opportunity. It allows you to gain hands-on experience with carpentry and problem-solving as you navigate through the construction process.
- Quality Control: When you’re in charge of the build, you can ensure that high-quality materials are used and that construction is done properly. This can lead to a sturdier, more durable coop for your chickens.
- Bonding Activity: This can be a fun project to involve family or friends in. It’s a chance to spend time together and make memories while contributing to a self-sustaining lifestyle.
- Eco-Friendly: By repurposing materials and incorporating features like a slanted roof for rainwater collection, you’re making an environmentally conscious choice that benefits both your chickens and the planet.
Remember, the main goal is to create a safe, comfortable, and functional home for your chickens that also fits your life and budget.
Required Supplies
- 4 x 4 frames
- 2 x 4 frames
- Chicken wire
- A few bricks
- Wood for Coop ( We’ve used an old fence (or just a fence, you know) for to make this cheap chicken coop)
- Corrugated metal roof
- Pine shavings
- Foam insulation (for the cold, snowy days)
- Straw bedding
- Nail gun and basic carpentry notions
- A handful of good vibes and some happy chickens!

Laying the framework
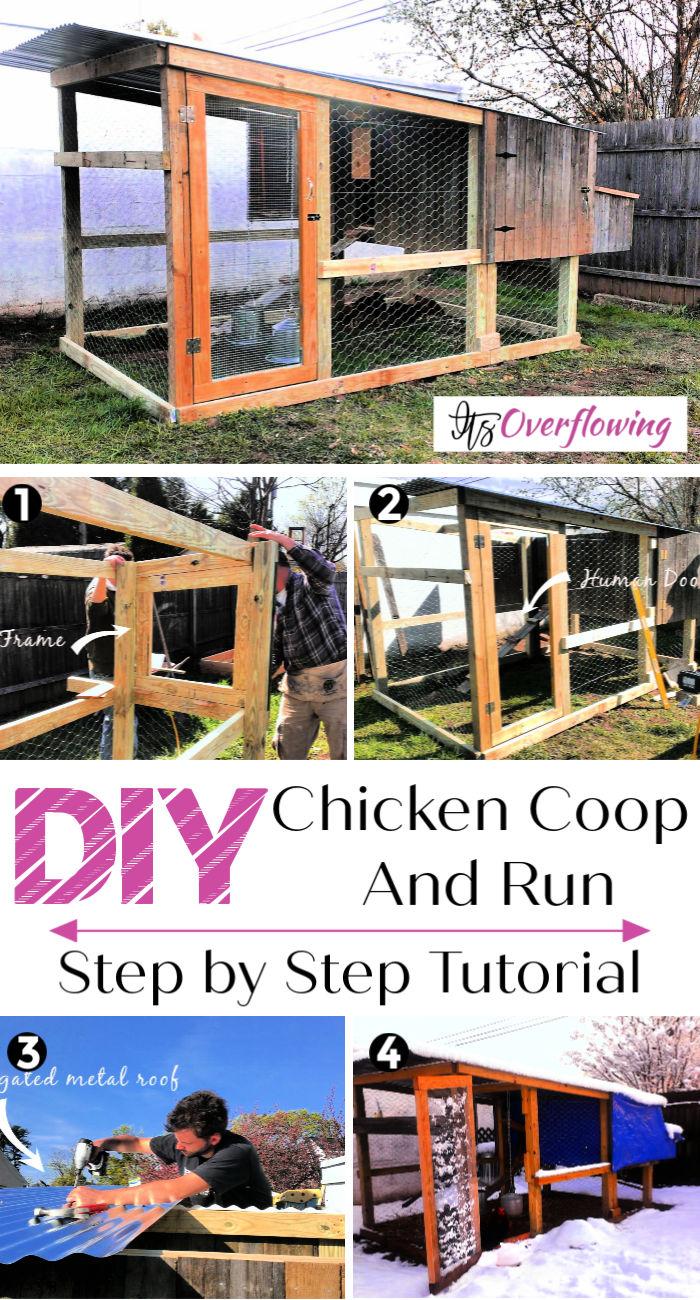
Learn how to build a chicken coop easily under low budget using our simple plan and cut the cost market coops! Ok, so like I was telling you that I wanted something easy to take apart and move. So this is what the module frames are for. The first step involves to lay down the framework using the 4 x 4s and 2 x 4s. Pull up the chicken wire and staple it to the frame. Because, well, safety in check first! And also, once you have attached and constructed the frames, then stapling the chicken wire can be a bit harder than now.
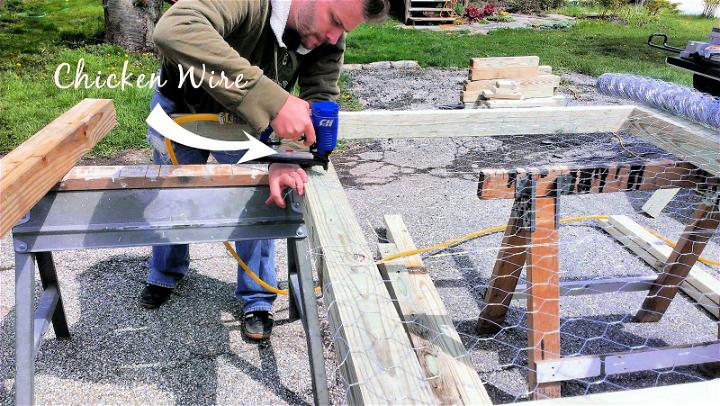
Constructing the large chicken coop frame
Once you have attached the chicken wire, now put the framework in place. As in where you would want to build the whole thing up. Since I am going for more of a slanted coop (check WHY, below) so, we had to use a few bricks underneath the 4 x 4s to make them stand on a leveled construction.
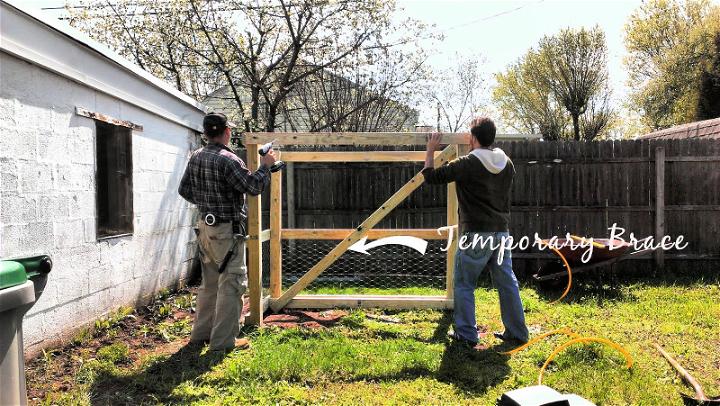
Working out the coop siding
A true DIYer derives the most pleasure from putting old and previously though useless things into a newfound purpose! Hence, this old fencing came in handy for us! We repurposed the slats for setting up the siding of our DIY chicken coop. The free rustic look for the win! The wife was really excited about it.

Explaining the Slanted: Slant Roof Chicken Coop
Ok, as promised, why did I opt for a slanted coop? Well, because I am a DIYer and everything I do has a deep meaning to it. The water collected from the rain on the coop’s roof is going to be collected in a rain barrel. And we are planning to use it for the chickens as well as the nearby plants. Isn’t that brilliant?
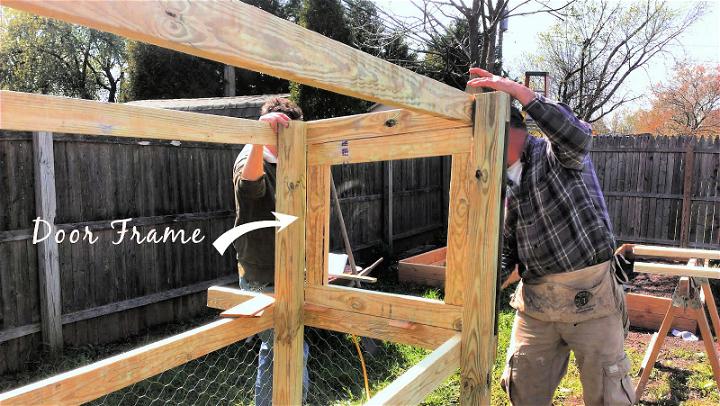
Installing the door frame
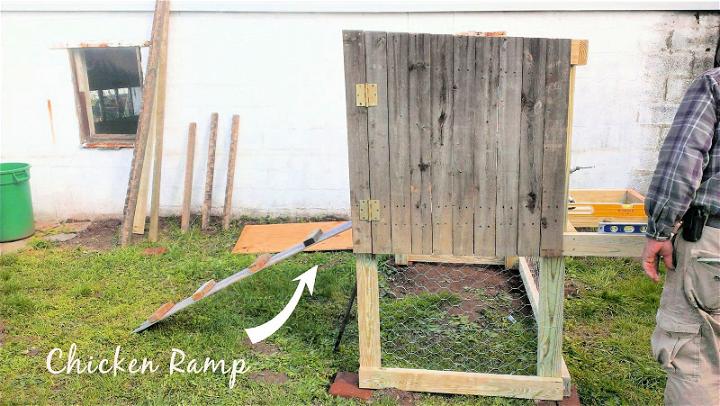
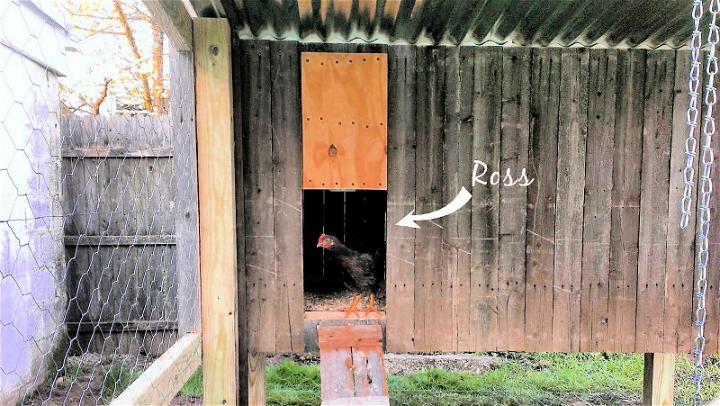
Next, I nailed the slats in the frame, which certainly made it one secure coop! The rest two sections of the slat that I had made, I intended to use as a ramp inside.
Installing the chicken nesting boxes
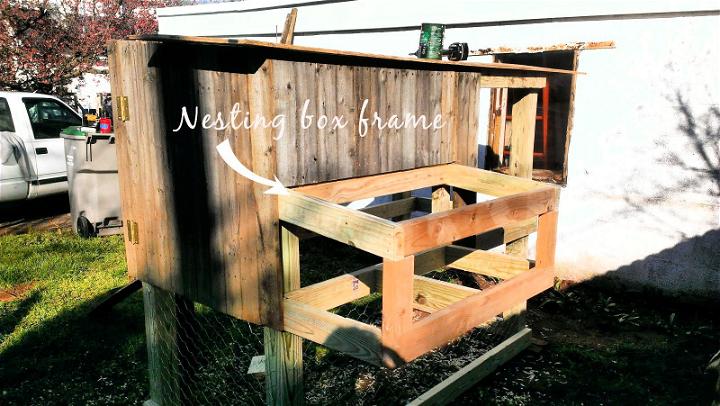
The most important part! Organic eggs collection place. Or even simply egg collection place, the favorite fantasy of the kids as I must say. The nesting box frame was set behind the back, and it has enough space to easily hold around three boxes.
Making it easily accessible
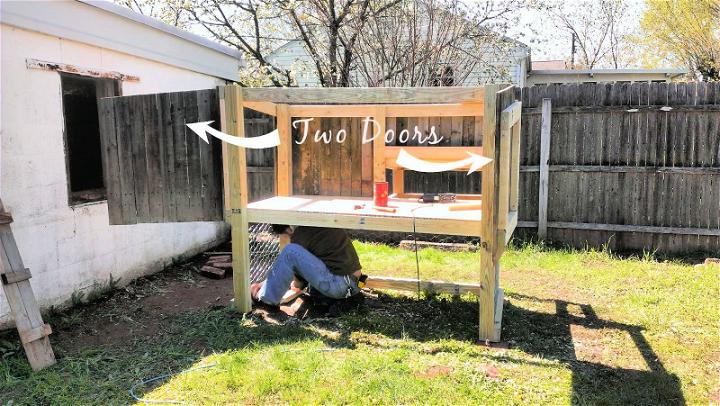
Making a DIY chicken coop also holds many other plus points. Like making it as accessible as you would want it to be! So my wife and I decided to come up with another door at the other end. For getting in and keeping the place clean. The cleaning duties are yet to be decided.
Nesting box alert
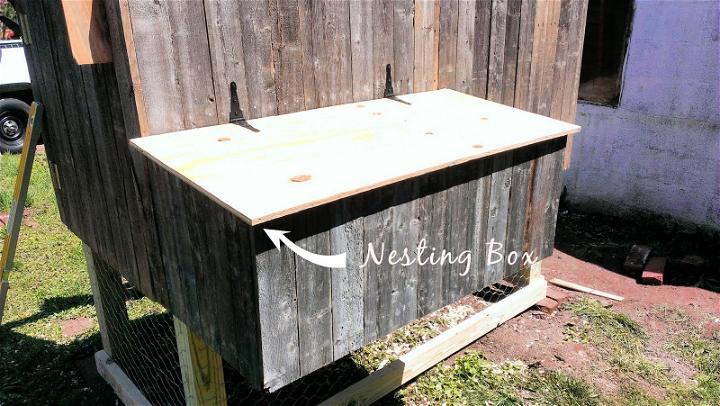
We paneled the nesting box and added a lid too at the top to keep it closed and secure. Plus, every time opening the lid and seeing how many eggs this time, has its own charm!
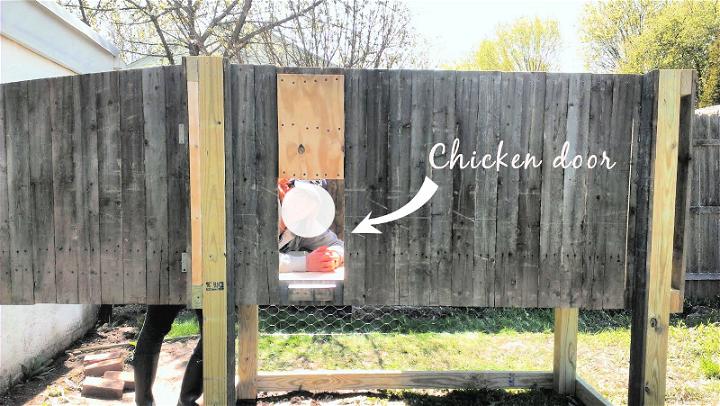
Fixing up the chicken door
We did add another door at the exact opposite side of the nesting box for thoughtfully keeping the privacy intact.
Adding the chicken run panels and making the Human Door
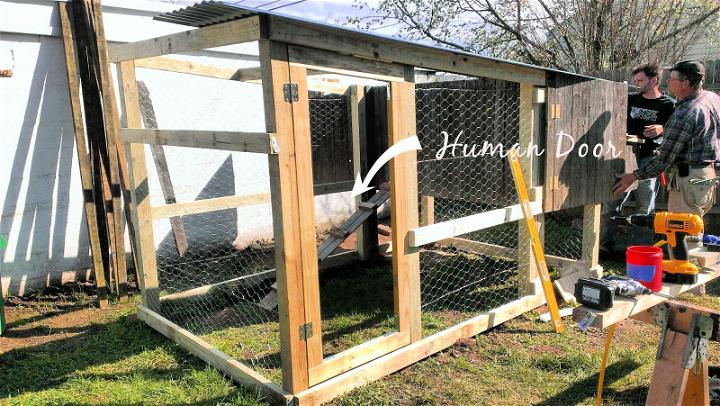
Next, we inserted the human panels inside the chicken coop. Carefully leveled, and we did attach them at all sides, so there’s no fear of them falling anytime. Then we framed the human door just like the coop door itself. It was just large enough to easily let us in and out.
Setting up the roof
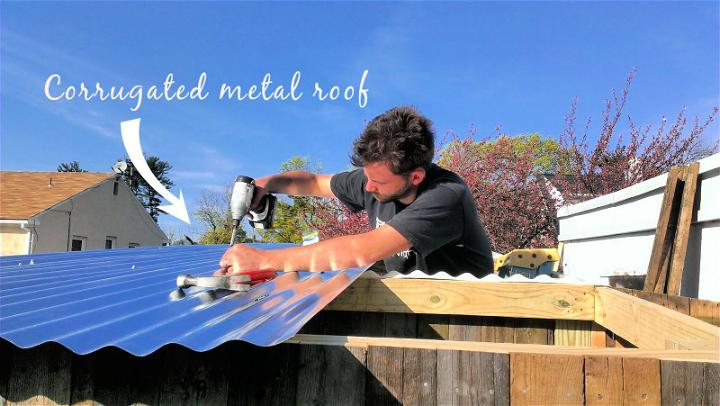
Do you like slant roof chicken coop? I decided to use the corrugated metal roof for two reasons! One, it satisfied my DIY spirit by being way more cheaper than the fiberglass option. Two, it was going to provide good enough shade and makes it easier to collect rain. I mean, what an epic win-win. I just nailed it to the roof of the coop and the chicken run.
Laying down the chicken bedding
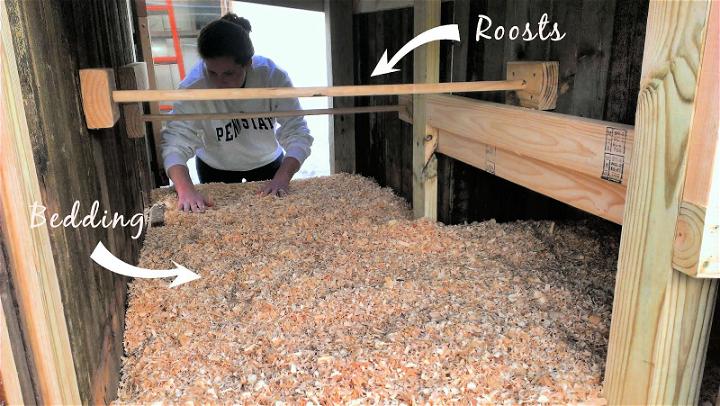
Now, that it was almost all complete. We put inside the pine shavings for pretty luxurious chicken bedding. And we also added two roosts for giving the ideal home to our feather fellows. As chickens do love sleeping on roosts.
Installing the chicken feeder and waterer!
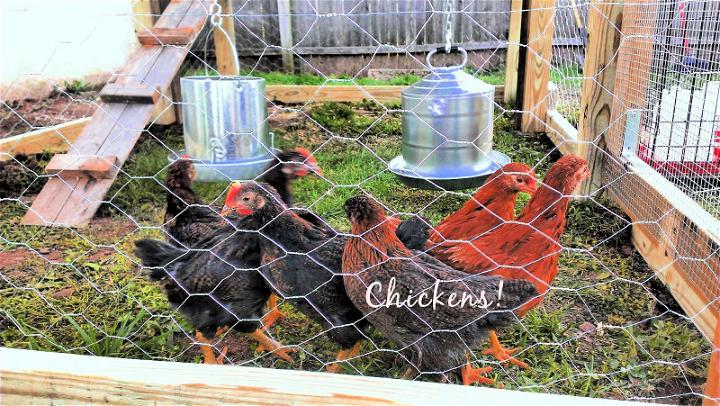
We selected two perfectly large galvanized chicken feeders for putting up water and feed inside. They are hanging from the rafter and can be easily spotted. The few things left are just to add a pulley at the chicken door, so we can easily open it from the outside, too, if need be. Next, even though the chicken wire is there. Setting up a bricked safety parameter for predators is also in view.
Bringing them (the chickens) to home
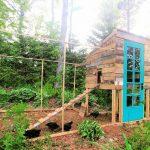
Well, well! If you know the chicken language, you can tell how happy they seem! Or at least we could, which my wife thinks, can also be because we did all that hard work, so we were looking more on the desired results! Anyhow. Right now, we just had three boys and three girls, but I am proudly saying that this DIY chicken coop and run can EASILY house 8-10 chickens. We might be adding more soon, too.
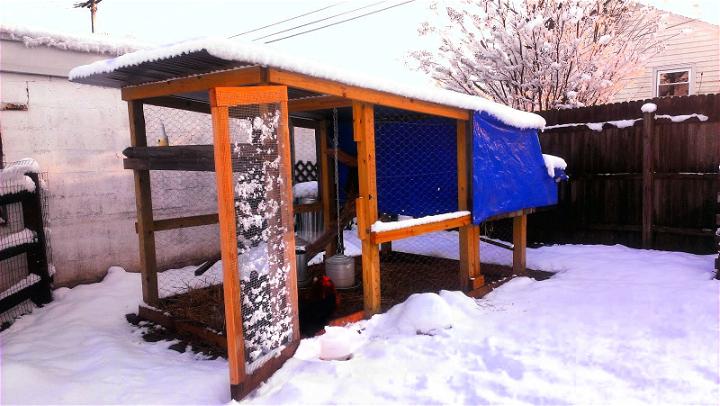
Backyard Chickens in the Snow:
Insulating the chicken coop – Winter Essentials
Now, before I forget, let me confess that one mistake we did and had to rectify later. While building your chicken coop, always keep in mind seasons change. My DIY chicken coop design is perfect, but it lacked a few winter essentials. Hence, when the snow came, and it was all cold, we had to use some foam insulation panel inserts to keep the coop, preferably warm for our boys and girls. However, the first few days, I just came up with putting up a vinyl drop cloth for making it less drafty. Also, another fun SCIENCE fact; snow is an excellent insulator, so the corrugated metal roof came in really handy for keeping a snow pile stacked up! It works like fiberglass and slows down the heat passing through. Woah, right?
Straw Bedding
Also, add a batch of straw bedding like MUCH of it. The layers of straw when gets accumulated with the chicken Coop, it keeps the place hot.

Quick FAQs for Chicken Coop Winter Essentials
Even if you have an already built chicken coop without a metal roofing or insulation, etc., there are certainly still a few things you can do! Questions like how to keep the chicken coop warm during harsh winters, coming up below.
- Make sure to keep the water from freezing by bringing in the water in the morning. Don’t let it stay at the nightfall. Another benefit of large galvanized feeders, if you repeat this routine. The water won’t freeze all day long.
- Throw in some late-night munching or snacks. You can feed your chickens some corn at night as they would digest the food. They will also be generating heat. Hence, keeping them warm.
- Keep them caught up! If you just let your chicken roam freely around, they are going to get crazy. Hang up something to give them a genuine reason to be crazy after it. Do you see? Like a cabbage or something that can annoy them but keep them busy at least.
These few things can help them stay warm, caught up, and active to beat the winters or cold.
So, literally, that’s all you need to know/do for successfully building a DIY chicken coop with run at a low budget. This is like a complete happy home version for my chickens. They can roam freely, eat bugs (yum), get a night of good deep sleep, and all is well and happy. I have tried to keep this DIY chicken coop with run plan as detailed as I could. But, for any questions, feel free to hit me up!
Free Chicken Coop Plan:
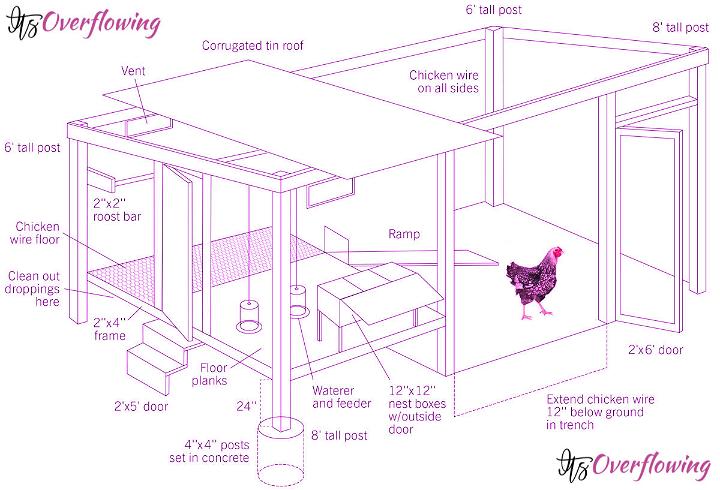
Here is the original chicken coop plan but we’ve made many changes in our chicken coop because we mostly used reclaimed wood out from old fences. So you can build this DIY chicken coop anyway as you required to save your money and make something unique.
