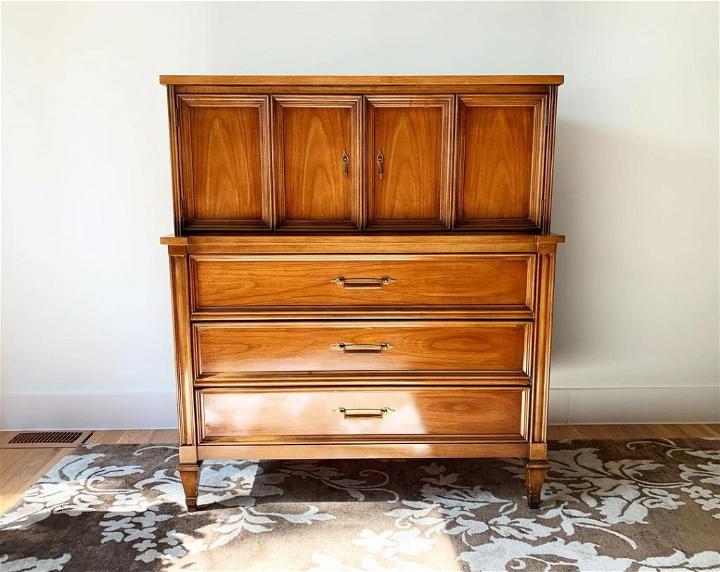
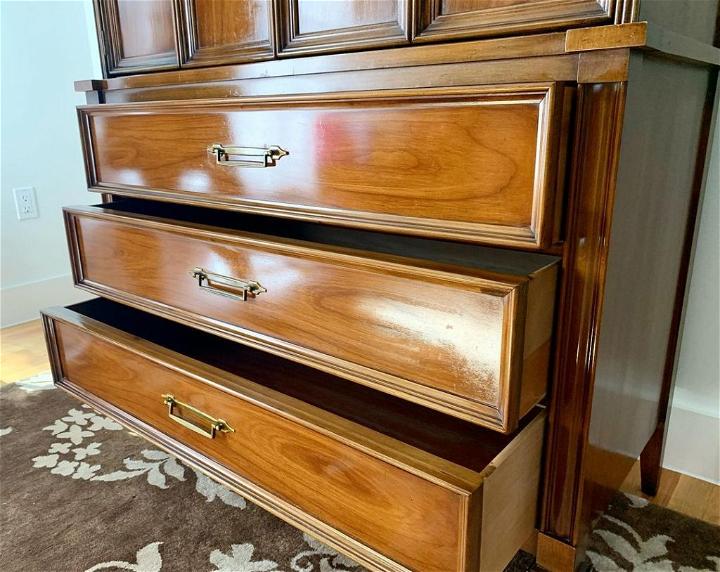
Finishing oil is a finish that you apply to furniture. It’s the last step in restoring an old piece of furniture or giving new life to a newer one. But what does it involve? Applying oil finish to furniture can be tricky if you don’t know how so here are some expert tips on how to do it right!

Be careful when picking the oil
There are different types of oils you can use for this job. According to this Real Milk Paint’s wood oil products article, high-quality oil matters when you are doing an oil finish on your furniture. That is why you first need to know what kind of oils you should use.
The types of oil finishes include:
- Linseed Oil
- Tung oil
- Walnut oil
The best option for you will depend on the type of project and the look that you want. If a more natural, rustic appearance is what you are going with, then walnut oil or linseed oil would be your choice. However, if a shinier finish is in order, then tung oil would be your most likely candidate. Some projects require multiple types of oils to achieve different results, so it’s important not to skip this step when finishing furniture pieces. In fact, there are some folks who advise applying one coat of oil followed by another coat using yet another kind for even greater protection from and tear over time.
Sand your furniture with a fine grit, such as 220
Before you apply oil, it’s important to sand your furniture with fine grit. This will help the oil penetrate deep into the wood and not just sit on top. If you don’t do this, you may experience oil-related problems, such as oil bleeding through the finish.
Sanding is also important because rough surfaces lead to uneven oil penetration. This will result in an oiled surface that’s patchy and blotchy with areas of different shades or tones. You don’t want this! It won’t look attractive at all. That’s why sanding first is so crucial for applying oil successfully to furniture like side tables, dressers, headboards, and more.
When it comes down to it, there are many types of wood finishes, but they can be broken into two categories: penetrating oils (like tung oil) and film finishing oils (like polyurethane). The former type requires prepping before application, whereas the latter doesn’t.
Use a tack cloth or old towel to remove all dust from the surface
After the sanding is done, you have to remove all dust from the surface of your furniture. There are several ways to do this, but the best way is with a tack cloth or an old towel.
Don’t use oil-based primer on oil finishes. They have oil in them, which will not allow the oil finish to adhere correctly and create peeling problems later down the road. You need an oil-free primer for use under oil finishes.
You have to remove all the dust because oil and oil-based products do not like dust. If there is any left on the surface, it will create bumps that you can feel under your hand once you apply oil to the wood furniture. The oil finish won’t adhere correctly and may cause peeling later down the road if this happens.
Apply an even coat of oil finish with either a brush or rag
Now, it’s time for oiling. You have to apply an oil finish to furniture in an even coat with either a brush or rag. Using your oil finish applicator, pour oil into the tray and spread it out evenly across the surface of the wood using smooth back-and-forth strokes. Applying oil finish is best done when you have good lighting so that you can clearly see what areas need more attention.
To do this correctly, you need to oil the surface of your furniture in long, smooth strokes. Avoid dabbing oil on with a rag because it will result in an uneven finish that’s more likely to crack or peel off later. You can even out any areas where oil under-laps by running the applicator back over them again perpendicular to the first pass.
As for how much oil you’ll actually use, this depends on what kind of wood is being finished and how big each piece is. However, if after applying an initial coat of oil finish to furniture there are still some dry spots left behind, don’t be afraid to reapply another thin layer until they’re gone!
After using up all your oil finishes, wipe away excess residue from both oiling and oil application with a clean cloth.
Allow the oil finish to dry before applying another layer
You must let the oil finish dry before adding another layer. Oil finishes dry by oil-soluble evaporation. The oil finish will be thin, but it is impossible to apply too much oil finish at once. It’s important not to let the oil stay wet for around 12 hours after applying the first coat of oil finish on your furniture project because this could cause puddling or streaking in some spots which are hard to fix if you have already applied a second layer of oil finish over them!
It makes sense that letting each layer dry before applying new layers would allow the oils to penetrate deeper into your wood surfaces, resulting in deeper color and better protection from wear and tear on your finished product. By allowing each successive coat of oil finish time to absorb completely, your oil finish will be much less likely to bubble or crease when you apply the next coat.
Repeat steps 3 and 4 until you have built up enough layers that you are satisfied with how it looks
You’ll have to repeat the applying and drying process three or four times to build up enough layers that you are satisfied with how it looks. It’s important to make sure there is oil left in the can before each new application because dry coats don’t look as good. You should also avoid brushing on too many thin coats because this will result in a weak oil finish that doesn’t look good.

Applying oil finish to furniture is a long process, but once you learn how to do it, you’ll realize it’s actually pretty simple. You’ll have to be patient and be careful with the type of oil you get. Sand the surfaces and clear all the dust, after which you have to apply the oil and wait until it dries. Repeat it three to four times, and you’ll see the amazing results!
