Do you take the gardening as a full-time job than just a hobby? Then a DIY gardening table is a big need for you for daily maintenance of your garden. No need to buy an expensive one from the market, just build a simple potting bench at home! You can build your own potting bench in a budget-friendly way using this DIY Potting Bench Plan that involves a handy manual wood construction. A potting bench provides a work surface where you can do quick garden pot fixes, even the transplanting.
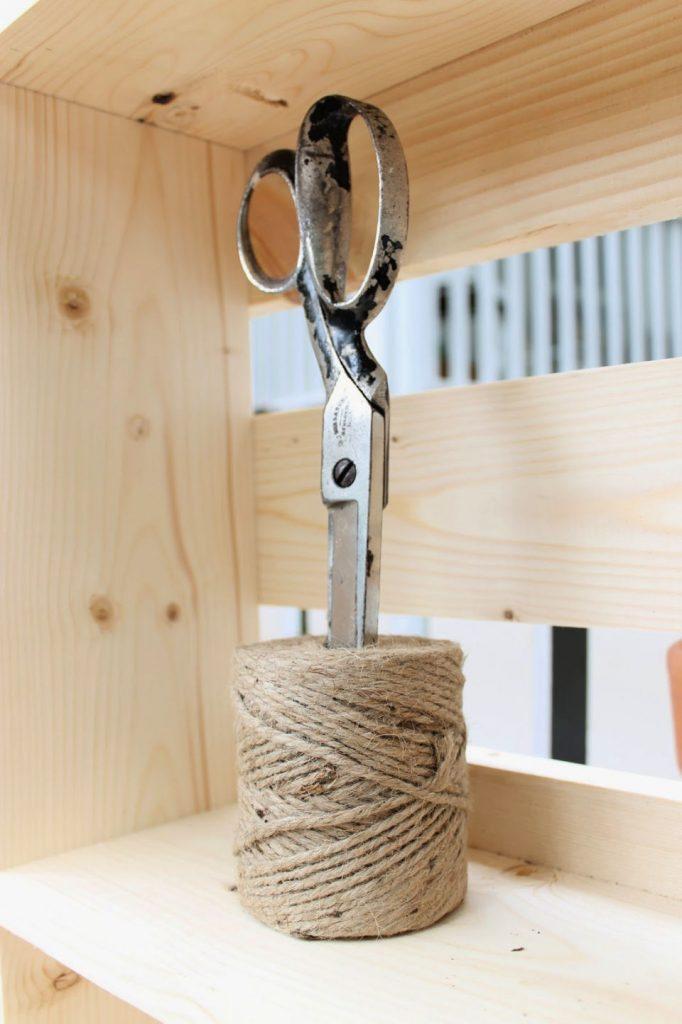
A storage-friendly design will allow you to organize your garden tools and supplies like the fertilizers, pot collection, and other plant seeds nicely. The provided plans will help to build a pro-style potting bench that will come with all the custom added features along with a high-end design. Raise this DIY garden potting table on wheels so it will be touch to move to either direction. Add up the raised back panel with custom hanging hooks and shelves, will allow to organize your tools and to display your pots.
The design you are going to build offers a fully functional raised back panel that is loaded with lovely display shelves, and with double-sided hook sections, it will allow easy tool management. It features a blank wooden appeal, but you can paint for a custom appeal that will compliment your garden look.
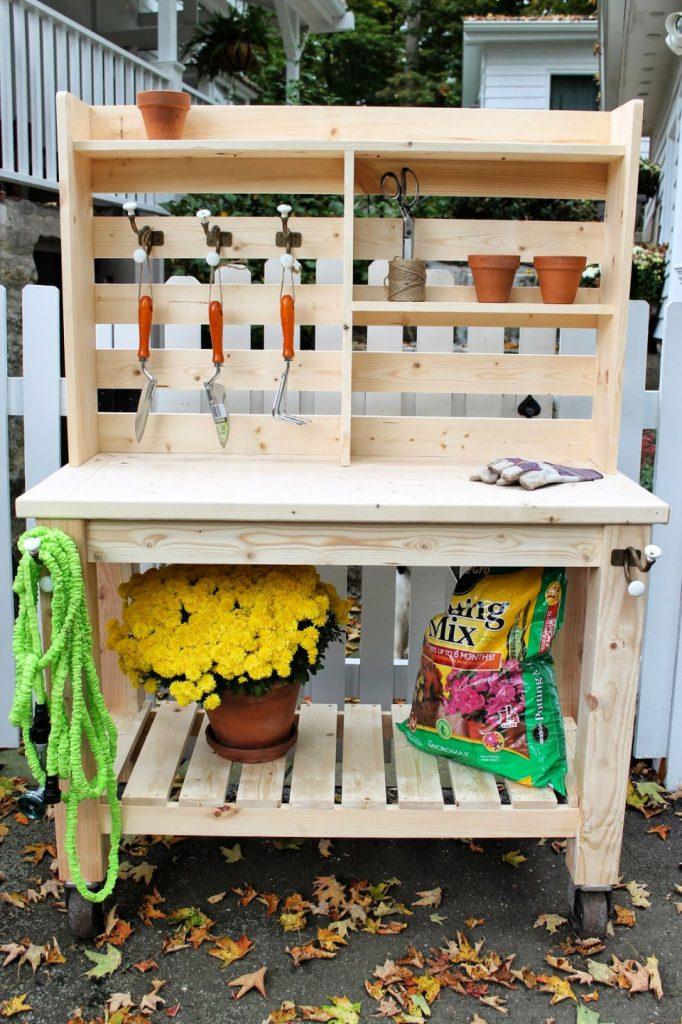
How To Build Your Own Garden Potting Bench?
Build this gorgeous DIY potting bench to give as a sweet handmade gift to an avid gardener. Next, construct it to give as a sweet birthday present too. The whole project is both beginner-friendly and budget-friendly, so go ahead without any hesitation. Follow the free guides to build it now.
A big thanks to Its Overflowing for this adorable potting bench plan that will be a big need of a garden lover. It comes with certain added features and details to be extra functional. It will make a great handmade gift for an avid gardener.
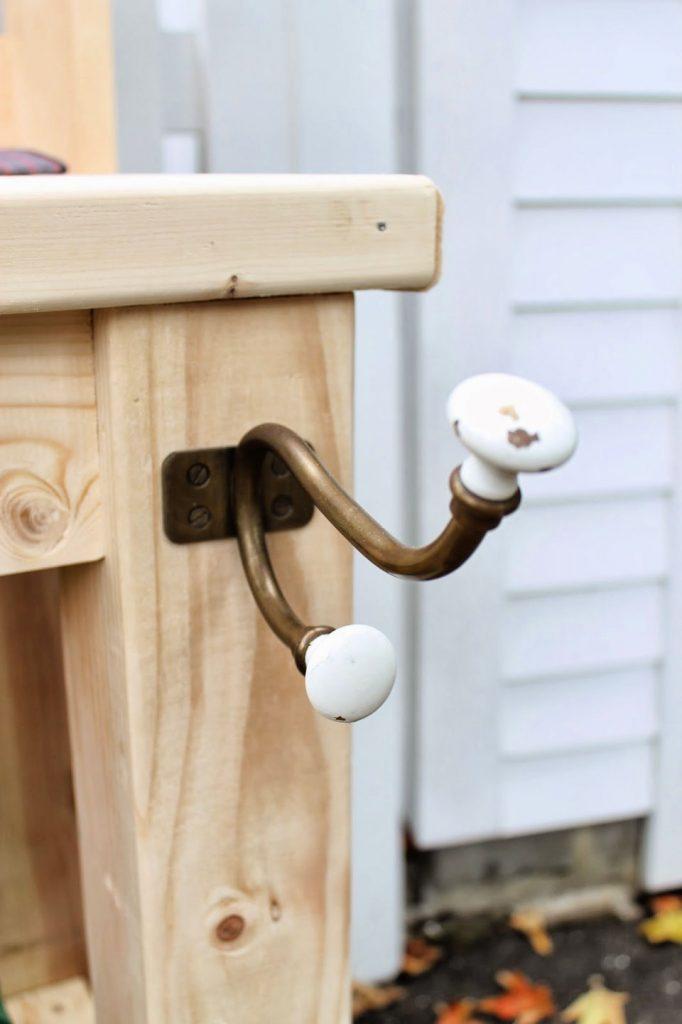
Add your potting bench design up with some hanging hooks so it will nicely hold your tools and other apparatus. Recycle a coat hanger from home trash store or get a one from the garage sale to gain some hanging hooks. Here double-sided hanging hooks have been obtained from an old coat hanger
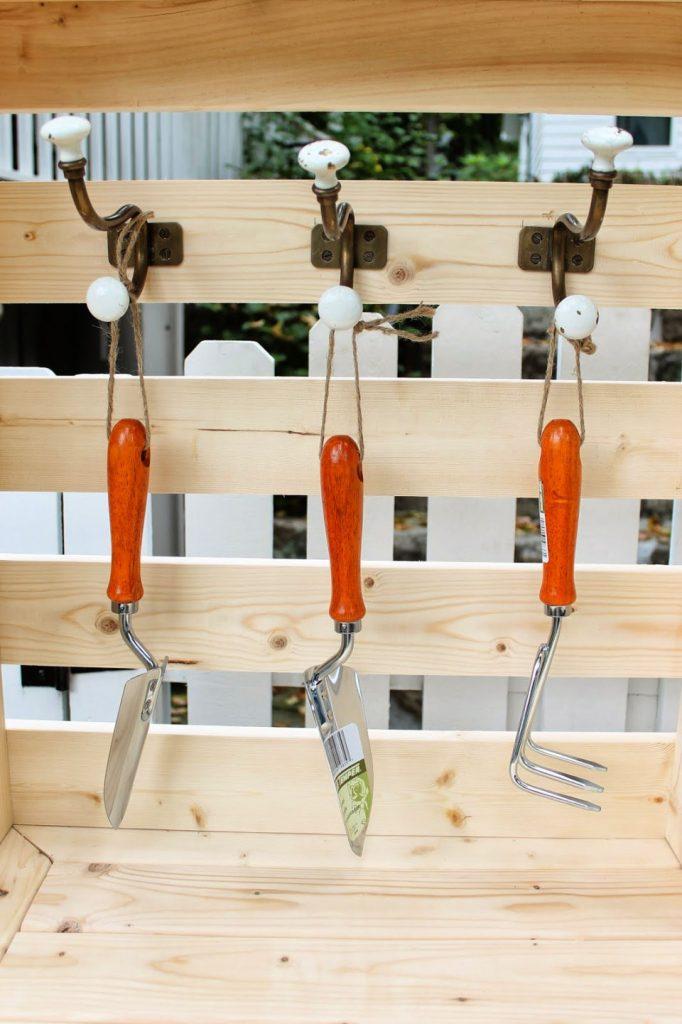
Add up the backsides of your garage tools with yarn or rope loops so they can nicely hang over the hooks. The whole DIY garden potting table will cost you much less and is a beginner-friendly project.
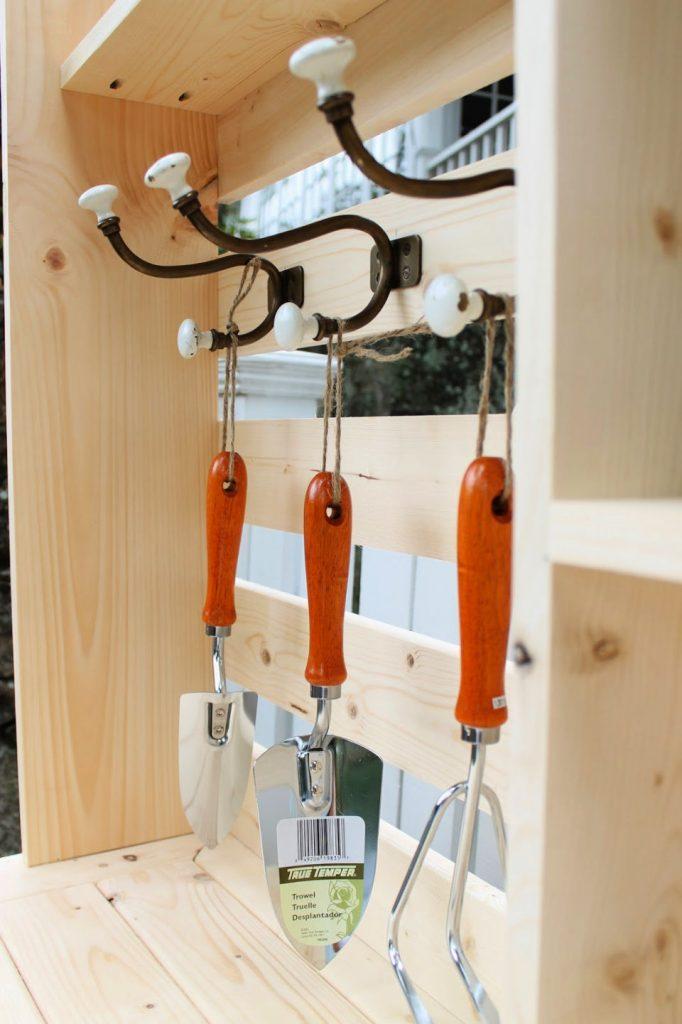
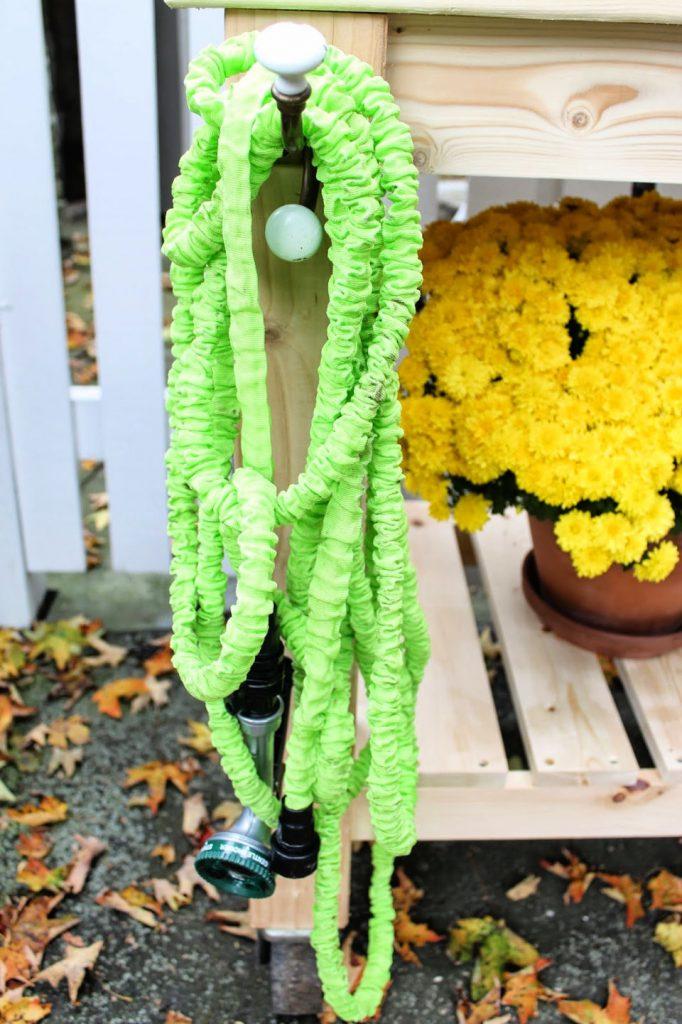
Fix a double-sided hook to one side of this DIY potting bench so it will nicely hold the shrink garden hose that can expand to the 50-foot garden house when in use. Just turn it off to get back in a shrunk pocket size, will be quite easy to loop together and hang over the hook.
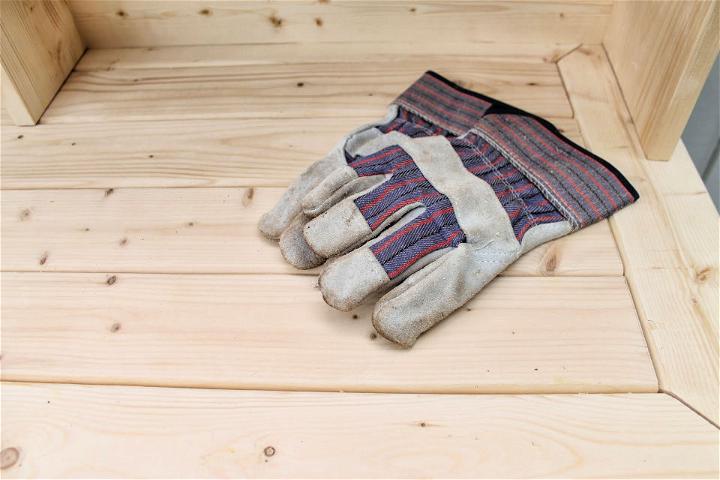
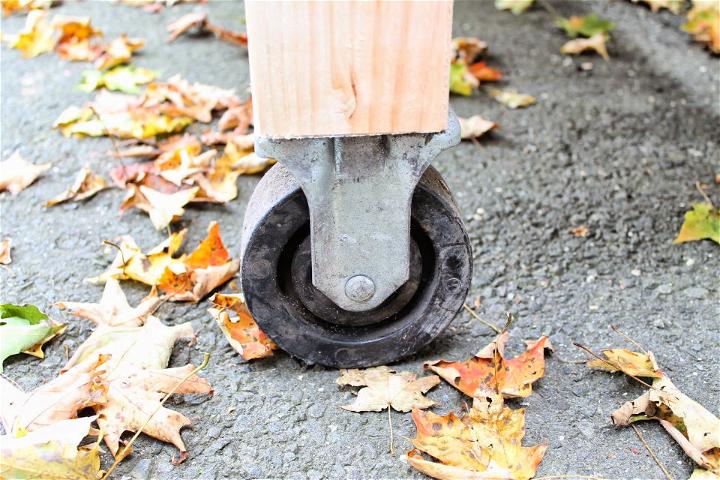
Another excellent garage sale addition is the metallic rolling casters. The owner Chris added them to the bottom side of the potting bench for easy dragging and pushing. However, you can take a visit to the garage sales too to get some more equipment and things that will help accessorize this potting bench more.
DIY Potting Bench Plan And Step by Step Instructions:
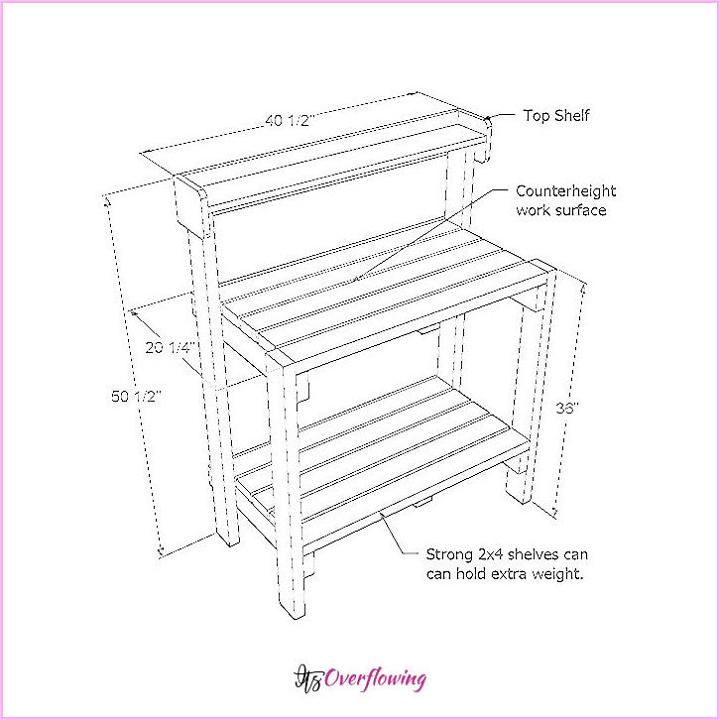
Shopping List:
- 1×4 – 8 pieces 8 feet long
- 1×4 – 2 pieces 10 feet long
- 2×4 – 4 pieces 8 feet long
- 1/2″ and 2″ – 2 exterior self-tapping screws
Strong Wood Glue and We like this (Gorilla Wood Glue)
Cut List:
- (2) 2×4 @ 61-1/2inch (for back legs)
- (2) – 2×4 @ 35-1/4inch (for front legs)
- (4) – 2×4 @ 22inch (for side aprons)
- (10) – 1×4 @ 39inch (for front aprons, short shelf boards, and back shelf)
- (10) – 1×4 @ 42inch (for shelf and backboards)
- (2) – 1×4 @ 24inch both ends cut at 45 degrees, long point to short point measurement (will be your cross supports)
Tools:
- Measuring tape
- Marker or Pencil
- Safety Glasses
- Ear Protection
- Drill
- Circular Saw
DIY Potting Bench Tutorial:
Step 1
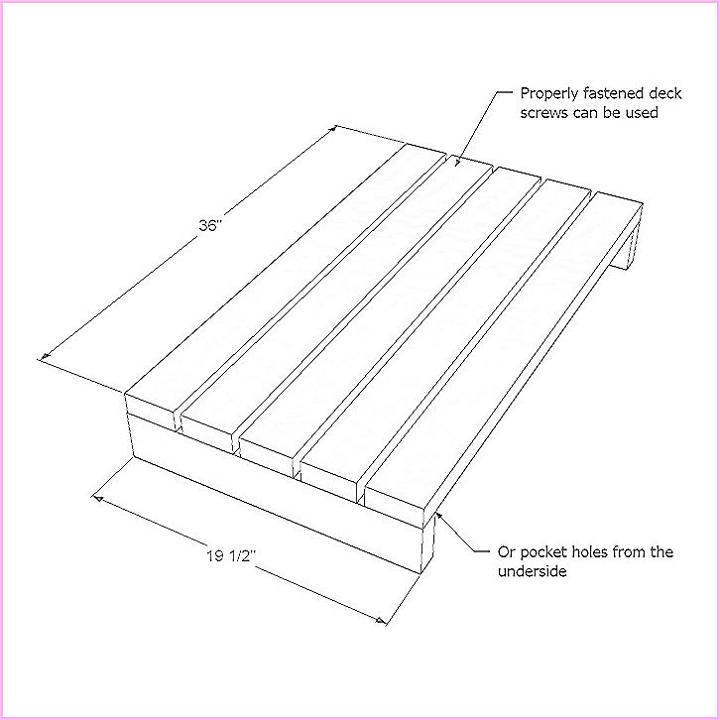
First, decide the height of the bottom shelf and the potting bench work surface. For the bottom shelf, mark the back legs at an 11-1/4″ and for the working surface, mark from the bottom of the back legs at 35-1/4″. Attach the 22″ long side aprons to back legs using the 2-1/2″ exterior self-tapping wood screws.
Mark at the 11-1/4″ from front legs and also mark front edge in 2-1/2″. Next, attach the other side of 22″ long side aprons to the front leg.
Step 2
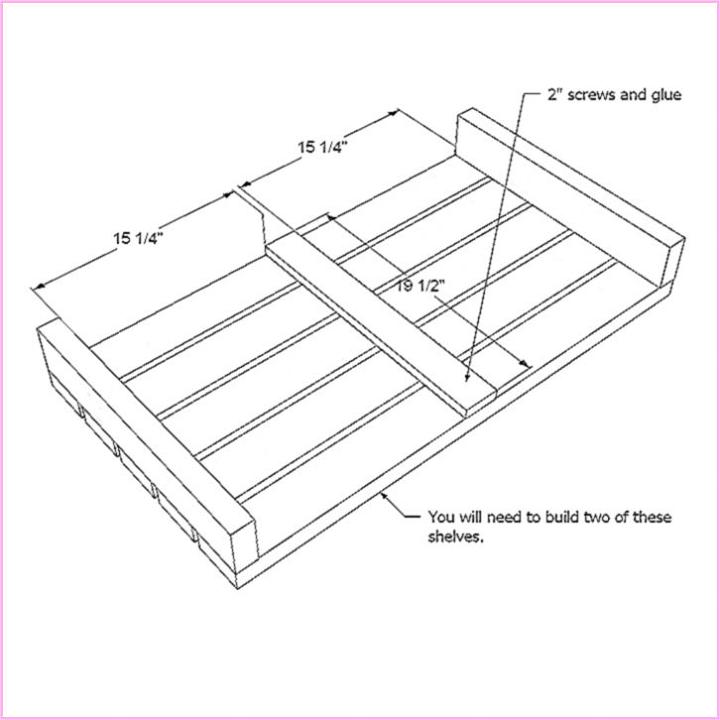
Go with the 2″ wood screws to attach the front aprons to side aprons. Use the strong glue for all your adhesive demands.
Step 3
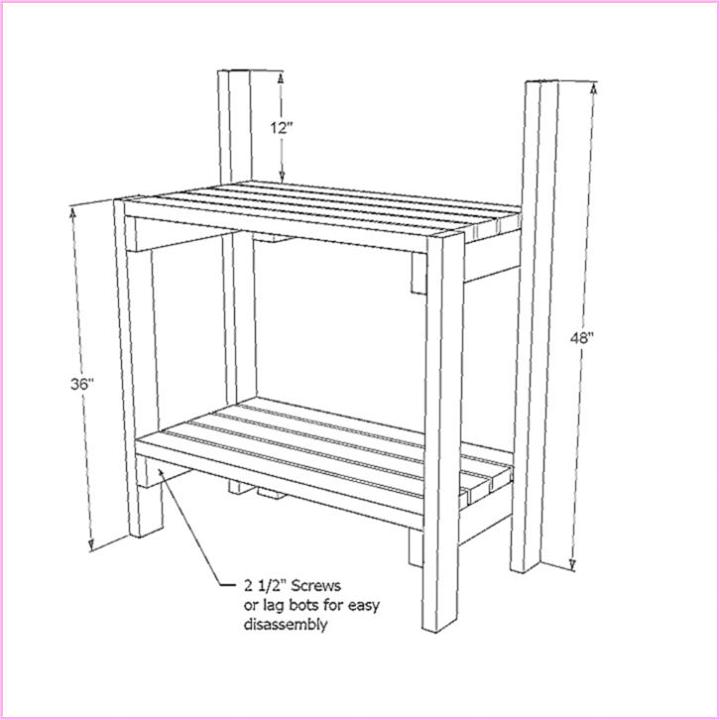
Next, head over to shelving. Complete the bottom shelf by covering the bottom shelf with slatted arrangements of shelving boards. Keep a little gap among the shelves like 1/2″. Secure each shelving board in place using 2″ exterior wood screws.
Repeat the same process with the top shelf and get it completed too super quickly.
Step 4
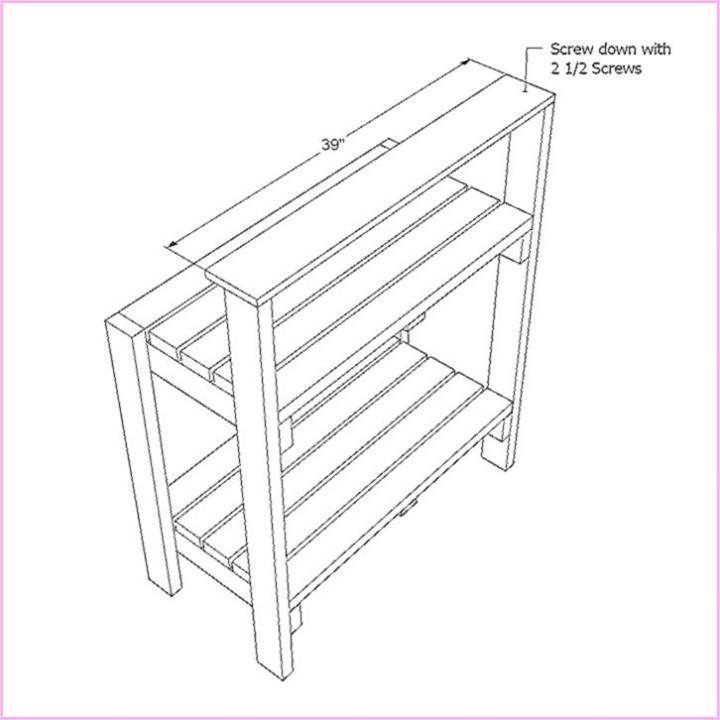
Support the frame of the potting bench more by installing the cross braces. Set them at a 45″ angle and align flat from the back legs to the top shelving back frame. Fix, these cross supports in place using the 2″ exterior wood screws again. Use the strong glue for adhesive demands.
Step 5
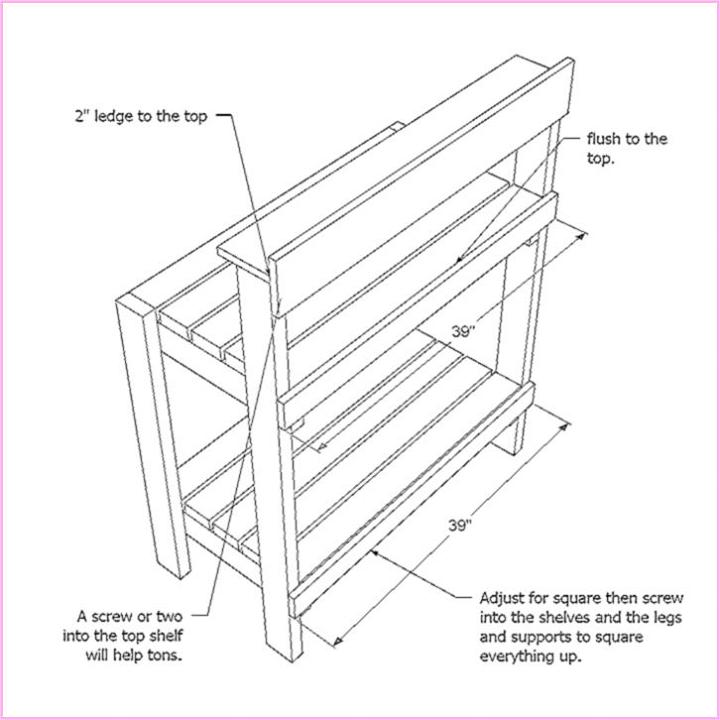
Fill up the back raised frame with by going with the same cross alignments of wood slats. Screw each cross board in place and repeat the equal gap among the slats for an outstanding visual. This step is also much like the same as filling the bottom and top-shelf solid with wood slats.
Step 6
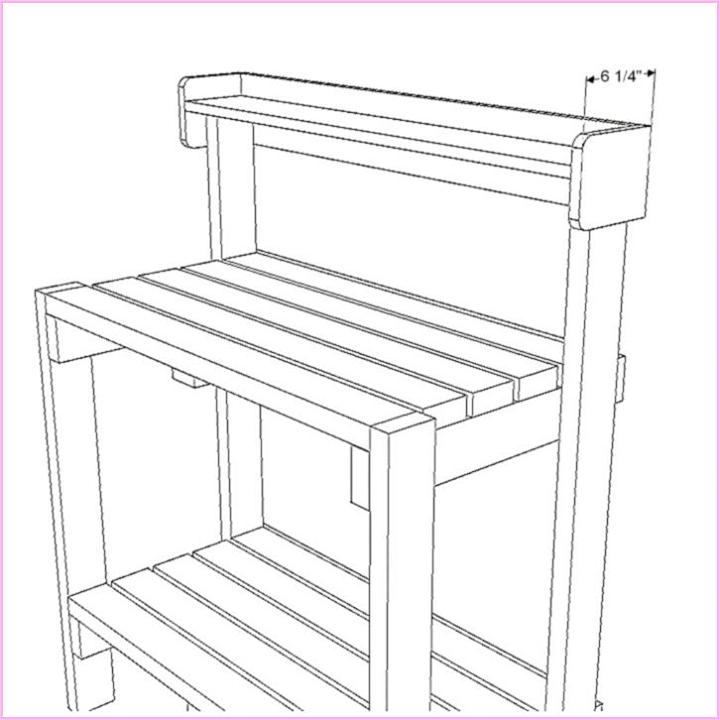
It is all about installing the top display shelf that fits the back slatted boards and back legs. Again use the 2″ wood exterior screws to hold the top shelf in place. Add the screws straight through the back legs to the shelf and from backboards to shelf.
If you’re tired of starting seeds on the kitchen counter, use these storage-friendly, free potting bench plans to build your own garden potting station!
Instructions for Preparation:
Don’t leave the holes empty, fill them up with the wood filler and let them dry thoroughly. For a more graceful appeal of the wood surfaces, give more coats of wood filler and don’t touch until they dry out completely.
Grab the 120 grit sandpaper and sand the wood in the direction of wood grains. Keep sanding to remove all splinters and to get a soft touch of wood.
Clean the sanding residue using a vacuum and also use a damp cloth to clean the wooden surfaces more. Checkout the better color evenness and adhesion by applying a test coat on a hidden area or portion.
Get the elegant look of the DIY potting bench using the primer and wood conditioner coats.
The finished size of this potting bench is 42″ wide, 23 1/2″ deep, and 61 1/2″ tall.
