DIY (do it yourself) projects are great for people who like to make things themselves without hiring professionals. When you make items yourself, you can incorporate your style and save money. Whether you are aiming for efficiency, decoration, or both, there are many materials that you can use to create your designs and styles. Pick a few of these ideas and see how you can incorporate them into your next DIY project.
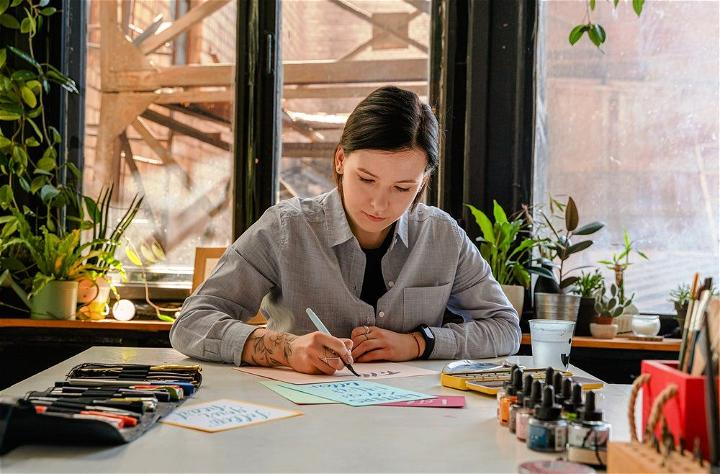
6 DIY Project Ideas
If you want to become more creative in your everyday life, you should consider trying some DIY (do it yourself) projects. You can use many materials to create unique designs and styles, including wood, metal, fabrics, paper, and more. Here are six cool DIY projects that you will want to try:
1. Use Leather To Create Leather Projects
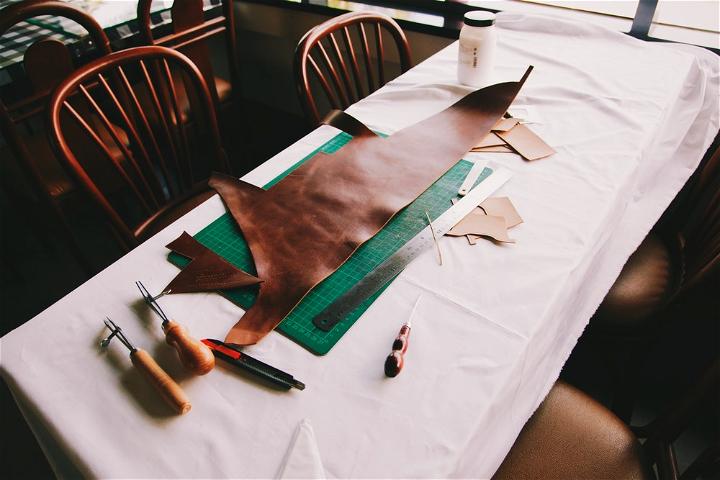
Leather is a popular material that you can use for your DIY projects. There are many ways to cut and work with leather when you have the needed tools and there are several stunning Cricut leather projects like bags, wallets, or keyholders that you can choose from. These DIY projects are very practical and fun but also lucrative. Making your wallets or bags can be valuable, and it will cost you less than $5 (plus or minus depending on the quality of leather).
For this project, all you need is 1 yard of sturdy leather (or two if they’re small), a sharp utility knife, paper, ruler/straight-edge, pen/pencil, and rubber cement. If you use a big-box leather store for your project, the only tool you’ll need is a utility knife. You can get these supplies from any craft or fabric store, and they have all kinds of tools to assist with the process. You will learn how to make a leather wallet or keyholder in 10 minutes through this tutorial. Even if it’s your first time using a utility knife, by following these easy steps, you should be able to complete this project in 10 minutes or less.
2. Hanging Planters
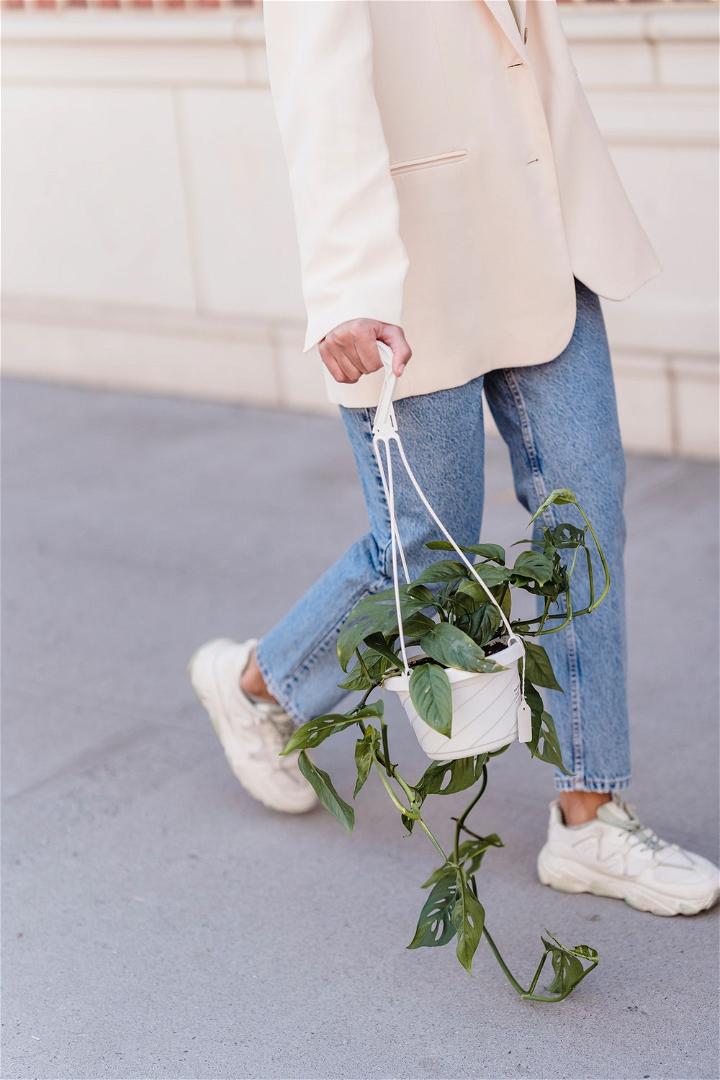
Now try using a different material besides wood: metal pipes. These will create a perfect framework for hanging planters that would look great in any room or office where you want to add some greenery without taking up valuable floor space. You can buy large decorative pots at any retail store or online, then attach them by drilling each one into the next one’s “mouth.” Afterward, hang them on metal loops attached to sturdy hooks on walls or ceilings. A word of advice if you don’t want dirt and mud all over your floor: drill small holes into the bottom of each pot, then fill with pebbles and soil before you start planting.
3. Create Your Own Wall Art/Decorations
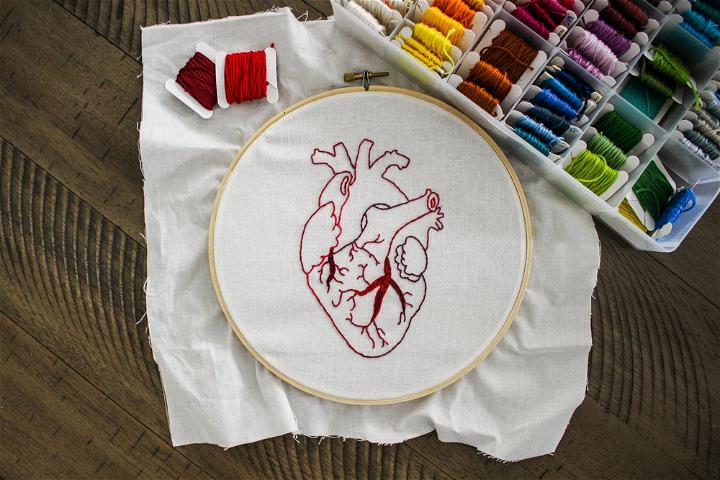
If you want to create your wall art or decorations, several DIY projects will complete this task. All you need is a creative mind, an empty frame, and a few images of your choice (old magazines work just as well). To start the process, all you have to do is find a frame that fits the image you want. Draw around it on wax paper, then cut it out with scissors. Depending on your preference, you can either glue the photos onto the glass surface or use another adhesive. Add finishing touches by sticking on some old movie ticket stubs or magazine clippings, then hang up for all to see.
4. Make Your Own Peppermint Toothpaste
Did you know that your favorite toothpaste could contain harmful chemicals like triclosan, saccharin, or artificial sweeteners? It can be costly compared to a much healthier alternative made with peppermint and coconut oil. Here’s what you need: 1/2 tablespoon of baking soda, five drops of peppermint essential oil, ten drops of tea tree oil, two tablespoons of virgin organic coconut oil. The process is simple: Mix all the ingredients well in a small bowl, transfer this mixture into an empty toothpaste tube, then store the rest in the fridge for future use. This homemade tooth will give you fresh breath and strong teeth while making your wallet happy.
5. Create Your Candles
If you enjoy candles but not the price tag, this DIY project is perfect for you. All you need is some beeswax (you can find it in most craft stores), molds of any shape and size, a wick, measuring cup, pot, and spoon for melting the wax, scent, or essential oil. You’ll want to start by filling your pot with water, then putting it on the stove and turning the heat to medium so it will begin boiling. Put a small amount of water into your measuring cup and place it inside the molds of your choice. Add the beeswax pellets once there is no more steam coming from the boiling water. Wait for the wax to melt, then stir in your favorite scent or essential oil. Place the wick inside each mold before pouring in the melted wax. Let it cool for at least an hour and you’re good to go.
6. Make Your Makeup Brush
This is an excellent project if you are looking to learn how to do makeup or simply trying out a new style and want some high-quality, natural brushes that will give excellent results. All you need is one small pot, water, plunger (the kind with holes on top), and bristles (it’s best to use badger hair). The process is relatively simple: First, place the brushes into boiling water for 10 minutes, take them out and let them dry completely. The next step is to fill the pot with bristles and add water until you see it touching the top of the strands. Use your plunger to press down on the brush, then turn around and lift slowly. Afterward, remove excess water from both sides by squeezing, then set aside for 24 hours to dry (this process can be sped up if placed in front of a fan).
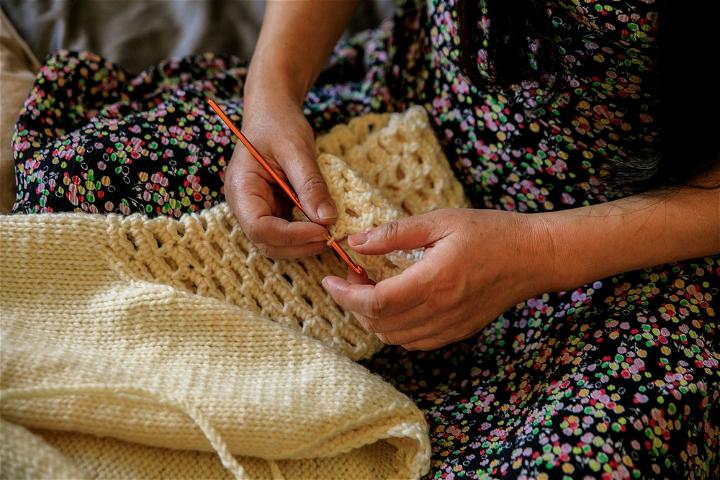
All this shows that you don’t need to buy everything new because there are so many great DIY project ideas, which are easy to follow and yield great results. Most of these ideas are incredibly useful, so be sure to try them out for your home. After all, they can’t do any harm. So, don’t just sit there – pick up your tools and get working on something special.
