Making a DIY stylus for your touchscreen devices can be both a rewarding and cost-effective project. By utilizing simple items such as old pens and Q-tips, you can craft a tool that enhances your swiping and typing precision. This approach not only saves money but also customizes the experience to suit your unique preferences, providing a touch of personality to your tech accessories.
Making your own stylus at home isn’t just about the savings; it’s an opportunity to engage in an eco-friendly practice that repurposes readily available materials. With a focus on ease and functionality, our guide will lead you through the process of making a homemade stylus that is both effective and gentle on your screens. Keep reading to learn how to assemble and personalize your very own stylus in just a few simple steps.
Why Make Your Own DIY Stylus?
Making your own DIY stylus is not just a fun project, but it comes with a number of practical benefits. Here’s why you should consider making your own:
- Cost-Effective: Purchasing a stylus from the store can often be expensive. DIY styluses require minimal, inexpensive materials that you may already have at home, saving you money.
- Customizable: When you make your own stylus, you can tailor its size, shape, and weight to fit your personal preferences. This ensures comfort and ease of use, which is not always guaranteed with commercial options.
- Quick Fixes: If you lose or damage your store-bought stylus, a homemade version can be created in a matter of minutes. This is a quick and convenient solution, especially if you rely heavily on a stylus for your touchscreen devices.
- Eco-Friendly: By repurposing old materials such as pens or antennas, you’re giving them a new life and reducing waste. It’s an eco-friendly approach that benefits the environment.
- Easy to Replace: If your DIY stylus wears out or gets lost, it’s simple and inexpensive to make another. No need to worry about costly replacements or waiting for delivery of a new one.
- Learning Opportunity: The process of making your own stylus can be educational. It’s a chance to understand how touchscreens and conductivity work, which can be especially beneficial for children or tech enthusiasts.
Remember, a DIY stylus is not only a creative and resourceful solution but also a personal tool that reflects your needs and style. With these advantages, why not give it a try?
How to Make Your Own DIY Stylus
Making your own DIY stylus is a fun, cost-effective way to improve your touchscreen experience on devices like smartphones and tablets. Below is a straightforward guide to making a simple stylus using common household items.
Materials You’ll Need:
- An old pen or a metallic-bodied pen
- A Q-tip (cotton swab)
- Aluminum foil
- Scissors
- Tape
- Water (optional)
Step-by-Step Guide:
Step 1: Prepare the Pen
- Find an pen: Look for a pen with a metallic, as it conducts electricity which is necessary for the styl work a touchscreen.
- Remove the ink: Disassemble the pen and remove the tube. You’ll only need the outer shell.
Step 2: Prepare the Stylus
- Trim the Q-tip: Cut the cotton swab at one end to about a quarter of its original size. This will be the tip that interacts with your touchscreen.
- Moisten the cotton: Dip the cotton tip in water and squeeze out any. This step optional but helps with conductivity.
Step : Attach the Tip to Pen
Insert the Q: Place the trimmed-tip into the narrow end of the pen where ballpoint to be.
- Secure tape: a small piece of tape to secure the Q in place if necessary.
Step 4: Enhance Conductivity withil
- Cut foil: Take a piece of aluminum foil and cut it to a size that can wrap around the pen’s body.
- Wrap the pen: Carefully wrap the foil around the body of the pen. Ensure it covers the area’ll be while using stylus.
- Secure with tape: Use tape to hold the foil in place. This also prevents the foil from tearing with use.
Step 5: Your Stylus
- Conduct a test: Use your new stylus to navigate your touchscreen device. If it’s not working well, ensure the foil is securely wrapped and the Q-tip is slightly moist.
Step 6: Customize (Optional)
-Personalize your stylus**: Feel free to add personal touches to your stylus, as decorative tape,, or markers to make it.
Tips for Best Use:
- Keep the tip clean: To avoid your screen, the cotton tip is free debris.
- Replace the tip as needed: Over, the cotton tip may wear out. Replace it with a new Q-tip to maintain performance.
- Avoid excessive moisture: Too much water can damage your device’s screen. Only dampen the cotton tip slightly if you choose to use water.
Troubleshooting:
- Stylus not working: Make sure your hands are in contact with the aluminum foil using the stylus, as this completes the circuit.
- Scratches on the screen: Ensure the cotton tip is soft and moist, and check for any exposed edges that might cause scratches.
By following these steps, you can enjoy a DIY stylus that’s both functional and personalized. Whether you’re drawing, taking notes or simply navigating your device, a homemade stylus can be a reliable tool that saves you money and reduces waste
FAQs About DIY Stylus Creation
Discover answers to commonly asked questions about creating your own DIY stylus in this informative FAQ.
What materials do I need to make a DIY stylus?
To make a DIY stylus, you will typically need:
- An old pen with a metallic body (for conductivity)
- A Q-tip or cotton swab
- Aluminum foil
- Scissors
- Tape
- Water (optional for moistening the cotton tip)
How does a homemade stylus work on a touchscreen?
A homemade stylus works by conducting a small amount of electricity from your hand to the touchscreen. The metallic body of the pen and the aluminum foil help in conducting the electric charge, while the moist Q-tip mimics the touch of a finger.
Can I use any pen to make a DIY stylus?
For the best results, use a pen with a metallic body because it conducts electricity. Plastic pens may not work unless they are modified to include a conductive material.
How do I ensure my DIY stylus won’t scratch my screen?
Make sure the tip of your stylus, the Q-tip, is soft and moist (not dripping wet). Also, there should be no sharp edges or exposed materials that could potentially scratch the screen.
Is it necessary to wet the Q-tip when making a stylus?
It’s optional but recommended to lightly moisten the Q-tip. This helps improve conductivity and makes the stylus tip glide smoothly over the touchscreen.
How can I personalize my DIY stylus?
Personalize your stylus by:
- Adding decorative tape or wrapping to the pen body
- Using colored markers to make designs
- Attaching charms or beads for a unique look
What should I do if my DIY stylus is not working properly?
If your stylus isn’t working:
- Ensure your hand is in contact with the aluminum foil while using it.
- Check that the foil is securely wrapped around the pen.
- Make sure the Q-tip is slightly moist.
How often should I replace the tip of my homemade stylus?
Replace the cotton tip whenever it wears out or becomes dirty. Regular replacement will maintain the performance and prevent screen smudges.
Will a DIY stylus work with all capacitive touchscreens?
Most DIY styluses should work with capacitive touchscreens as they mimic the electrical conductivity of your finger. However, performance may vary based on the materials used and the accuracy of your assembly.
Is it more cost-effective to make a DIY stylus rather than buying one?
Yes, making your own stylus is generally more cost-effective. It makes use of materials that are often found at home, saving you from the expense of purchasing a commercial stylus.
10 Easy DIY Stylus
Discover 10 simple and fun DIY stylus ideas that you can easily make yourself. Get creative and enhance your touchscreen experience with these easy-to-follow tutorials.
1. DIY Stylus for Your iPhone 6
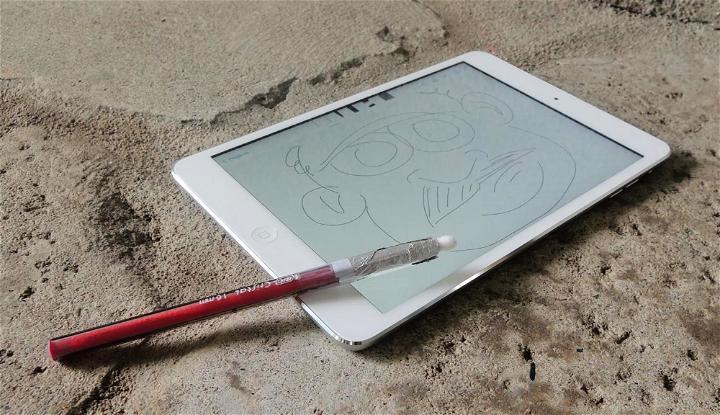
Transform your iPhone 6 or 6 Plus into a smudge-free zone with a homemade stylus crafted from everyday items! Gadget Hacks guides you through an easy DIY project to make a functional stylus using a Q-Tip, a pen, aluminum foil, and a few other simple supplies. Perfect for browsing, snapping creative photos, or painting on apps, this cost-effective tool enhances your touchscreen experience.
This engaging tutorial ensures your device stays clean, even if you’re a messy eater, and promises an instructive and helpful approach for an enjoyable crafting session. Keep your screens clear and your drawings precise with this clever hack.
2. Make a Capacitive Stylus out of Everyday Objects
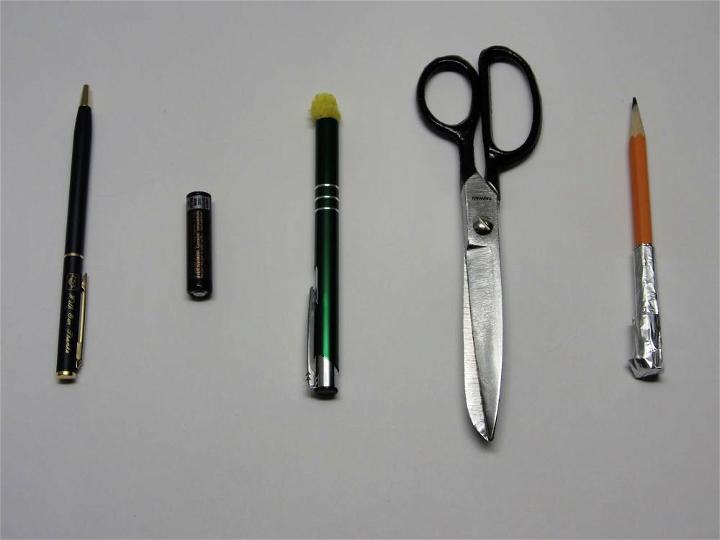
Need a capacitive stylus for your touchscreen device but not keen on spending extra cash? With a few household items, you can easily make your own. Make: DIY Projects and Ideas for Makers guides you through crafting a homemade stylus that meets key requirements—conductivity, appropriate width, a flat end, and a smooth surface.
This DIY solution is not only cost-effective but also customizable to your preferences. By following these simple instructions, you’ll have a functional, screen-safe stylus in no time, enhancing your touchscreen experience with a personal touch. Make Zine
3. Make Your Own Homemade Stylus
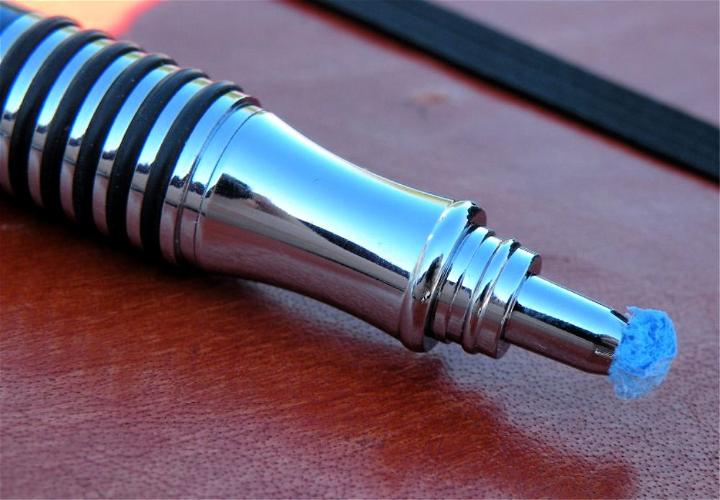
Make your own capacitive stylus at home with a few simple tools and materials. Slashdigit‘s guide offers easy-to-follow instructions that will have you interacting with your touchscreen devices with greater precision. From using everyday items like foil and cotton swabs to more unique materials like conductive foam, these DIY methods are both affordable and effective.
No need to spend on pricey accessories when you can craft a functional stylus that’s tailored to your needs. Perfect for drawing, note-taking, or just navigating your device, this DIY project is engaging and practical for anyone looking to enhance their touchscreen experience.
4. How to Make a Stylus Using Any Pen
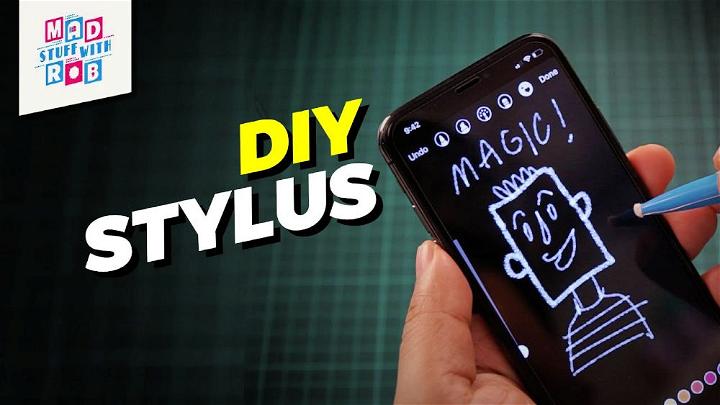
Making a stylus at home is a practical and inventive way to interact with your touchscreen devices. Mad Stuff With Rob’s tutorial on YouTube guides viewers through the process of transforming an ordinary pen or pencil into a functional stylus in under five minutes. This do-it-yourself approach is not only a fun project but also a cost-effective alternative to purchasing a new stylus.
The video is easy to follow and packed with helpful tips, ensuring that even those new to crafting can successfully complete the project. Engage with your digital art or note-taking with a homemade tool that’s both personalized and efficient.
5. Simple DIY Stylus
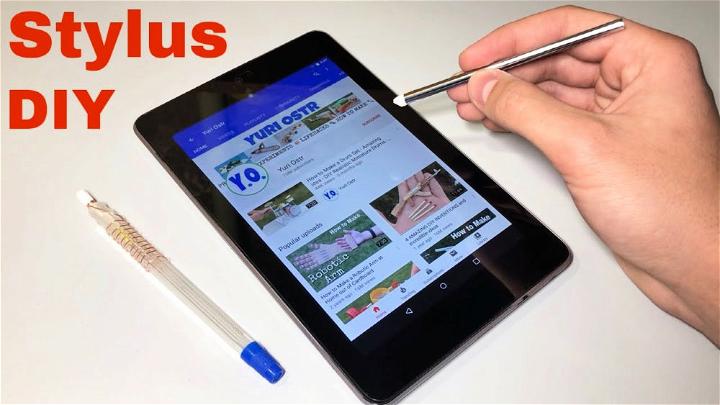
Discover a simple and engaging way to make your own stylus with materials readily available at home. This YouTube tutorial guides you through two unique methods to fashion a DIY touch pen, perfect for your touchscreen devices. The video is clear, concise, and perfect for anyone looking to craft a homemade stylus without spending a fortune.
Ideal for quick note-taking, sketching, or just navigating your device with precision, these stylus-making techniques are straightforward and easy to follow. Dive into the video for a fun and practical project, and enhance your touchscreen experience with a stylus that’s uniquely yours. Remember to keep your crafting process simple, and you’ll soon have a functional stylus at your fingertips.
6. Easy DIY iPad Stylus Pen
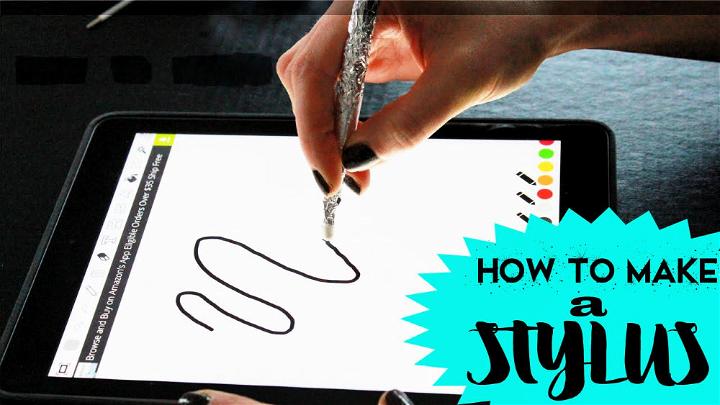
Learn how to make your own iPad stylus pen with this easy-to-follow YouTube tutorial. In this guide, you’ll learn to craft a functional stylus in less than a minute using simple household items like a pen, foil, a Q-tip, tape, and water. The video provides step-by-step instructions that are perfect for anyone who needs a quick and cost-effective alternative to a store-bought stylus.
Whether you need to sketch, take notes, or simply navigate your iPad, this homemade solution is surprisingly effective. Watch the tutorial on YouTube and enjoy the convenience of your DIY iPad stylus pen.
7. DIY Long Lasting Stylus Pen
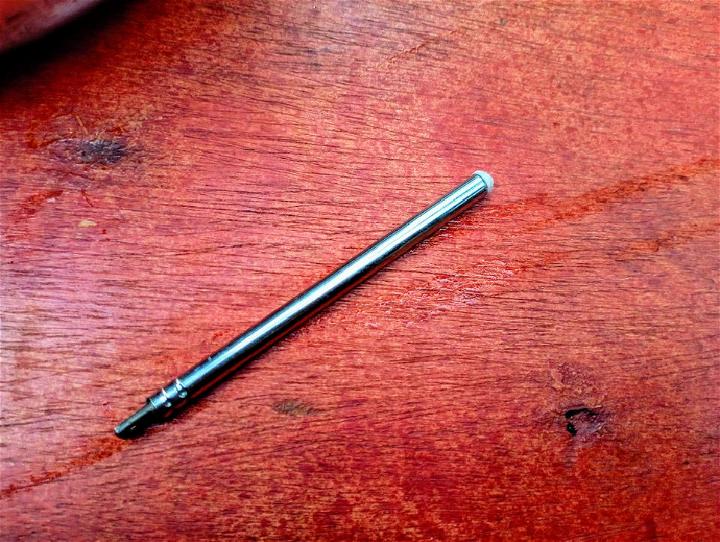
Make your own long-lasting DIY stylus pen with this simple and effective guide from Instructables. Ideal for those who need precision on small screens, this homemade stylus is perfect for drawing, animation, or just navigating with more accuracy.
Learn to repurpose an old radio antenna and use basic household items like cotton wool and water to assemble a cost-effective tool that enhances your touchscreen experience. Follow these easy steps to craft a stylus that’s not only easy to handle but remains moist for days, ensuring smooth, uninterrupted use.
8. Touch Screen Pen for all Phones
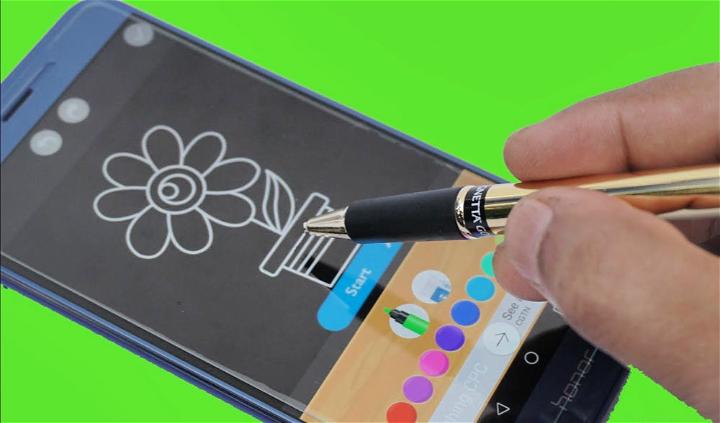
Making your own touch screen stylus pen for phones or tablets can be a fun and practical project. If you’ve ever found yourself in need of a stylus but didn’t want to spend extra money, this YouTube guide by Creative Etc. offers an easy solution. Learn how to craft a homemade stylus using simple materials like a metal-bodied pen and cotton.
For improved conductivity, remember to moisten the cotton tip slightly. This DIY approach not only saves money but also allows you to personalize your stylus to fit your style and needs. Get ready to enhance your touchscreen experience with a stylus that’s uniquely yours.
9. Make DIY Stylus for Android At Home
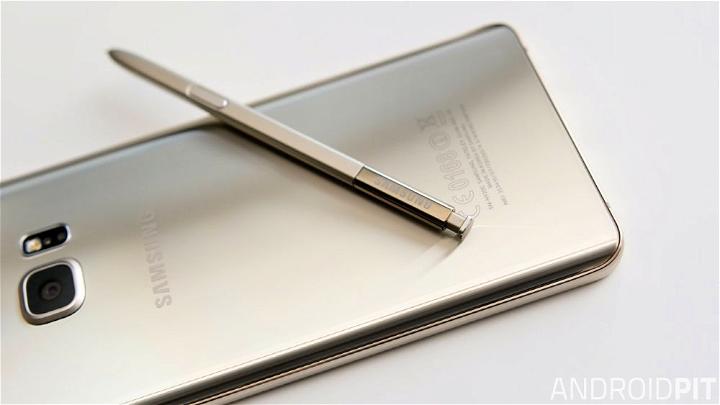
Making your own stylus for Android devices at home is a fun and practical project. In this engaging YouTube tutorial, Siddhesh Parab guides viewers through the process using common household items. The video is perfect for those who enjoy DIY crafts or need a quick solution for a lost or broken stylus.
With clear instructions and a step-by-step approach, the tutorial makes it easy to craft a functional and stylish stylus. It’s an excellent resource for anyone who wants to add a personal touch to their device without spending much. So grab a pen, some aluminum foil, and an earbud, and get ready to make a handy tool that will let you navigate your Android with ease and precision.
10. Capacitive Styluses for Drawing
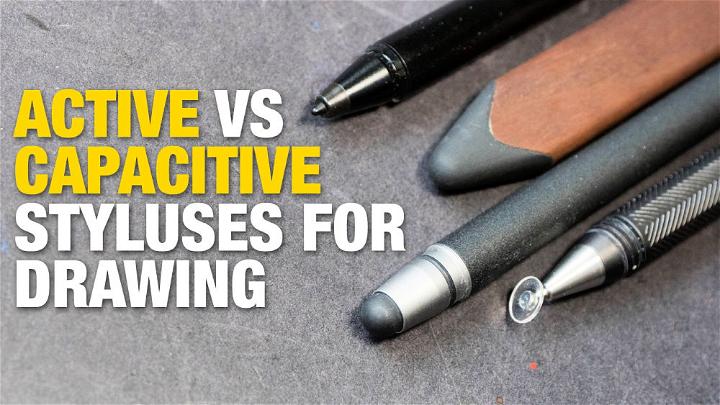
If you’re delving into the world of digital art, selecting the right stylus for your tablet is crucial. The YouTube video “Active vs Capacitive Styluses for Drawing” offers an in-depth comparison to help artists understand the nuances between these two types of styluses. Capacitive styluses are versatile and work across various touchscreens, mimicking the touch of a finger.
Active styluses, on the other hand, are designed to interact with specific tablets, offering features like pressure sensitivity and palm rejection that can significantly enhance drawing precision. Watch the video to see demonstrations, learn about the pros and cons of each stylus type, and make an informed decision that best suits your artistic needs. With clear explanations and practical tips, YouTube becomes an invaluable resource for artists navigating the ever-evolving landscape of digital drawing tools.
Conclusion:
In conclusion, making a DIY stylus is not only a smart way to save money, but it’s also an enjoyable project that enhances your touch screen experience. Our guide to “10 easy DIY stylus anyone can make in few minutes” provides you with innovative ideas to create your own stylus using simple, everyday materials. Ideal for precise text selection, drawing, and keeping your screens clean, these DIY solutions are perfect for tech enthusiasts and casual users alike. With easy-to-follow steps, you’ll be able to fashion a personal stylus that’s both effective and uniquely suited to your needs. So why not give it a try and add a personal touch to your digital interactions?
