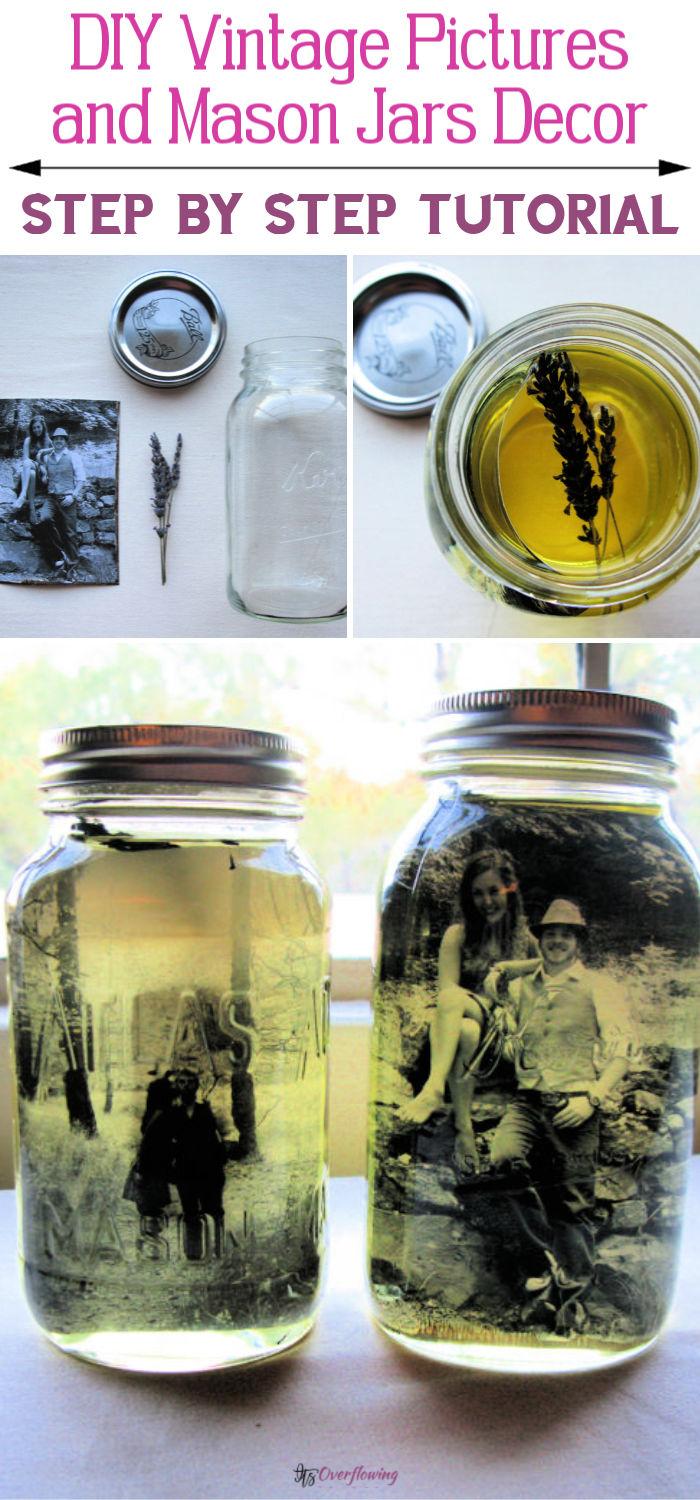
Do you have a heart for vintage decor, and DIYing is your forte? Then this DIY vintage pictures and mason jar decor is going to be your personal favorite! I can imagine all the ideas rummaging you must have to go through every year on your engagement or wedding anniversary or even coming up with a heartfelt V-day gift. I have been going through the same load of brainstorming for figuring out the flawless and best wedding anniversary gift for our big day! While we had both decided to have a beautiful, intimate dinner at home this year! My main focus was on finding something meaningful yet perfect for a center table decor. And, so I was searching and landing at many ideas!
From a lovely fruit basket kind of vase to a customized flower vase, I finally came across this vintage mason jar! It was like the most amazing and heartfelt DIY mason jar décor I have ever seen, I guess. And I can bet you will feel the same way. What better way to celebrate your anniversary reliving through the best memory of your big day?
Hence, for me, this DIY vintage picture and mason jar décor spoke for itself. All I had to do was find our favorite picture, which by one look, gave us both the same #feels. Next, on my list, was, of course, coming up with a romantic dinner menu. Anyhow, let me walk you through this DIY picture frame beauty, which has these different antique angles to boost off.
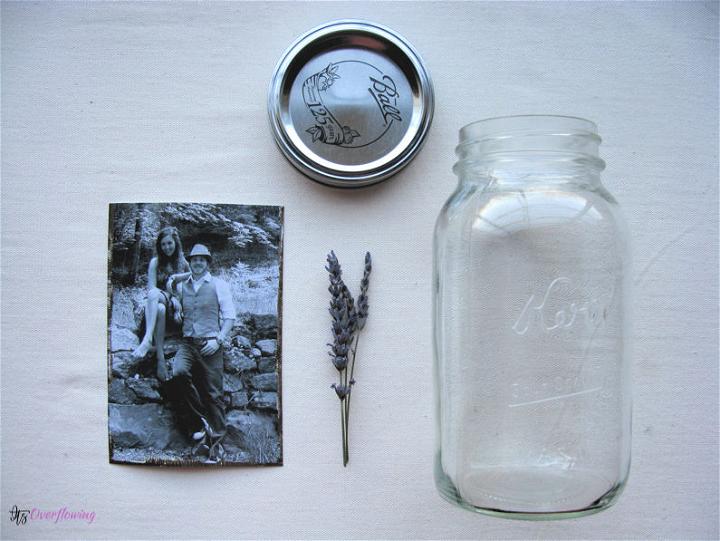
First, let me walk you through the simple supplies you need.
- Mason jars with lids (I opted for a combination of vintage and new mason jars)
- A printed black and white picture in 4 X 6 dimensions, also trimmed to fit in perfectly.
- Some vegetable oil (The Golden Ingredient)
- And, dried flowers (these are optional)
Now, let’s go whip up this beautiful mason jar décor for a darling centerpiece, step-by-step.
- Once you have selected your favorite picture, now get it printed (if you haven’t already). Trim it as per the size of your mason jar, so it fits in perfectly. Ideally, the size would be something like 4 x 6.
- Put the picture inside the mason jar. If it fits perfectly, starts pouring the vegetable oil and stop when the picture is completely soaked into it.

3. Now, at the backside of the picture, not to leave the mason jar looking all emptied. Let’s put in some dried flowers. I chose to go with lavender, an extra lovely odor addition to my centerpiece.
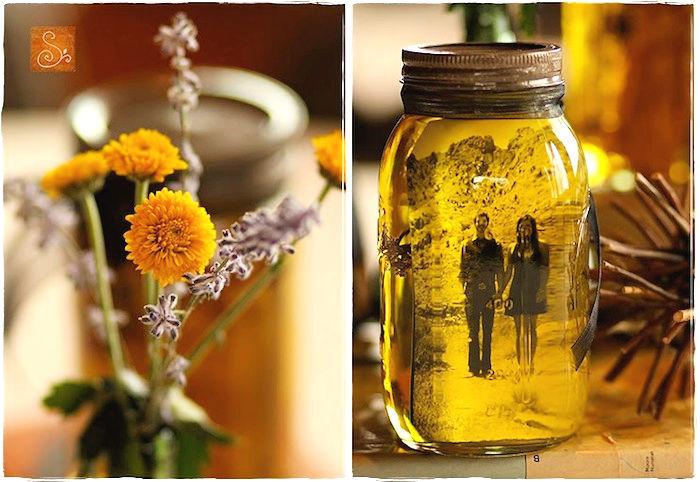
4. Once the flower and the picture are all inside and soaked completely in the vegetable oil, close the lid tightly. The benefit of using vegetable oil (our Golden ingredient) is twofold. It keeps the picture suspended in the mason jar without penetrating it. Secondly, it gives the flawless DIY vintage picture look by adding a slight transparent and yellow appeal! A favorite hello from the past, indeed.


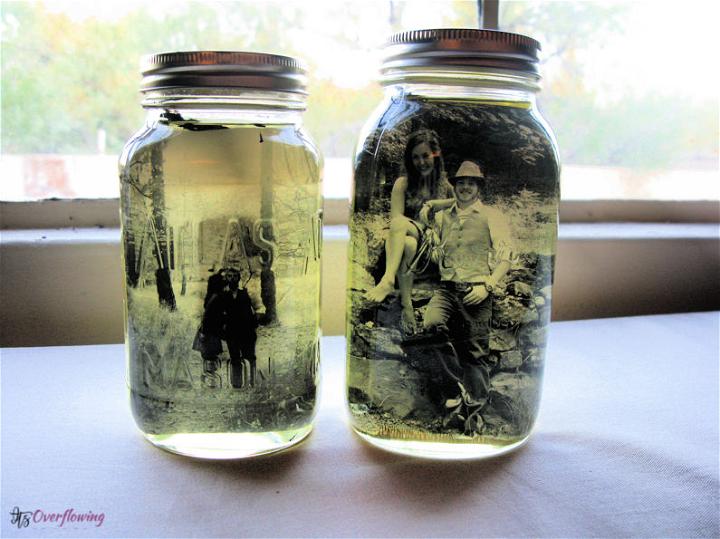
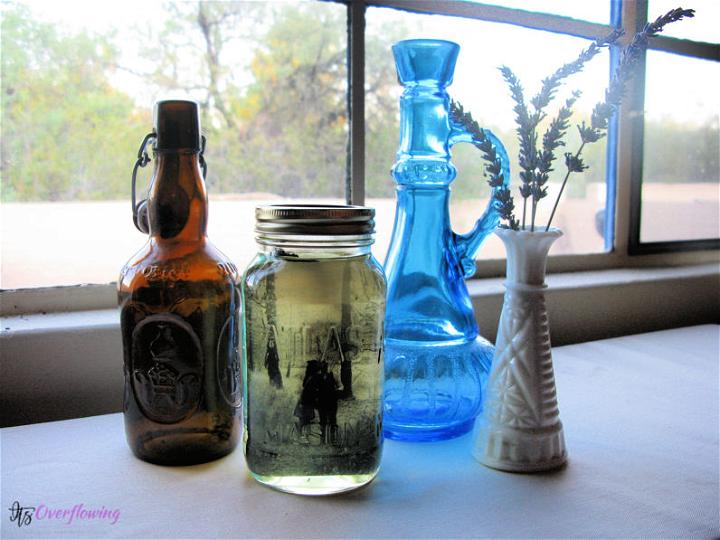
Can you believe, in just these four simple steps using just four ridiculously simple ingredients, you can whip up such a charming décor idea? Use it for a birthday décor, reception, or dinners.
The options are really limitless. You can perhaps go for colored pictures as well, but I just love this whole vintage mantra complimenting each other. Create as many of these DIY vintage pictures and mason jar décor as you want!
