Have you ever stumbled upon an incredible find at a thrift store and just knew you had to have it, even if you weren’t exactly sure what you’d do with it? That’s exactly what happened to me on a memorable day at the Antique Tobacco Barn, a treasure trove of vintage goodies. One of my most delightful finds was a set of wooden spools that cost me just $3. I couldn’t resist their rustic charm! But, once I got home, the question loomed large: “What do I do with these vintage spools?”
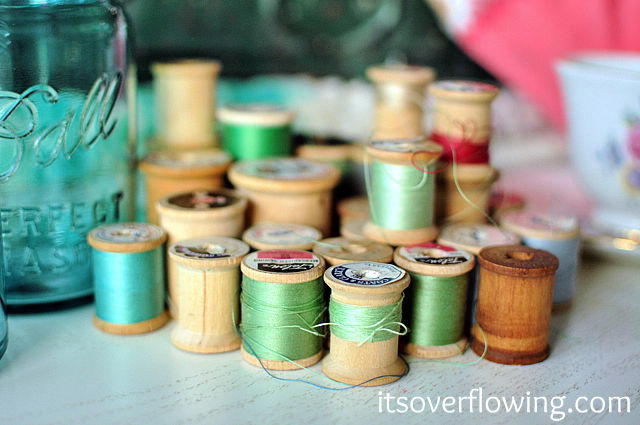
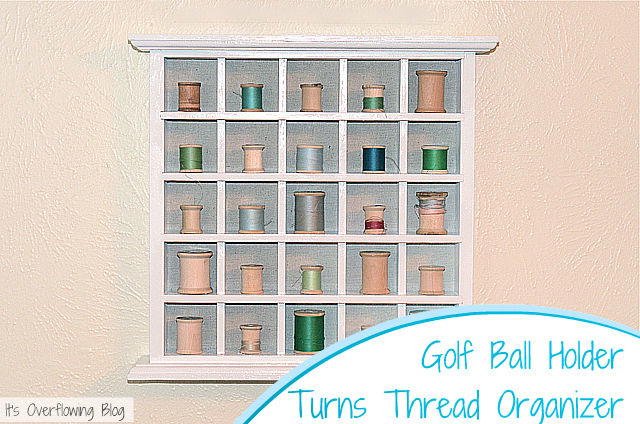
I love finding ways to breathe new life into old items, and I knew these spools had the potential to become a centerpiece in my craft room. After some brainstorming and a bit of serendipity, I decided to create a DIY Vintage Spool Thread Holder. This project blends practicality with vintage style, transforming forgotten items into something both functional and beautiful.
Materials and Tools You’ll Need
Before diving into the steps, let me share what I used for this project:
- Vintage Wooden Spools: The heart of this project! These spools add character and a touch of nostalgia to the thread holder.
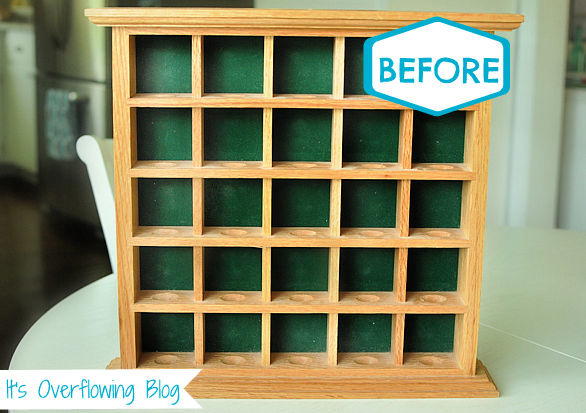
- Golf Ball Holder: Believe it or not, this was the base for my thread holder. It was a thrift store find that needed a bit of a makeover.
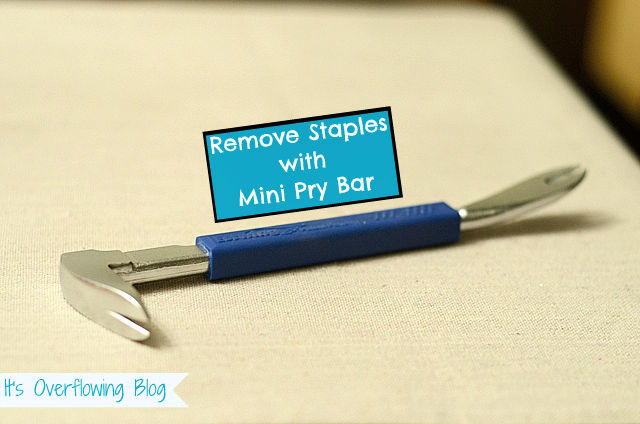
- Mini Pry Bar: A new favorite tool of mine! Essential for removing the stubborn backing of the golf ball holder.
- Drop Cloth Fabric: A versatile fabric that I’ve used in various projects, perfect for a rustic look.
- White Paint: To freshen up the golf ball holder and give it a clean, cohesive look.
- Staple Gun: Handy for securing the fabric to the backing.
- Screwdriver and Pliers: Useful for loosening any screws or fixtures.
Step-by-Step Process to Create Your Vintage Spool Thread Holder
Step 1: Finding the Perfect Base
The first step in any DIY project is finding the right materials. For my thread holder, I needed a base that could display the spools in a charming and organized way. As luck would have it, my mother-in-law called from a thrift store holding a golf ball holder. The shape was just what I was looking for, even though it wasn’t much of a looker yet.
This is where creativity comes into play. Sometimes, the perfect piece is hiding in plain sight, just waiting for a bit of imagination and elbow grease to bring out its potential.
Step 2: Preparing the Golf Ball Holder
Removing the back of the golf ball holder was quite the challenge. I tried using a screwdriver and pliers, but they didn’t quite do the trick. Then I discovered my new best friend—the mini pry bar! This little tool worked wonders in pulling out the staples and removing the stubborn golf green turf fabric from the holder.
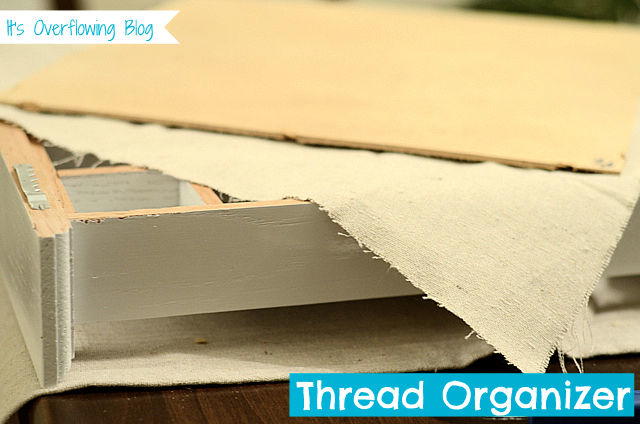
Working with tools like these can be a game-changer. A mini pry bar is perfect for small, intricate tasks where precision is key. It made the job easier and saved me from a lot of frustration.
Step 3: Replacing the Fabric Backing
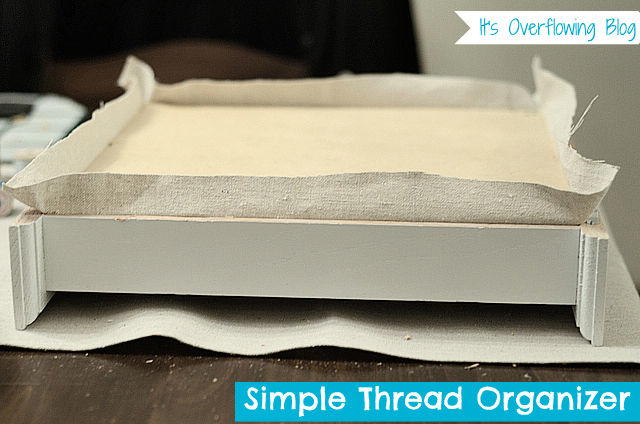
After removing the old fabric, I chose to replace it with drop cloth fabric I had on hand. I’ve used this fabric for other DIY projects, like covering an ugly frame and sewing a long table runner. It’s incredibly versatile and gives off a cozy, farmhouse vibe.
I cut the fabric to fit the back of the holder, making sure to leave enough around the edges for securing it. The key here is to pull the fabric tightly as you staple it into place to avoid any wrinkles or sagging.
Step 4: Painting and Assembly
Next, it was time to give the golf ball holder a fresh coat of white paint. White paint is like magic—it instantly brightens up any piece and gives it a clean, timeless look. After allowing the paint to dry completely, I reassembled the holder, securing the fabric backing with my trusty staple gun.
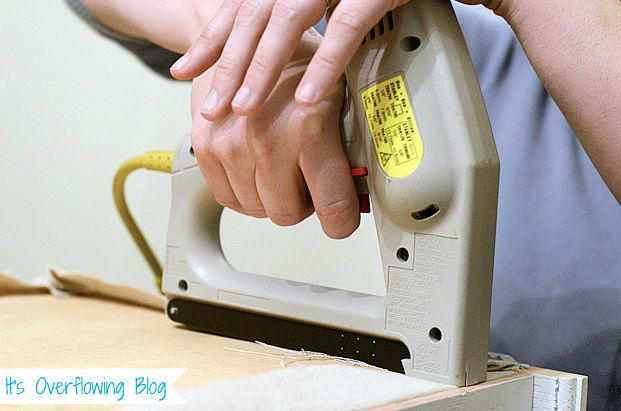
I can’t emphasize enough how useful a staple gun is for DIY projects. It’s inexpensive but powerful enough to get the job done, especially when working with fabrics or lightweight materials.
Step 5: Displaying the Vintage Spools
Finally, I arranged my collection of vintage wooden spools on the newly transformed holder. The combination of the rustic spools against the clean white paint and textured fabric was exactly the look I was going for—a perfect blend of old and new.
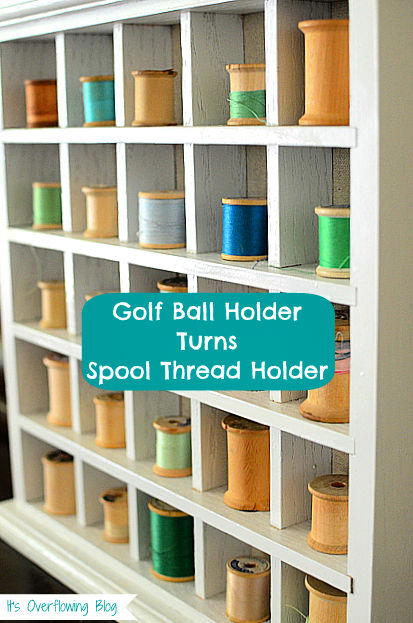
This is where your personal style comes in. You can arrange the spools in a way that feels right to you, perhaps by color, size, or simply in a pattern that pleases the eye.
Lessons Learned and Tips for Success
- Think Outside the Box: Sometimes, the perfect base for a project isn’t obvious. I never would have thought a golf ball holder could become a beautiful thread holder until I saw it in a new light.
- Tools Matter: Having the right tools makes all the difference. My mini pry bar and staple gun were indispensable for this project. If you love DIY as much as I do, invest in quality tools that will last.
- Be Patient with the Process: DIY projects often come with unexpected challenges. Removing the back of the holder was tougher than I anticipated, but persistence paid off. Don’t be afraid to take a break if you need to regroup.
- Embrace Imperfection: Part of the charm of DIY is that it’s not perfect. The little flaws and imperfections make your piece unique and give it character.
Why I Love This Project
This DIY Vintage Spool Thread Holder isn’t just about making something functional; it’s about creating something that tells a story. Each spool, with its worn edges and faded paint, speaks of its history. The project reflects my passion for giving new life to old treasures and making my home uniquely mine.
Recycling other people’s “junk” into my own treasures is one of my favorite pastimes. There’s something so satisfying about turning something overlooked and forgotten into a centerpiece that’s both useful and beautiful. And let’s be honest—anything with white paint, burlap, and a vintage vibe is the perfect eye candy for me!
Final Thoughts
So, what treasures have you found lately? Have you ever turned a thrift store find into a DIY masterpiece? I’d love to hear your stories and see your creations! Remember, DIY isn’t just about crafting something new; it’s about exploring creativity, solving problems, and making something uniquely yours.
Feel free to explore more of my thrifty finds and updates, and happy crafting!
