Are you tired of the same old window treatments and looking to add a personal touch to your space? DIY window shades may be the solution you’ve been searching for. In this comprehensive guide, we’ll delve into the benefits of making custom window treatments and provide a step-by-step tutorial for making and installing your own DIY window shades.
Making custom window shades not only allows you to express your unique style but also provides the opportunity to save money compared to store-bought options. With the right materials and a little creativity, you can transform your windows into focal points that enhance the overall aesthetic of your home.
Whether you’re a seasoned DIY enthusiast or just starting to explore the world of home improvement, our guide will walk you through the process in a clear and approachable manner. From selecting the perfect fabric to installing the finished shades, we’ve got you covered every step of the way.
Get ready to elevate your interior design game and enjoy the satisfaction of knowing that your window treatments are one-of-a-kind creations tailored to your taste and lifestyle. Let’s get started on this exciting DIY journey together!

Understanding Window Shade Options
When it comes to DIY window shades, there are several types to consider, each with its unique features. Understanding the options available can help you select the right window shade for your DIY project.
Roller Shades
Roller shades are a popular choice for DIY enthusiasts due to their simplicity and versatility. These shades consist of a single piece of fabric that rolls up and down on a tube, providing a clean and modern look to any window. They are available in various light-filtering options, from sheer to blackout, making them suitable for different light control needs. If you’re interested in making your own roller shades, check out this DIY Roller Shade Tutorial for a step-by-step guide.
Roman Shades
Roman shades add a touch of elegance and warmth to any room. They are made of fabric that stacks evenly as they are raised, creating a beautiful tailored appearance when lowered. DIY Roman shades can be customized with different fabric patterns and textures to suit your style. Learn how to make Roman shades with blackout fabric for your windows by watching this tutorial.
Cellular Shades
Cellular shades, also known as honeycomb shades, are designed to provide insulation and energy efficiency while enhancing the appearance of your windows. These shades feature a unique honeycomb structure that traps air, offering thermal benefits. DIY cellular shades come in various light-filtering options and can be customized to fit different window sizes. If you’re interested in exploring DIY options for cellular shades, you can find useful information on how to build your own cellular shade here.
By understanding the features and benefits of roller shades, Roman shades, and cellular shades, you can make an informed decision when choosing the right window shade for your DIY project. Each option offers unique advantages, allowing you to make a customized and functional window treatment that suits your preferences and needs.
Materials and Tools Needed
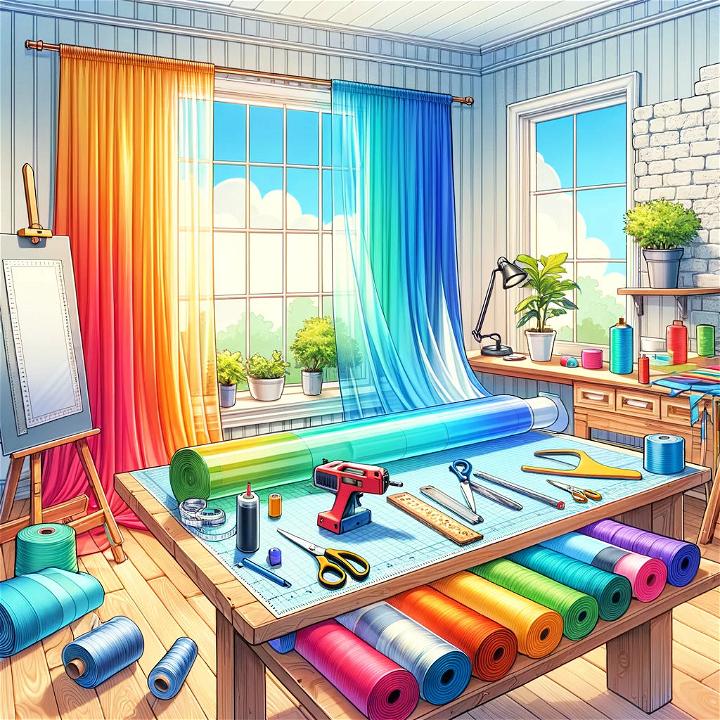
When it comes to creating your own DIY window shades, the materials and tools you have at your disposal will be crucial to the success of your project. Let’s take a look at the essential items you’ll need to get started.

Materials
- Fabric: Choose a durable, light-filtering, or blackout fabric based on your preference for light control. You can explore different textures and colors to match your interior décor.
- Mounting Hardware: Depending on the type of shade you plan to make, you’ll need mounting brackets, screws, and other hardware to secure the shades in place.
- Cleats or Cord Tensioners: These are essential for corded window shades to keep the cords tidy and out of reach of children and pets.
- Weighting Rods or Bottom Rails: These components help to weigh down the bottom of the shade, keeping it taut and in place.
- Cord Lock or Cord Cleat: If you opt for a corded window shade, you’ll need a cord lock mechanism to raise and lower the shade.
- Decorative Trim (Optional): Adding decorative trim or embellishments can enhance the visual appeal of your DIY window shades.
Tools
- Measuring Tape: Accurate measurements are crucial for a precise fit, so make sure you have a measuring tape on hand.
- Scissors: High-quality fabric scissors will ensure clean, straight cuts without fraying the fabric.
- Sewing Machine or Fabric Glue: Depending on the type of window shade you’re making, you’ll need a sewing machine for fabric shades or fabric glue for a ‘no-sew’ option.
- Drill and Bits: If you’re installing shades with mounting brackets, a drill will be necessary for creating pilot holes.
- Iron and Ironing Board: Ironing the fabric before cutting and sewing will result in a neater, more professional-looking finish.
- Level: To ensure your shades are installed straight and level, a bubble level is essential for accuracy.
- Pencil and Paper: Don’t forget to have these basic tools on hand for marking measurements and jotting down notes as you work.
By having these materials and tools ready, you’ll be well-prepared to embark on your DIY window shade project. Each item plays a crucial role in the construction and installation process, ultimately contributing to the functionality and aesthetics of your custom window treatments.
Step-by-Step Guide to Making DIY Window Shades
Creating your own window shades can be a fun and rewarding project. In this step-by-step guide, we’ll walk you through the process of measuring your windows, selecting and preparing materials, and assembling your DIY window shades.
Measuring Your Windows
The first step in making DIY window shades is to measure your windows. Ensure accurate measurements by using a metal tape measure, noting the width and height of each window. Double-check your measurements to guarantee a precise fit for your custom shades. Taking accurate measurements is crucial to the success of your project and ensures that your shades will fit perfectly once installed.
Selecting and Preparing Materials
After measuring your windows, the next step is to select and prepare the materials for your DIY window shades. Consider the type of shade you want to make—whether it’s a roller shade, Roman shade, or another style—and choose the appropriate fabric or materials. If creating a Roman shade, you will need fabric, lining material, cord, and a mounting board. For a roller shade, you’ll need blackout fabric, a roller mechanism, and mounting brackets. Once you’ve selected your materials, carefully prepare them according to the specific instructions for your chosen window shade style.
Assembling the DIY Window Shades
With your measurements and materials ready, it’s time to assemble your DIY window shades. Follow the specific assembly instructions for your chosen window shade style. For a Roman shade, this may involve sewing the fabric and lining together, creating dowel pockets, and attaching cords. If making a roller shade, you’ll assemble the fabric onto the roller mechanism and install the shade onto the mounting brackets. Take your time during the assembly process to ensure a high-quality finish and a professional-looking result.
As you progress through each step, visualize how your DIY window shades will enhance the aesthetic of your space and provide functional benefits such as light control and privacy. With the right materials and precise measurements, you can make custom window shades that perfectly complement your home decor while showcasing your DIY skills.
Customizing and Decorating Your DIY Window Shades
When customizing and decorating your DIY window shades, one of the key considerations is the choice of fabric and patterns. The type of fabric you choose can greatly influence the overall look and functionality of your window shades.
Fabric Choices and Patterns
Selecting the right fabric for your DIY window shades is essential for achieving the desired aesthetic and practical features. Consider factors such as light filtration, privacy, and the overall style of your space. Opt for lightweight fabrics like cotton or linen for a breezy, casual look, while heavier fabrics such as velvet or tweed can add a sense of luxury and opulence to your windows.
Patterns also play a significant role in customizing your window shades. Whether you prefer classic stripes, modern geometric prints, or timeless floral patterns, the choice of pattern can complement the existing decor and add a personal touch to your space. Mixing and matching different patterns can make visual interest and elevate the overall design of your window treatments.
Adding Trimmings and Accents
Enhancing your DIY window shades with trimmings and accents is an excellent way to infuse personality and character into your window treatments. From decorative tapes and fringe to beaded trims and tassels, there are numerous options to add flair and sophistication to your shades.
Incorporating accent bands in contrasting colors and textures or adding ribbon embellishments can create a bespoke look that complements your interior design style. Additionally, you can explore DIY projects for adding trim to drapes or curtains to gather inspiration for your window shade customization.
By carefully selecting fabrics, patterns, and embellishments, you can transform your DIY window shades into personalized and stylish additions to your home decor, reflecting your unique taste and creativity.
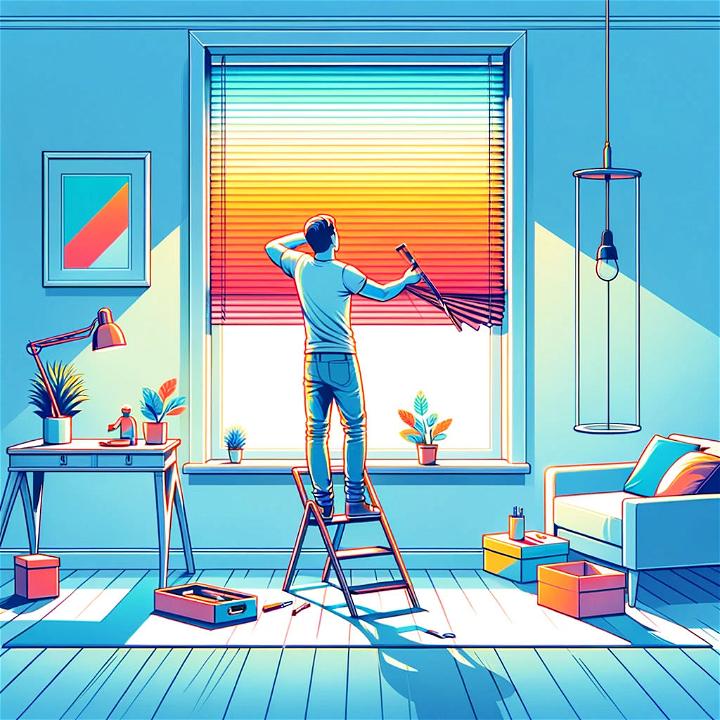
Installing Your DIY Window Shades
Are you ready to install your handcrafted window shades? Let’s dive into the essential aspects of the installation process to ensure a smooth and successful setup.

Mounting Options
When it comes to mounting your DIY window shades, you have a few options to consider:
- Inside Mount: This method involves installing the shades within the window frame, providing a clean and streamlined look. Ensure accurate measurements to achieve a perfect fit.
- Outside Mount: Opting for an outside mount allows the shades to cover the entire window frame, providing enhanced light control and privacy. It’s ideal for windows with limited depth or irregular shape.
- Ceiling Mount: For a modern and stylish approach, consider mounting the shades on the ceiling above the window. This method can create an illusion of taller windows and visually expand the room.
- Wall Mount: If you prefer to conserve window space or have unique architectural features, a wall mount can be a suitable choice. It allows for flexibility in positioning the shades to complement the overall aesthetics of the room.
No matter which mounting option you choose, be sure to follow the manufacturer’s instructions for your specific type of window shades to ensure proper installation.
Safety Precautions
As you embark on the installation process, it’s crucial to prioritize safety measures, especially if young children or pets are present in your home. Here are some key safety precautions to keep in mind:
- Cord Safety: Be mindful of dangling cords, which can pose a strangulation hazard, particularly for young children and pets. Consider cordless options or utilize safety devices such as cord cleats, cord wraps, or tassels to secure and manage cords safely.
- Childproofing: Take proactive steps to childproof your window treatments by keeping furniture and cribs away from windows to prevent climbing and entanglement hazards.
- Cordless Alternatives: Explore cordless or motorized window shades for enhanced safety and ease of use. These options eliminate the risks associated with traditional corded blinds or shades.
Remember, ensuring the safety of your loved ones is paramount when installing window shades. By incorporating these precautions, you can create a secure and inviting environment in your home.
Now, armed with knowledge about mounting options and safety precautions, you’re well-equipped to embark on the installation of your DIY window shades.
Maintenance and Care Tips for DIY Window Shades
When it comes to DIY window shades, proper maintenance and care are essential for ensuring their longevity and functionality. By following a few simple tips, you can keep your DIY window shades looking great and operating smoothly for years to come.

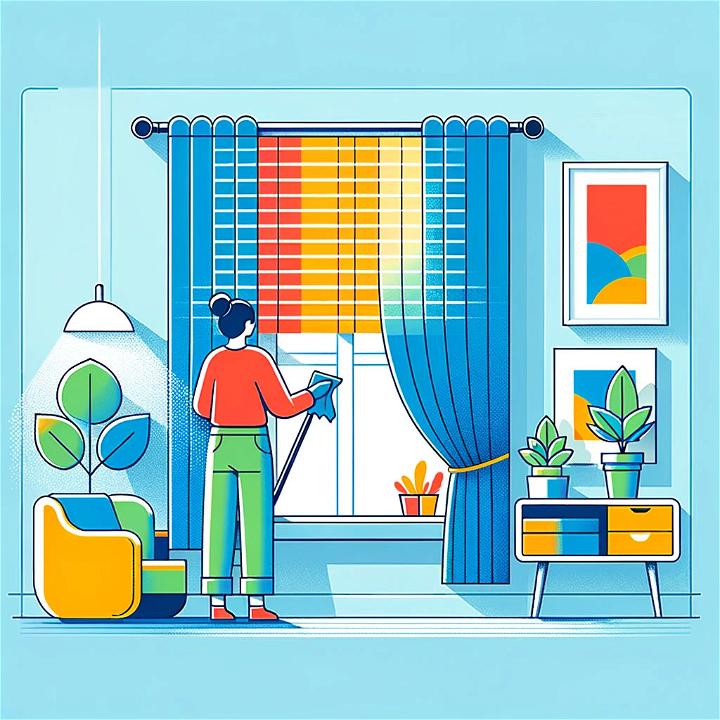
Cleaning Your DIY Window Shades
Regular cleaning is crucial for keeping your DIY window shades in top condition. Depending on the material of your shades, there are various methods you can use to effectively remove dust, dirt, and grime. For fabric shades, gently vacuuming with a brush attachment or using a lint roller can help eliminate debris. Additionally, for plastic or metal blinds, a solution of warm water and white vinegar can be used to wipe down the surfaces, ensuring a thorough and effective clean. Avoid using harsh chemicals or abrasive cleaning tools that may damage the material.
Preventing Wear and Tear
To prevent premature wear and tear on your DIY window shades, it’s essential to handle them with care. When raising or lowering your shades, do so with a gentle and steady motion to avoid placing unnecessary stress on the mechanisms. Additionally, be mindful of any potential moisture exposure, as prolonged contact with moisture can lead to damage or warping, especially for wooden shades. Regularly inspect the shades for any signs of damage or malfunction and address any issues promptly to prevent further deterioration.
Extending the Lifespan of Your Shades
Taking proactive measures to extend the lifespan of your DIY window shades can save you time and money in the long run. Simple practices such as dusting the shades regularly, avoiding exposure to direct sunlight for prolonged periods, and addressing minor repairs promptly can significantly contribute to their longevity. By following these maintenance tips, you can enjoy the benefits of your DIY window shades for years to come.
For further information on DIY window shade maintenance and care, you can refer to resources such as How to Fix Window Blinds: Expert Tips and Tricks and How to Clean Blinds the Quick and Easy Way.
Remember, a little maintenance can go a long way in preserving the beauty and functionality of your DIY window shades.

FAQs
Are you considering installing DIY window shades but have some burning questions? Here are the top FAQs to help you get started.
1. What are the advantages of DIY window shades over professional installation?
DIY window shades offer several advantages, including cost savings, customization options, and the satisfaction of completing a home improvement project yourself. With DIY, you have the flexibility to choose materials and styles that suit your preferences.
2. Can I install DIY window shades without any prior experience?
Yes, many DIY window shade kits come with detailed instructions and are designed for easy installation, making them accessible to beginners. Additionally, there are numerous online tutorials and resources available to guide you through the process.
3. What tools will I need for installing DIY window shades?
Typically, you will need basic tools such as a measuring tape, screwdriver, level, and a pencil. Specific requirements may vary depending on the type of window shades you choose, so be sure to check the instructions provided with your DIY kit.
4. Are DIY window shades customizable to fit different window sizes?
Yes, DIY window shades often provide customization options to accommodate various window dimensions. Most kits allow you to trim the shades to the required width, ensuring a perfect fit for your windows.
5. How do I choose the right type of DIY window shades for my home?
Consider factors such as the level of privacy and light control you desire, as well as the overall aesthetic you wish to achieve. Additionally, take into account the specific requirements of each room and the functionality of different window shade styles.
6. Can DIY window shades contribute to energy efficiency in my home?
Yes, certain types of window shades, such as cellular or honeycomb shades, are known for their insulating properties, which can help regulate indoor temperatures and reduce energy costs.
7. What are the maintenance requirements for DIY window shades?
Maintenance for DIY window shades typically involves regular dusting or light vacuuming to keep them clean. Care instructions may vary based on the material of the shades, so it’s advisable to refer to the manufacturer’s guidelines.
8. Are DIY window shades suitable for renters or temporary living situations?
Yes, DIY window shades are an excellent option for renters, as they offer a non-permanent solution that can easily be installed and removed without causing damage to the property. Additionally, they can be a cost-effective way to enhance privacy and style in temporary living spaces.
9. Can DIY window shades be paired with curtains or drapes?
Absolutely, DIY window shades can be complemented with curtains or drapes to create a layered look and provide additional light control and insulation. This combination allows for versatility in both aesthetic appeal and functionality.
10. What safety considerations should be kept in mind when installing DIY window shades?
It’s essential to follow safety guidelines provided with the DIY window shade kit, especially when dealing with corded or motorized shades. Ensuring proper installation and taking necessary precautions can help prevent accidents and promote a safe living environment.
Remember, conducting thorough research and consulting with experts can provide further guidance on selecting and installing DIY window shades for your home. Now that you’ve got the answers to your FAQs, you’re one step closer to transforming your windows with style and functionality.
Conclusion
Now that you’ve learned about the many benefits of creating DIY window shades, it’s clear that this project offers a multitude of advantages. From cost-effectiveness and customization to energy efficiency and personal satisfaction, DIY window shades provide a unique opportunity to enhance your living space while showcasing your creativity.
Key Benefits
When you choose to embark on a DIY window shades project, you’re not only saving costs but also unleashing your creativity to personalize your home decor. The satisfaction of completing a DIY project tailored to your preferences is unparalleled. Additionally, installing window shades can contribute to energy efficiency by regulating light and temperature, ultimately reducing energy consumption and costs.
Encouragement
We encourage you to take on this fulfilling DIY project and experience the joy of creating something unique for your home. Embrace the opportunity to express your style and make your living space more comfortable and energy-efficient with DIY window shades.
Ready to get started? Explore our related article on the advantages of custom window treatments for additional inspiration and insight.
Remember, the benefits of DIY window shades extend beyond cost savings – they offer an opportunity for you to make a personal statement and improve the comfort and energy efficiency of your home while showcasing your creative flair.
