Making a DIY window well cover is not just about adding an aesthetic touch to your home; it’s also about ensuring safety and enhancing functionality. With these 8 easy DIY window well cover ideas and guidance, making your own window well covers can be an interesting project that saves time, effort, and money. Window wells play a crucial role in bringing light into your basement while offering an escape route during emergencies. Yet, keeping them clean and maintained can be a challenge.
This guide is designed to help you navigate the process of making effective and durable window well covers. From selecting the best materials to understanding the nuances of installation, we provide easy-to-follow instructions that cater to your specific needs. Discover how to protect your home from debris, improve energy efficiency, and customize your space with our curated DIY window well cover ideas. Ready to enhance your home’s safety and curb appeal? Let’s dive into the world of DIY window well covers and unlock the potential of your basement windows.

Why Install a DIY Window Well Cover?
Discover the benefits of installing a DIY window well cover and enhance the functionality and aesthetics of your home.
- Safety: First and foremost, a DIY window well cover is a critical safety feature. It prevents accidental falls, particularly for children and pets, into the well. With a robust cover in place, you add an essential layer of protection for your family.
- Prevents Debris Accumulation: Leaves, dirt, and other debris can fill up a window well, causing blockages and potential water damage. By installing a cover, you keep your well clean and reduce the need for frequent maintenance.
- Energy Efficiency: A cover can help retain heat in your basement, contributing to a more energy-efficient home. During colder months, it acts as an extra insulation layer, keeping the warmth in and the cold out.
- Enhances Aesthetics: A neat, custom-made window well cover can significantly improve the appearance of your home’s exterior. It’s an opportunity to add a touch of personal style while also maintaining a clean look.
- Cost-Effective: Making a window well cover yourself can be far more economical than purchasing a pre-made one. It allows for budget flexibility and can be a fun, rewarding project.
- Customization: DIY gives you the freedom to tailor the cover to your specific needs, ensuring a perfect fit for any window well size or shape.
- Peace of Mind: Ultimately, knowing you’ve personally secured your home brings a sense of accomplishment and peace of mind that is invaluable.
By crafting your own window well cover, you’re investing in a practical, attractive, and cost-effective solution for your home’s well-being.
How to Make a DIY Window Well Cover
Making a DIY window well cover can enhance the safety, aesthetics, and energy efficiency of your home. It’s a project that’s not only cost-effective but also rewarding, offering a personalized solution to protect your basement windows. Let’s dive into a simple guide to craft your very own window well cover.
Choosing Your Materials
First, decide on the material for your window well cover. Common choices include:
- Polycarbonate Sheets: Known for their durability and resistance to extreme temperatures, polycarbonate is a popular choice for window well covers. It’s lightweight yet strong, similar to bulletproof glass.
- PVC Pipes: PVC pipes offer a sturdy frame for your window well cover, especially when combined with polycarbonate sheets. They’re easy to work with and can be cut to fit any window well size.
Tools You’ll Need
Gather the following tools before you start:
- Measuring tape
- Saw or PVC cutter
- Drill with drill bits
- Screws and neoprene washers for secure attachment
- Sandpaper for smoothing any rough edges
Step-by-Step Guide
- Measure Your Window Well: Carefully measure the dimensions of your window well. Include the length, width, and depth to ensure your cover fits perfectly.
- Cut Your Materials to Size: Based on your measurements, cut your chosen material (polycarbonate sheet or PVC pipes) to match the size of your window well. If you’re using PVC pipes for the frame, cut them to build a rectangle or square frame that matches your well’s perimeter.
- Assemble the Frame (if using PVC pipes): Use PVC joints to connect your cut pipes into a frame. Ensure the frame is sturdy and fits snugly over your window well.
- Attach the Polycarbonate Sheet: If using a polycarbonate sheet, place it over the frame and secure it with screws and neoprene washers. This helps prevent water from seeping through the screw holes.
- Smooth Edges: Use sandpaper to smooth any rough edges on the PVC pipes or where the polycarbonate sheet was cut. This prevents injuries and ensures a clean look.
- Secure the Cover: Position your new window well cover over the well. You can secure it in place using simple ties or dowels, depending on your preference and the design.
Tips for Success
- Ensure Proper Ventilation: While covering your window well, make sure there’s still adequate air flow into your basement to prevent condensation.
- Safety First: If your window well is an emergency exit, design your cover to be easily removable from the inside.
- Regular Maintenance: Check your window well cover periodically for any damage or wear and tear, and clean it to keep it looking great.
Making a DIY window well cover is a straightforward process that can significantly benefit your home. By following these steps, you’ll craft a durable, custom-fit cover that keeps debris, water, and critters out, while still letting light in.
DIY Window Well Cover FAQs
Making your own window well cover can be a rewarding project that enhances the safety and appearance of your home. Here are some frequently asked questions to help guide you through the process.
What materials are best for DIY window well covers?
The most popular materials for DIY window well covers include polycarbonate sheets for their durability and resistance to extreme weather, and PVC pipes for the frame due to their strength and ease of use. You can also use wood, but make sure to treat it for outdoor use to prevent rot and decay.
How do I measure my window well for a cover?
Start by measuring the length and width of your window well at its widest points. It’s important to measure from the outside edges to ensure your cover will fit over the well properly. Don’t forget to consider any obstructions that might affect the fit of your cover.
Can I make a window well cover that’s strong enough to walk on?
Yes, you can make a window well cover strong enough to walk on by using polycarbonate sheets, which are known for their high impact resistance, similar to bulletproof glass. Ensure your frame, whether made from PVC or another material, is robust and securely attached to the polycarbonate sheet.
How do I ensure my DIY window well cover allows for proper ventilation?
To ensure proper ventilation, you can incorporate vents or gaps within the design of your cover, or select a material that allows for air flow. It’s crucial to balance the need for ventilation with the desire to keep out debris and pests.
What tools will I need to make a window well cover?
Common tools for this project include:
- Measuring tape
- Saw or PVC cutter (depending on your material)
- Drill with various bits
- Screws and neoprene washers (for attaching materials securely)
- Sandpaper (for smoothing any rough edges)
How can I secure my window well cover to prevent it from blowing away?
You can secure your window well cover by attaching it directly to the window well with screws or using weights. Another option is to design your cover with locking mechanisms or clips that attach securely to the window well sides.
Is it possible to make a DIY window well cover that’s easy to remove?
Yes, by designing your window well cover with handles or easy-to-release clips, you can ensure it’s both secure and easily removable. This is especially important for covers over egress windows, which may need to be opened quickly in an emergency.
How often should I check and maintain my window well cover?
It’s good practice to check your window well cover at least twice a year, typically in the spring and fall, to ensure it’s in good condition and to clear away any debris. Check for any damage or wear and tear that might affect its performance.
By addressing these common questions, you’re now better equipped to embark on building your own DIY window well cover.
How to Choose the Right DIY Window Well Cover
Choosing the right DIY window well cover involves considering various factors to ensure safety, functionality, and aesthetics. This guide will help you navigate the selection process, ensuring you make an informed decision tailored to your home’s specific needs### Consider the Purpose
Before diving into materials or designs, think about the primary purpose of your window well cover. Is it to enhance safety, prevent debris accumulation, improve energy efficiency, or simply add an aesthetic touch to your home? Your primary goal will significantly influence the type of cover you should opt for.
Selecting the Material
- Polycarbonate Sheets: Ideal for those seeking durability and resistance to extreme weather conditions. Its lightweight yet strong nature makes it a popular choice.
- PVC Pipes: A cost-effective option for creating a sturdy frame, especially when combined with polycarbonate sheets. It’s suitable for homeowners looking for an easy-to-work-with material.
- Other Options: Depending on your specific needs, materials like wood (treated for outdoor use) or metal can also be considered. Each has its pros and cons related to durability, weight, and maintenance requirements.
Measuring Your Window Well
Accurate measurements are crucial. Measure the length, width, and depth of your window well to ensure your cover fits perfectly. Always measure from the outside edges and consider any obstructions that might affect the fit of your cover.
Design for Safety and Functionality
If your window well serves as an emergency exit, your cover must be easily removable from the inside. Also, consider how the cover will handle weight; if it needs to support heavy snow or even a person, choose materials and designs accordingly.
Ventilation and Light
Ensure your chosen design allows for adequate ventilation to prevent condensation and maintains sufficient light entry into your basement. Some designs incorporate vents or are made from semi-transparent materials to achieve this balance.
Aesthetic Appeal
While functionality is key, don’t overlook the visual impact of your window well cover. A well-designed cover that complements your home’s exterior can significantly enhance curb appeal.
Installation and Maintenance
Opt for a design that you can confidently install and maintain. Ensure you have the necessary tools and understand the process fully before starting. Regular maintenance checks will keep your cover in good condition and prolong its lifespan.
Budget Considerations
Lastly, consider your budget. DIY options can range from very cost-effective to more expensive, depending on materials and complexity. Assess your financial comfort zone and choose materials and a design that fit within your budget without compromising on essential features.
Selecting the right DIY window well cover involves a thoughtful consideration of your needs, the specific characteristics of your window wells, and your personal preferences. By following these guidelines, you can ensure your project enhances your home’s safety, functionality, and appearance, all while adhering to your budget and skill level.
8 Easy DIY Window Well Cover Ideas
Discover 8 Easy DIY Window Well Cover Ideas to enhance your home’s safety and curb appeal. Protect your basement with these creative solutions now!
1. How to Make a Window Well Cover
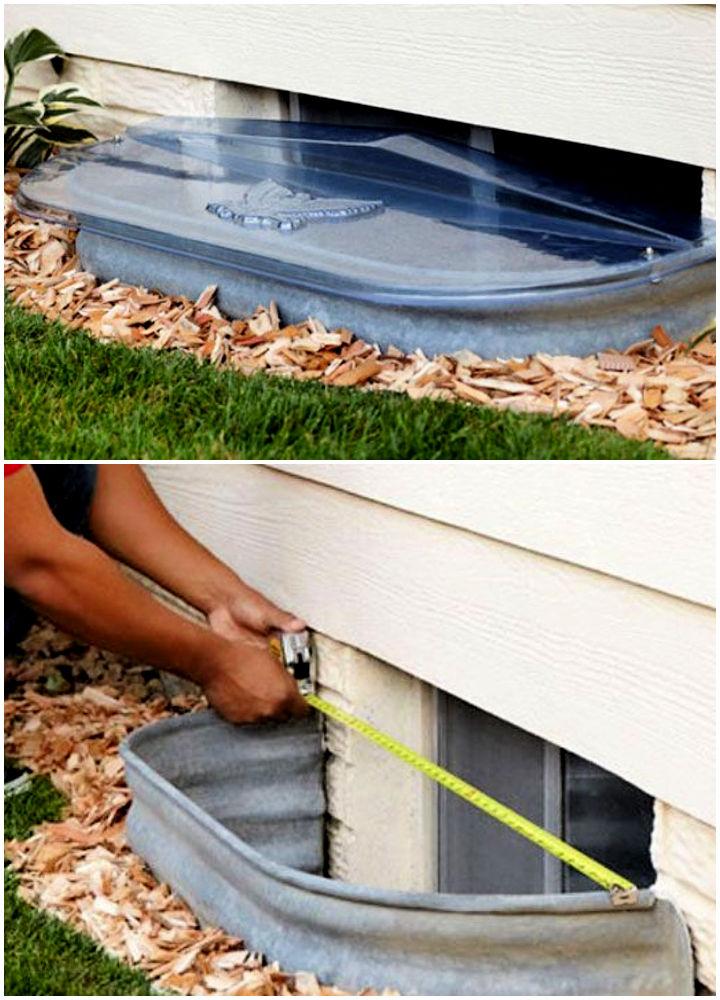
Installing a window well cover is a practical step to protect your basement from the elements. With the guide from Lowe‘s, you can ensure your window wells are shielded against rain, snow, and debris, all while preventing potential accidents involving children or animals.
Properly measured and installed covers not only enhance safety but also contribute to energy efficiency by retaining heat. Follow a straightforward, five-step process for a secure and tailored fit that complements your home’s aesthetics. This helpful, instructive content makes installation simple, ensuring your home remains dry and insulated.
2. DIY Window Well Cover
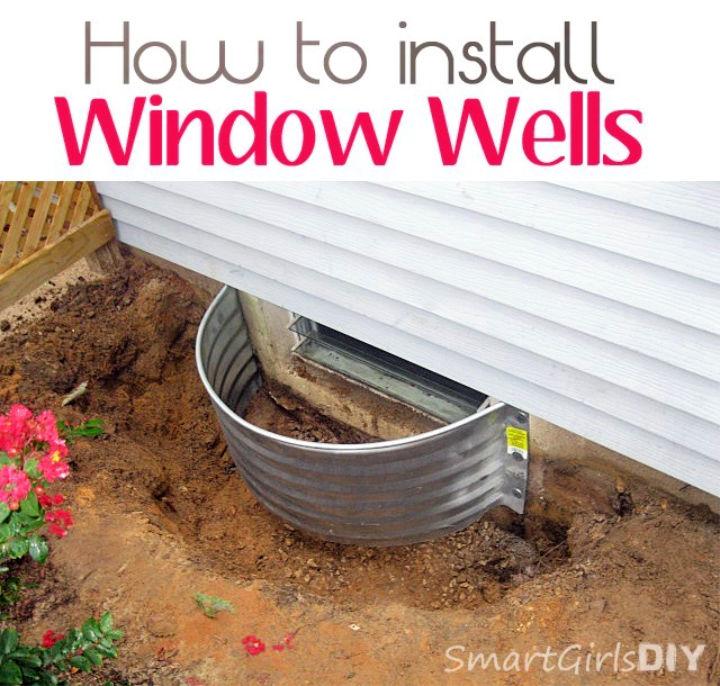
Installing window wells is a practical step to protect your basement from water damage. Learn how to secure your home effectively by attaching a prefabricated window well to your foundation, backfilling it with pea gravel, and topping it off with a sturdy cover. Our guide on the site provides clear, step-by-step instructions that ensure a smooth installation process.
With a bit of effort and the right materials, safeguarding your basement windows against the elements can be a rewarding weekend project. Get ready to enhance your home’s defense against moisture and enjoy the peace of mind that comes with a well-executed job. Smart Girls DIY
3. Handmade Window Well Covers
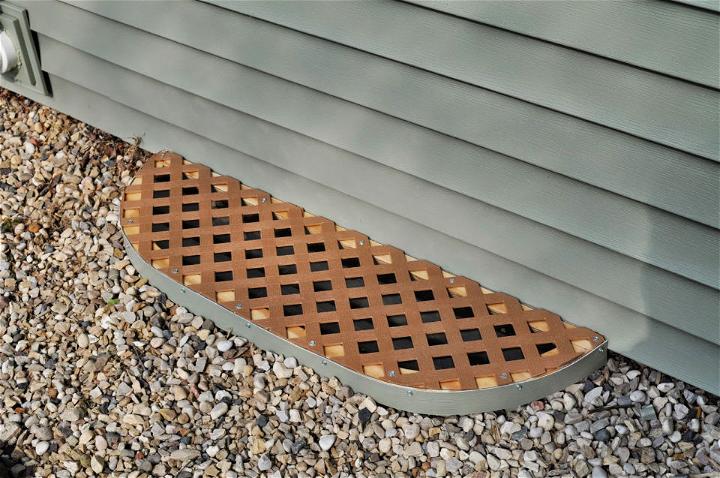
Build custom window well covers with ease using our step-by-step guide. Tired of finding critters trapped in your window wells or dealing with debris? Our DIY project offers a robust solution to protect your windows and keep out unwanted guests. Using simple materials like plywood, vinyl lattice, and polyurethane, you can craft durable covers that withstand the elements.
Follow our instructions to measure, cut, and assemble your own covers. With these homemade additions, you’ll enhance your home’s safety and curb appeal while giving peace of mind that nature stays outside where it belongs. Plus, you’ll have the satisfaction of a job well done. Visit our blog for all the details and get started on safeguarding your home today. Carrius Home
4. Large Window Well Cover for Egress
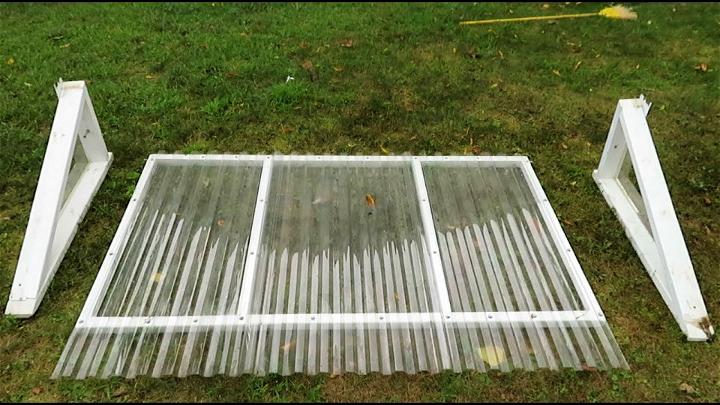
Transform your home’s safety and aesthetics with a custom-crafted Large Window Well Cover for Egress. Embark on a rewarding DIY journey to elevate your space while ensuring maximum protection. This guide showcases the creation of a 70×48 inch, pivotable, and removable cover, ideal for maintenance and emergency exits. The primary material, Cover Lite, a clear acrylic, is both sturdy and easy to handle.
You’ll need simple tools like tin snips, wood screws, a sawzall, and a rotary tool to cut and assemble the Cover Lite with a 2×2 framework. The project includes crafting triangular supports and metal brackets for stability and a unique lift-and-rest mechanism for ease of use. Perfect for homeowners seeking a practical and visually pleasing solution!
5. Make a Durable DIY Window Well Cover
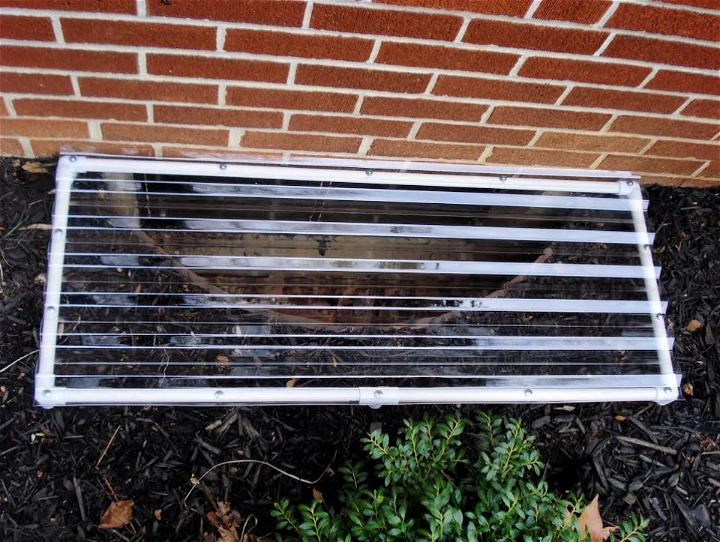
Craft your own robust Window Well Cover with ease using our simple guide. Discover the resilience of polycarbonate, a material known for its strength akin to bulletproof glass, and ideal for withstanding extreme temperatures. Paired with sturdy PVC pipes, this DIY project guarantees long-lasting durability. You’ll need polycarbonate sheets, half-inch PVC schedule 40 pipes, and essential fittings like tees and elbows, alongside lath screws and neoprene washers.
Learn precise cutting techniques for both PVC and polycarbonate, ensuring a perfect, square frame. With a lifespan of over 15 years, this cover withstands diverse weather conditions, from Pennsylvania’s icy winters to scorching summers, all while maintaining its pristine condition. Secure it conveniently with simple ties or dowels, and enjoy a reliable, cost-effective solution for your home.
6. Custom DIY Egress Window Well Cover
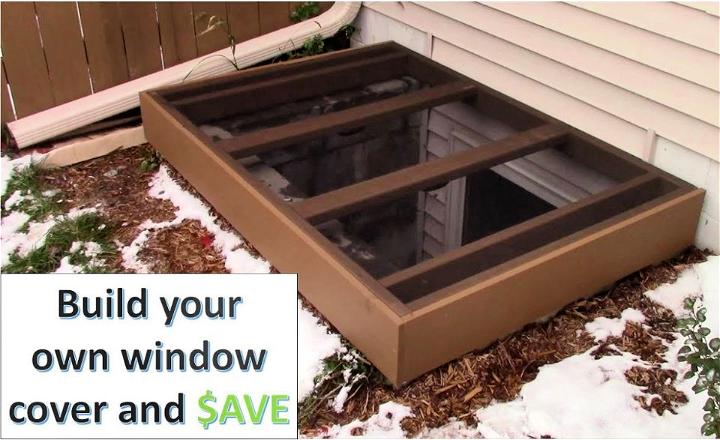
Elevate your home safety with a DIY Custom Egress Window Cover, a practical project for safeguarding basement windows. This guide, inspired by Northern Pine Woodworking, walks you through building a robust 44 by 62-inch window cover for under $50. Essential materials include lumber, screws, and a durable screen. The process involves precise cutting, assembling using 90-degree clamps for perfect angles and attaching handles for easy removal.
Finish with a protective stain matching your exterior décor. This project not only enhances security but also adds a customized aesthetic touch to your home, making it a functional and stylish addition. Dive into this easy-to-follow, budget-friendly DIY and ensure peace of mind with a secure and attractive egress window cover.
7. Make a Custom PVC Window Well Cover
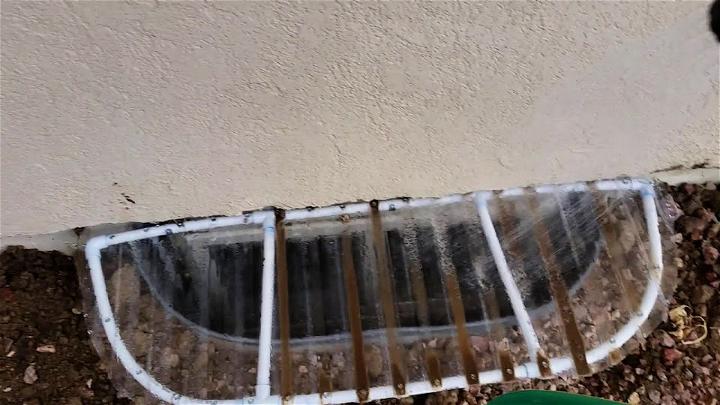
Build a durable, custom PVC window well cover with a simple and effective method demonstrated in a YouTube guide. The project begins with a relatable scenario of a flooded basement, leading to a creative solution. Learn how to bend PVC pipe using a DIY hot box, heat gun, and sand filling technique. This approach ensures a perfect fit for any window, especially those with unusual shapes or low placement.
The guide details materials needed, like PVC pipe, conduit clamps, and polycarbonate plastic, alongside steps for assembly and installation. Ideal for homeowners seeking a cost-effective, waterproof solution, this DIY guide offers a practical way to protect your basement from water damage.
8. Install Basement Window Well Cover
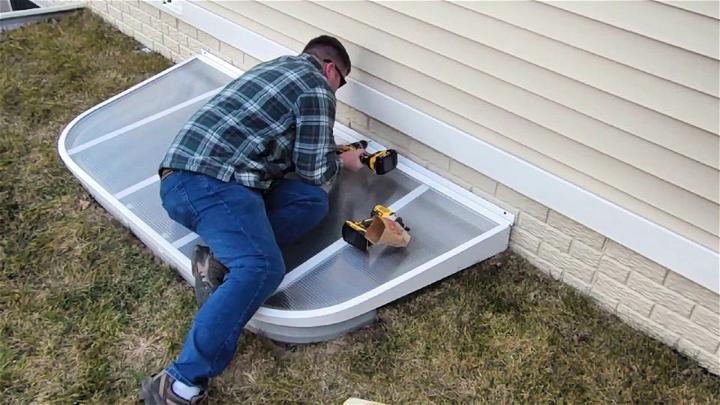
Installing a basement window well cover is a simple task that can be completed in under 10 minutes, as shown in the instructional video from www.weareegress.com. These covers are essential for protecting your basement from the elements and preventing water damage, while also allowing natural light to enter. The video provides a clear, step-by-step guide on how to properly secure the cover to ensure safety and durability.
With this helpful resource, homeowners can confidently tackle the installation process and enjoy the added benefits of a well-protected basement space. Remember, a properly installed window well cover is not just practical but also enhances the overall appearance of your home.
Conclusion:
In conclusion, enhancing your home safety and aesthetics is easily achievable with these 8 easy DIY window well cover ideas. Each suggestion highlights the importance of functionality married with visual appeal, ensuring that homeowners can find a solution that perfectly matches their needs and style. From simple fixes to more elaborate projects, this guide serves as your go-to resource for building covers that not only protect your basement windows but also add to the overall charm of your home. Get started on your DIY window well cover project today and enjoy the benefits of a well-protected and beautifully adorned home.
