Discover the charm and power of words with homemade DIY wood signs that continue to delight and inspire. Our guide of 30 easy DIY wood sign ideas dives into the world of crafting personalized wooden signs, from motivational quotes to your favorite sayings, integrating them seamlessly into your home decor. These DIY wooden signs aren’t just aesthetically pleasing—they’re a reflection of your thoughts and a beacon of positivity for your daily life.
Making DIY wood signs is a rewarding process that combines cost-efficiency with a personal touch. This step-by-step guide is tailored to help you design and craft signs that elevate your living space. Learn how to select materials, prepare the wood, and paint your message with ease. Get ready to transform simple wooden planks into stunning pieces that resonate with your personality and style. Continue reading for detailed instructions that will set you on the path to making your own unique wooden signs.

Why Make Homemade DIY Wood Signs?
- Personalization: Crafting DIY wood signs allows you to make truly unique pieces that reflect your personality, tastes, or convey messages that resonate with you. Personalizing your space can make it feel more like home.
- Cost-Effective: Making your own wood signs can be significantly cheaper than purchasing pre-made ones from stores. By utilizing materials like reclaimed wood or pallets, you save money while producing something special.
- Therapeutic Activity: The act of creating, painting, and assembling your wood sign can be a therapeutic process. It’s a way to engage in a relaxing hobby that also gives you a sense of accomplishment.
- Gift-Giving: A handmade wood sign makes for a thoughtful and personalized gift. It shows the recipient that you put time and effort into making something just for them.
- Versatility: Wood signs can be adapted to any decor style, from rustic to modern. They are suitable for all areas of the home, including the kitchen, living room, or even outdoors.
- Seasonal Decor: DIY wood signs are perfect for seasonal decorations. You can craft signs for holidays, changing seasons, or special events, which adds a festive touch to your home.
- Learning Opportunity: Taking on a DIY wood sign project can help improve your crafting skills. You’ll learn about woodworking, painting techniques, and perhaps even new tools, which can be applied to future DIY projects.
Remember, the key to a successful DIY project is to have fun and allow your creativity to flow. Each sign you make will not only add character to your home but will also tell a story – your story.
How to Make Your Own DIY Wood Sign
Making a DIY wood sign can be a fun and rewarding project that allows you to add a personal touch to your home décor. Whether you’re looking to craft a welcoming sign for your entryway or a motivational quote to hang in your office, follow these simple steps to make a wood sign that’s uniquely yours.
Step 1: Gather Your Materials
Before you start, make sure you have all the necessary materials:
- A wooden board or plank (size depending on your preference)
- Sandpaper (medium to fine grit)
- Wood stain or paint
- Paintbrushes or a foam brush
- Vinyl stencil or adhesive letters
- Transfer tape (if using a vinyl stencil)
- Acrylic paint for lettering
- Sealer (optional, for protection)
- Sawtooth hanger or other hanging hardware
Step 2: Prepare the Wood
- Sand the Surface: Smooth out the wood using sandpaper to remove any rough spots or splinters. This will help the stain or paint adhere better.
- Clean the Wood: Wipe down the sanded wood with a damp cloth to remove dust.
- Apply Stain or Paint: If you’re staining the wood, apply an even coat with a brush or cloth. For a painted look, choose a base color and apply it with a foam brush. Let it dry completely.
Step 3: Design Your Sign
- Select Your Quote or Image: Choose a message or design that resonates with you.
- make a Stencil: If you’re using a vinyl cutting machine like a Cricut, design your stencil and cut it out. If not, you can use pre-cut adhesive letters.
- Transfer the Design: Use transfer tape to position your vinyl stencil onto the wood, or place adhesive letters where you want them.
Step 4: Paint Your Message
- Apply the Paint: Use acrylic paint and a small brush to fill in your stencil or around your adhesive letters. Be patient and use multiple thin coats if necessary.
- Let It Dry: Allow the paint to dry completely before moving on to the next step.
- Remove the Stencil: Carefully peel off the vinyl stencil or adhesive letters to reveal your design.
Step 5: Seal and Finish
- Seal the Sign: If desired, apply a sealer over your sign to protect the paint and wood, especially if it will be hung outdoors.
- Attach Hanging Hardware: Secure a sawtooth hanger or your preferred hanging hardware to the back of your sign.
Step 6: Display Your Creation
- Find the Perfect Spot: Choose a place in your home where your new DIY wood sign will be seen and appreciated.
- Hang with Care: Make sure the sign is level and securely fastened to the wall.
Tip: For an extra rustic look, lightly sand the edges and painted areas after the paint has dried to make a distressed appearance.
Congratulations! You’ve just created a beautiful, handmade wood sign that adds character and a personal touch to your space. Remember, DIY projects are about expressing yourself, so don’t worry about perfection—embrace the quirks that make your sign unique.
FAQs: Crafting Your Own DIY Wood Signs
Learn how to craft your own DIY wood signs with our helpful FAQs. Get creative and add a personal touch to your home decor with these step-by-step instructions.
What materials do I need to make a DIY wood sign?
To get started on your DIY wood sign, you’ll need the following basic materials:
- A wooden board or plank of your desired size
- Sandpaper (medium to fine grit) for prepping the wood
- Wood stain or paint for coloring your sign
- Paintbrushes or a foam brush for applying stain or paint
- Vinyl stencil or adhesive letters for your design
- Acrylic paint for the lettering
- A sealer (optional) for protecting your finished sign
- Sawtooth hanger or other hanging hardware for mounting
Can I make a wood sign if I’ve never done any woodworking?
Absolutely! DIY wood signs are a beginner-friendly project. You don’t need specialized woodworking skills to make a beautiful sign. Following step-by-step guides and using simple materials and tools, anyone can make a wood sign.
How do I choose the best wood for my sign?
The choice of wood can depend on the look you’re going for:
- For a rustic sign: Reclaimed wood or pallets add character.
- For a smooth, polished sign: Select a pre-sanded plank from a craft store.
Consider the wood grain, any knots, and overall texture when making your choice.
How do I prevent paint from bleeding under my stencil?
To prevent paint bleed:
- Make sure your stencil adheres firmly to the wood.
- Apply a thin layer of Mod Podge on the edges of the stencil before painting.
- Use a dabbing motion rather than strokes when applying the paint.
Do I need to seal my DIY wood sign?
Sealing is not mandatory but highly recommended, especially if the sign will be placed outdoors. A sealer protects the paint and wood from moisture and sun damage, extending the life of your sign.
What kind of quotes or images can I use for my wood sign?
The beauty of DIY is personalization! You can use:
- Inspirational quotes that motivate you
- Personalized family names and important dates
- Images that reflect your hobbies or interests
- Seasonal themes or holiday-specific designs
How do I transfer a design onto the wood if I don’t have a vinyl cutter?
If you don’t have a vinyl cutter, you can:
- Use carbon paper to trace your design onto the wood.
- Print out your design and use a ballpoint pen to press the outline onto the wood, making an indent to follow with paint.
- Use pre-cut adhesive letters or stencils available at craft stores.
Can I make reversible wood signs to save space and vary decor?
Yes! Reversible wood signs are a great way to change up your decor without taking up extra space. Just plan two designs—one for each side—and follow the same process for making a single-sided sign.
Remember, making DIY wood signs is all about having fun and expressing your creativity. Don’t worry about perfection; the little imperfections add to the charm and uniqueness of your handmade piece.
Homemade DIY Wood Sign Ideas
Discover 30 creative and easy-to-make homemade DIY wood signs that you can bring to life. Get inspired and unleash your inner craftsman with these unique projects.
1. How to Build a Wood Sign
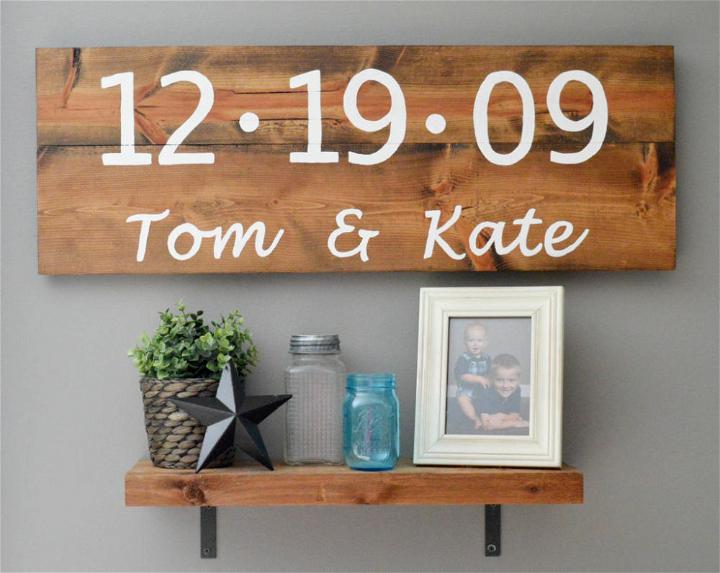
Making a rustic wood sign adds a warm, personal touch to your home decor, and it’s surprisingly simple and cost-effective to craft one yourself. The Simply Organized Home provides an easy-to-follow tutorial that will guide you through the process of making a charming DIY sign. From selecting the right wood and tools to the final touches of staining and painting, each step is laid out with clarity.
You’ll learn how to transfer your chosen words onto wood and achieve that coveted farmhouse style without the need for expensive equipment. This engaging guide not only helps you to make a unique piece for your home but also offers a satisfying project for any DIY enthusiast. Get ready to transform plain wood into a piece of art that reflects your style and personality.
2. Cheap DIY Pallet Wood Sign
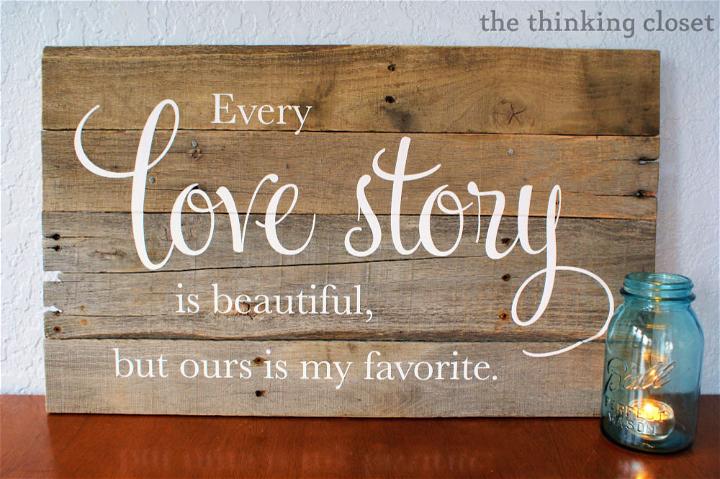
Transform your living space with a handmade touch by crafting a rustic wood pallet sign. The Thinking Closet‘s detailed tutorial guides you through the process, from sourcing the perfect pallet to assembling and applying the final touches. Ideal for wood-working aficionados and DIY enthusiasts alike, this project merges the charm of reclaimed wood with personalized lettering to make a unique piece of home decor. Follow along with clear, step-by-step instructions that make it easy to bring your vision to life, and infuse your home with a bit of handmade warmth and character.
3. How to Make a Wooden Sign at Home
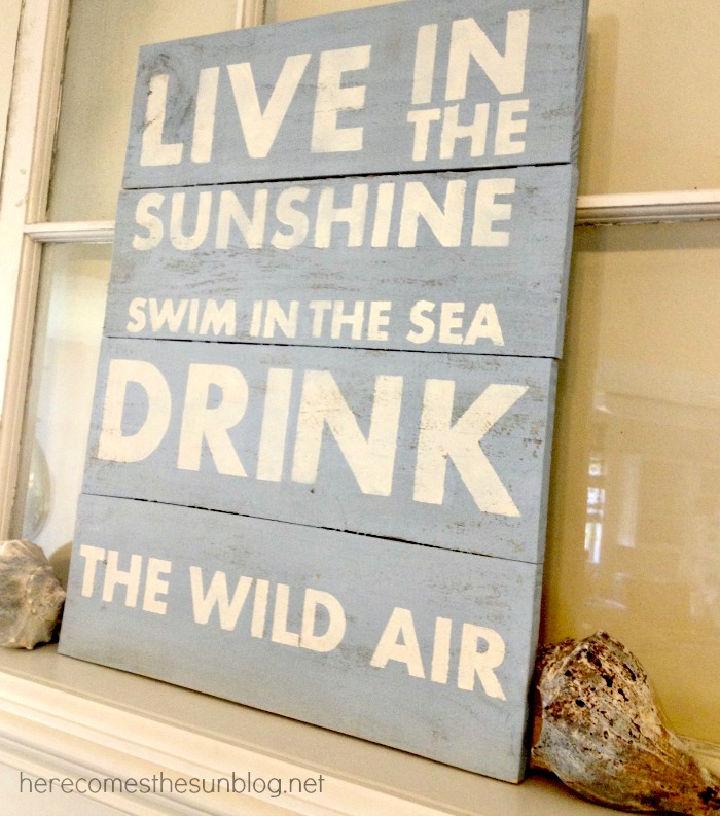
Making a DIY wooden sign is a fantastic way to add a personal touch to your home decor. Kelly Leigh Creates offers an easy-to-follow tutorial that guides you through making a rustic and charming sign using simple materials like scrap wood and paint stirrers. No need to worry about extensive prep work; chalky finish paint eliminates the need for sanding or priming, although you can sand the wood for a smoother finish if you prefer.
With a cutting machine and some vinyl, you can customize your sign with any design or phrase. This project is not only budget-friendly but also a great way to upcycle materials you might already have at home. Get creative and craft a unique piece that’s both stylish and meaningful.
4. Easy DIY Fall Wood Sign With Vinyl
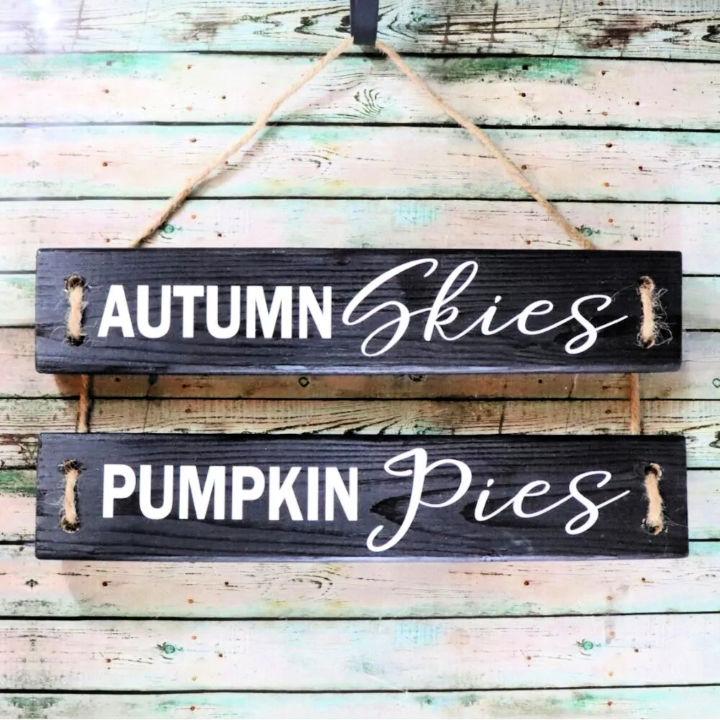
Transform your home decor with a touch of autumn charm by crafting a DIY fall wood sign with vinyl. Sarah from Creative Ramblings guides you through making a rustic yet modern sign that effortlessly blends with your seasonal decorations. By repurposing scrap wood and using simple tools like a Silhouette Cameo and a power drill, you can fashion a piece that’s not just a statement of style but also a testament to your crafting skills.
Remember to choose a sturdy rope and let the paint fully dry before applying vinyl for a professional finish. This project is ideal for adding a personalized touch to your fall theme. With Sarah’s step-by-step instructions, you’ll be able to hang your handmade sign with pride, knowing it’s a unique addition to your autumnal aesthetic.
5. Hand-Painted Wooden Sign – Free Plans

Making a painted wooden sign can be a fulfilling DIY project that adds a personal touch to any room. Our step-by-step guide walks you through selecting wood, sanding, designing, tracing with carbon paper, painting, and applying a stain for a polished finish.
With simple tools and materials, you can craft a custom art piece for your home. Follow our instructions, and you’ll have a unique wooden sign that’s both an expression of your creativity and a stylish decor element. Dive into this project, and enjoy the satisfaction of making something by hand that’s perfectly suited to your space. Hen And CO
First day of school sign: These free printable first day of school signs are great for taking that all-important picture on the front porch!
6. Build a Wooden Sign With Written Instructions
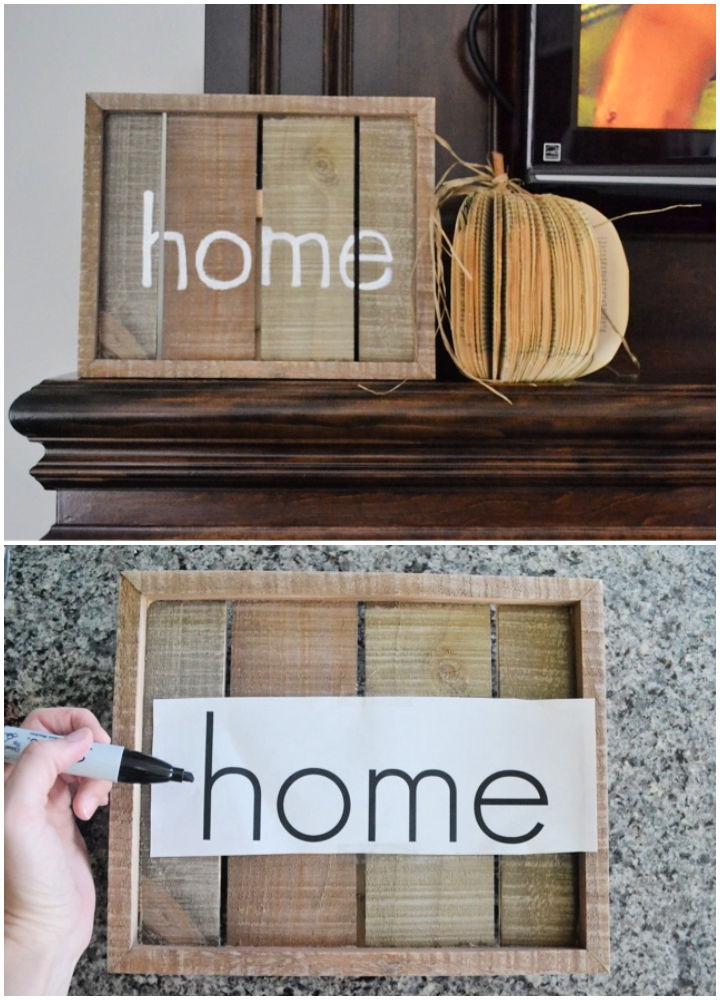
Transform your living space with a personalized touch using DIY wooden farmhouse-style signs, a trendy and charming decor choice. Baby by Oakley‘s guide simplifies the process, enabling you to make these stylish signs without breaking the bank.
With a few basic supplies like pre-made wooden signs, chalk, a ball-point pen, and a paint pen, you can replicate expensive designs for a fraction of the cost. Perfect for adding a cozy ‘home’ or welcoming ‘gather’ sign to your interior, this DIY project is both fulfilling and budget-friendly. Get inspired and add a homemade flair to your home with this engaging and easy-to-follow craft.
7. Easy Steps to Paint Planked Wood Sign
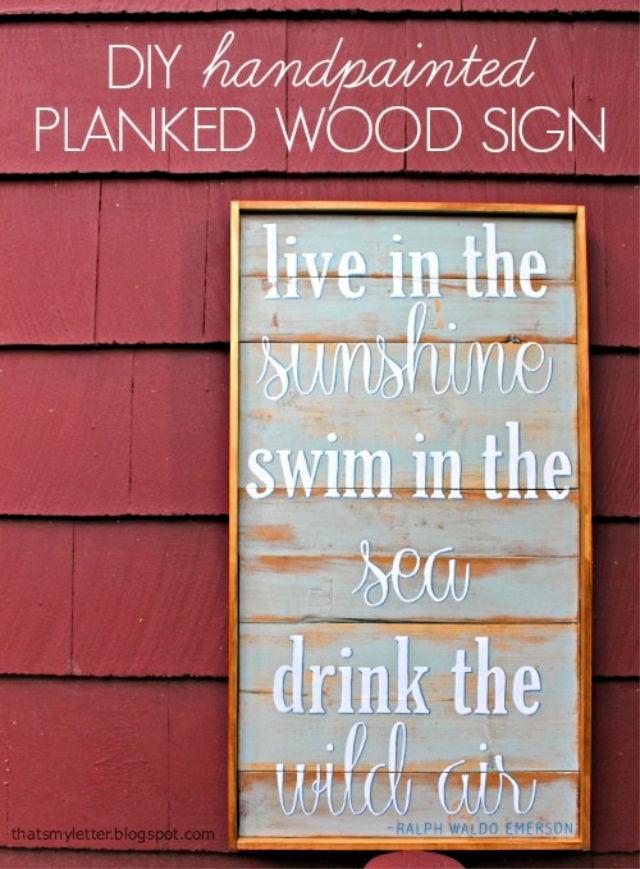
Make a personalized touch for your home with a DIY handpainted planked wood sign, following Jaime Costiglio‘s step-by-step guide. Perfect for adding character to any space, this project allows you to bring your favorite quotes or words to life on a rustic wood backdrop.
With simple supplies like scrap boards, paint, and a bit of creativity, you can transform plain wood into a charming piece of art. Jaime’s tutorial is easy to follow, making it a great project for anyone who loves crafting and custom decor. By handpainting your sign, you’ll end up with a unique item that’s both meaningful and stylish. So grab your tools, choose your quote, and start making a sign that’s as special as your space.
8. Reversible Farmhouse Wood Sign

Add a touch of rustic charm to your home decor with a DIY Reversible Farmhouse Wood Sign. Ideal for those who appreciate a cozy, handmade aesthetic, this guide from The Crafting Nook teaches you how to craft a versatile piece that’s both stylish and space-saving.
With clear, step-by-step instructions and a handy video tutorial, you’ll learn to make a weathered wood sign with a personalized stencil quote. Perfect for seasonal decor or year-round display, this project requires simple tools and materials, making it accessible for DIY enthusiasts of all levels. Embrace the farmhouse trend and elevate your living space with this creative and practical craft.
9. DIY Striped Round Love Sign Out of Wood
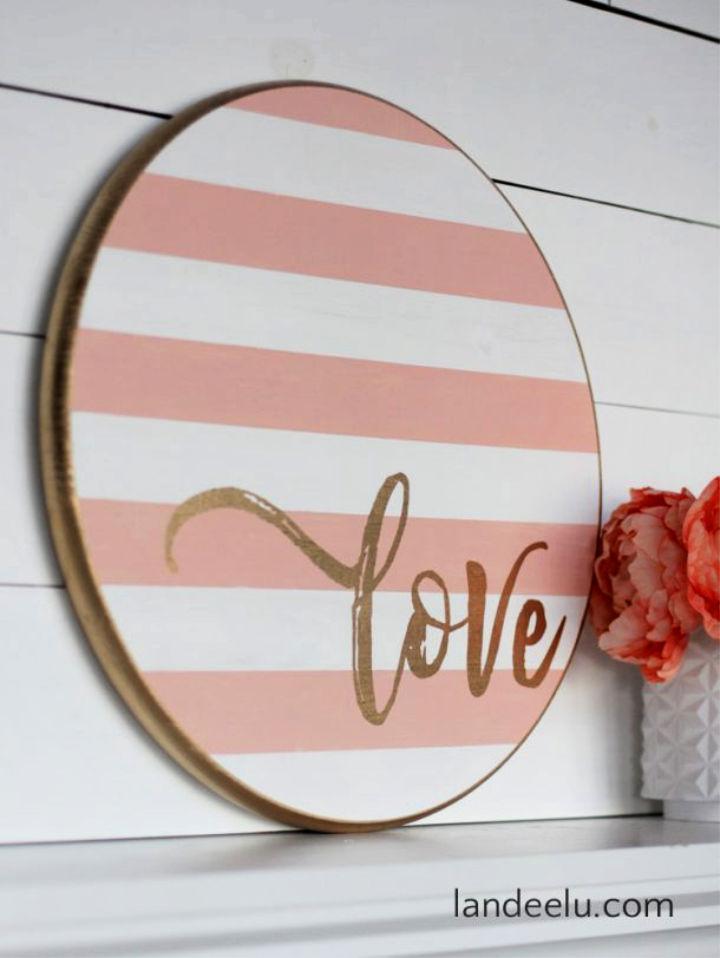
Ready to add a touch of romance to your home decor? Landeelu.com presents an engaging Valentine’s Day craft that’s perfect for sprucing up your space with love. make a charming striped round LOVE sign with blush, white, and gold hues to brighten up your mantel or wall. This craft is straightforward and enjoyable, with clear instructions to guide you through painting, taping, and stenciling techniques.
Gather your supplies, which include a wood round, painter’s tape, craft paints, gold spray paint, and a LOVE stencil. With each step carefully detailed, you’ll find yourself crafting a gorgeous sign that’s bound to become a cherished part of your Valentine’s Day celebration. Get ready to craft a piece that’s not just beautiful, but also a testament to your creativity and the spirit of love.
10. How to Build a Wood Sign for Home Decor
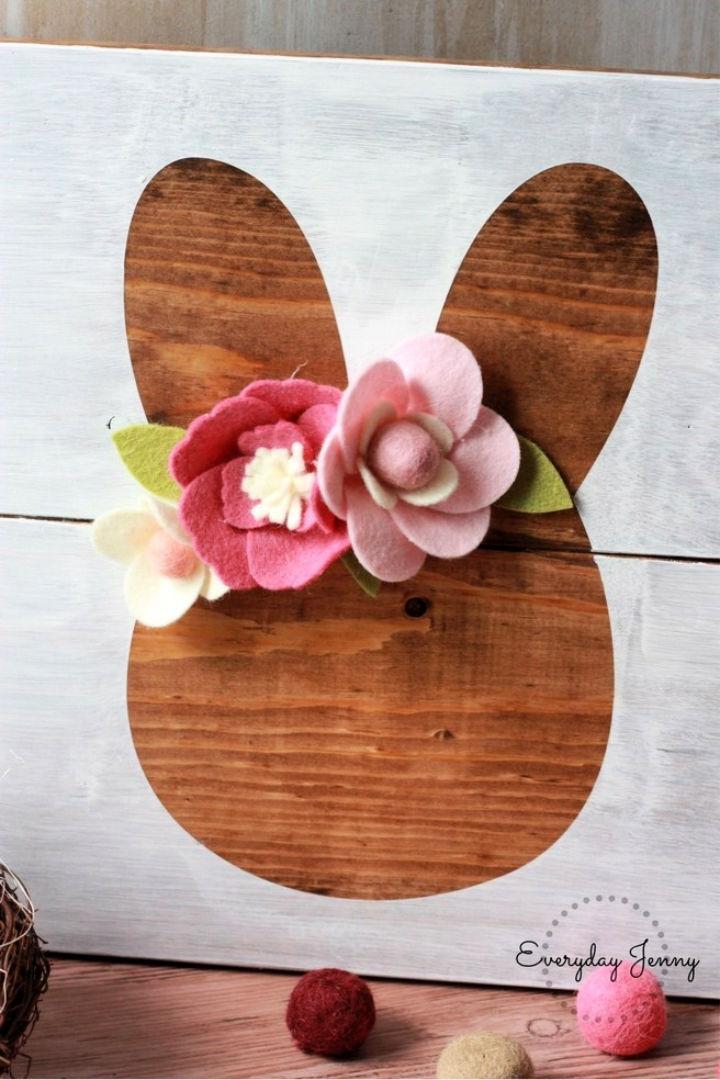
Making a DIY wood sign adds a personal touch to your home decor, and with this guide from Everyday Jenny, you can craft an adorable Easter bunny sign with ease. Start with pre-sanded wood for convenience, or choose to sand your own for a more hands-on approach. Staining the wood with Minwax in Honey gives it a warm, inviting look. Assemble the sign with wood glue and clamps, ensuring a solid build.
The real fun begins with designing your stencil using a Cricut machine and Stencil Vinyl, allowing for precision and creativity. Painting techniques, like dabbing around the stencil, prevent bleeding and ensure a crisp design. Finish off your sign by adorning it with handmade felt flowers, adding a charming 3D effect. With clear instructions and helpful tips, you’ll have a festive and stylish sign ready to enhance your Easter celebrations.
11. DIY Rustic Wood Sign With Free SVG Files
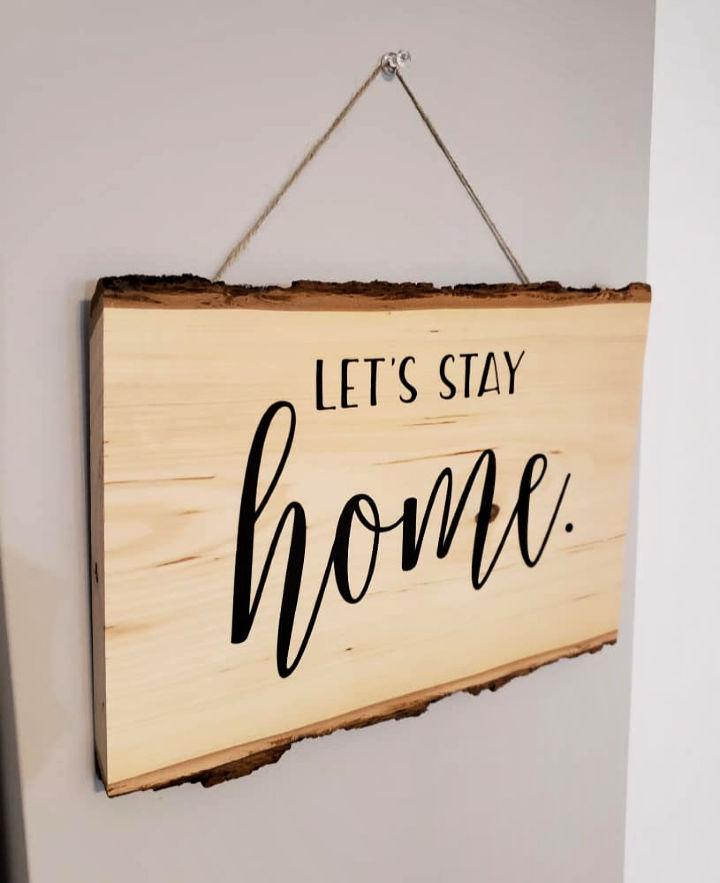
Ready to add a touch of rustic charm to your home decor? Marching North‘s tutorial on applying iron-on vinyl to wood is just what you need. In this engaging guide, Crystal walks you through making a DIY wood sign with a cozy message, perfect for any room. With clear, helpful instructions, you’ll learn how to use your Cricut and iron or Easy Press to achieve a professional-looking finish that rivals painted signs. Plus, you get access to a free SVG file to kickstart your project. Dive into this crafty adventure and transform a simple piece of wood into a statement piece that’s both stylish and inviting.
12. Making a Wood Sign With Calligraphy Quote
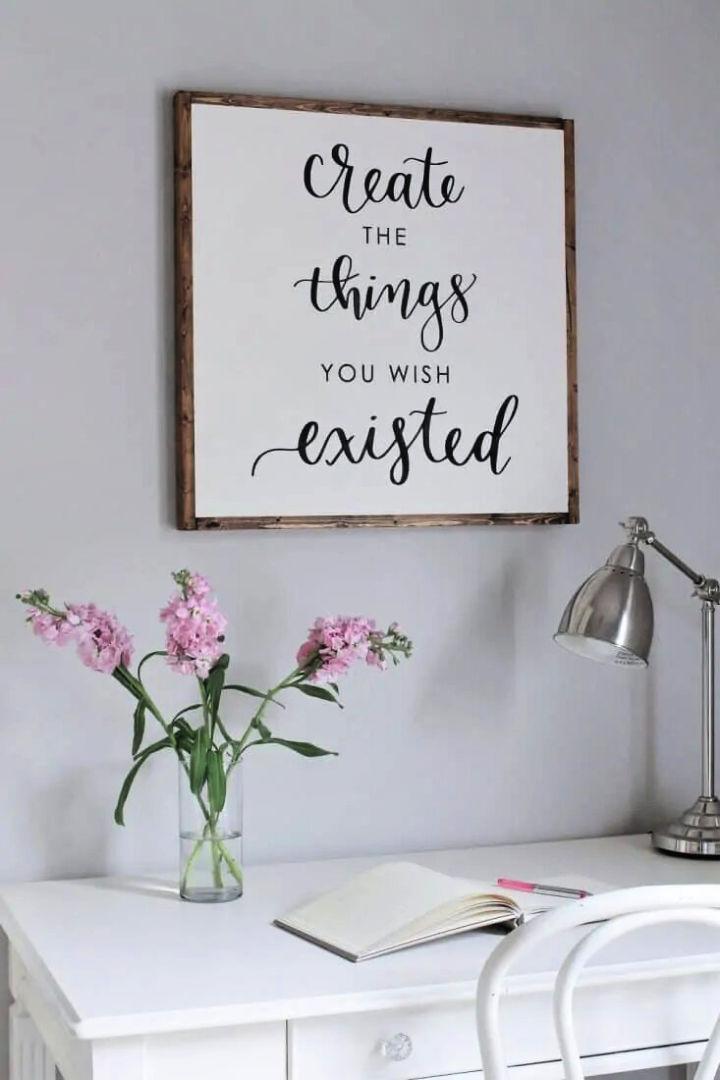
Building a DIY wood sign adds a touch of personalized charm to any space, and Angela Marie Made provides a comprehensive guide to help you craft your own. From selecting the perfect quote to applying the final touches, this tutorial simplifies the process.
You’ll learn two methods for transferring designs onto wood: a straightforward pencil tracing technique and a vinyl stencil approach using a cutting machine like a Cricut. The guide also covers essential steps such as cutting, staining, and painting your wood sign for a professional finish. With a free printable design and clear, step-by-step instructions, your custom wood sign project is sure to be a success.
13. Building a Personalized Wood Sign

Discover how to make a personalized DIY Wood Sign with Angie’s step-by-step guide on ANG and JOEY. This tutorial takes you through the process of crafting a textured and dimensional wooden sign that adds a unique touch to any room. Learn how to select the right materials, master the art of layering paint for a vintage look, and construct a sturdy frame to complete your artwork.
Perfect for adding a heartfelt message to your space, this DIY project is not only simple but also results in a one-of-a-kind piece that tells your family’s story. Get ready to transform a plain piece of wood into a statement piece that reflects your style and values.
14. How to Make a Wood Sign With Cricut Machine
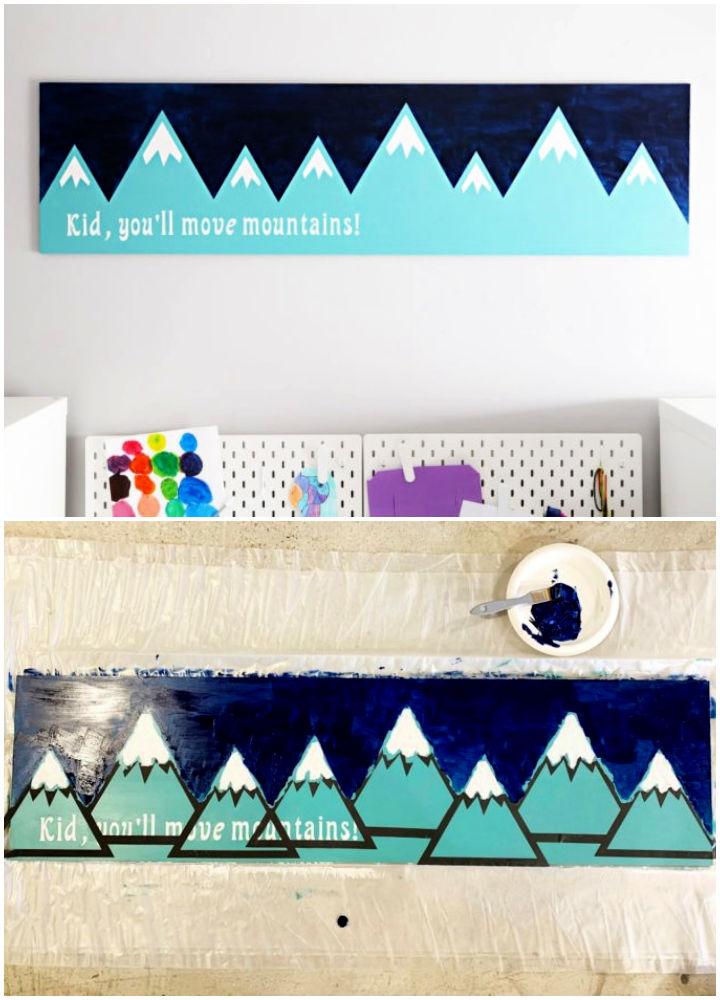
Learn how to make a charming DIY wood sign with a Cricut Explore Air 2 machine, guided by Abby Organizes. This step-by-step tutorial simplifies the process, making it accessible for anyone eager to add a personal touch to their home decor. From selecting the perfect piece of wood to applying the final coat of paint, each stage is clearly detailed to help you craft a unique piece that’s exactly right for your space. Dive into this engaging and helpful guide, and get ready to enhance your walls with a custom wood sign that’s sure to impress.
15. Simple DIY Family Name Wood Sign
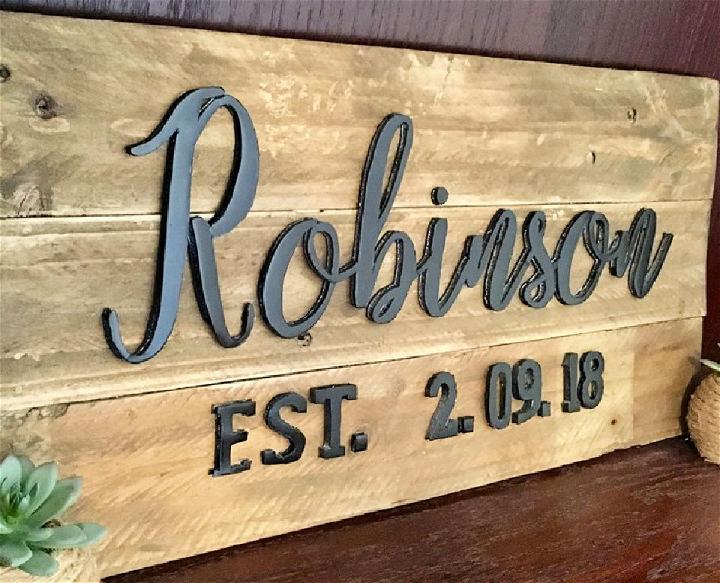
Make a charming DIY Family Name Sign with ease and affordability using Six Clever Sisters‘ step-by-step guide. This project is perfect for adding a personalized touch to your home decor without breaking the bank. By utilizing foam board and basic craft tools, you can produce an elegant piece that looks like it came from a boutique.
From printing your desired text to painting the final product, this tutorial ensures a smooth crafting experience. Ideal for gifts or personal use, this budget-friendly sign will impress with its professional appearance. Get ready to craft a beautiful sign that showcases your family name with pride!
16. Make Your Own Large Wood Sign

Make a personalized large wood sign with Dream Design DIY‘s straightforward image transfer method. This cost-effective project allows you to customize your decor without needing intricate stencils or software. The tutorial is perfect for adding a vintage touch to any space and is designed to be simple enough for anyone to follow.
With a focus on an industrial aesthetic, the guide provides step-by-step instructions on using basic tools and supplies to achieve a professional-looking sign. The process involves sanding, painting, and transferring your chosen graphic with carbon paper for a rustic finish. Once completed, hanging the sign is made easy with practical tips. Get ready to enhance your home with a unique and charming wood sign that reflects your style.
17. Cool DIY Wooden Autumn Sign
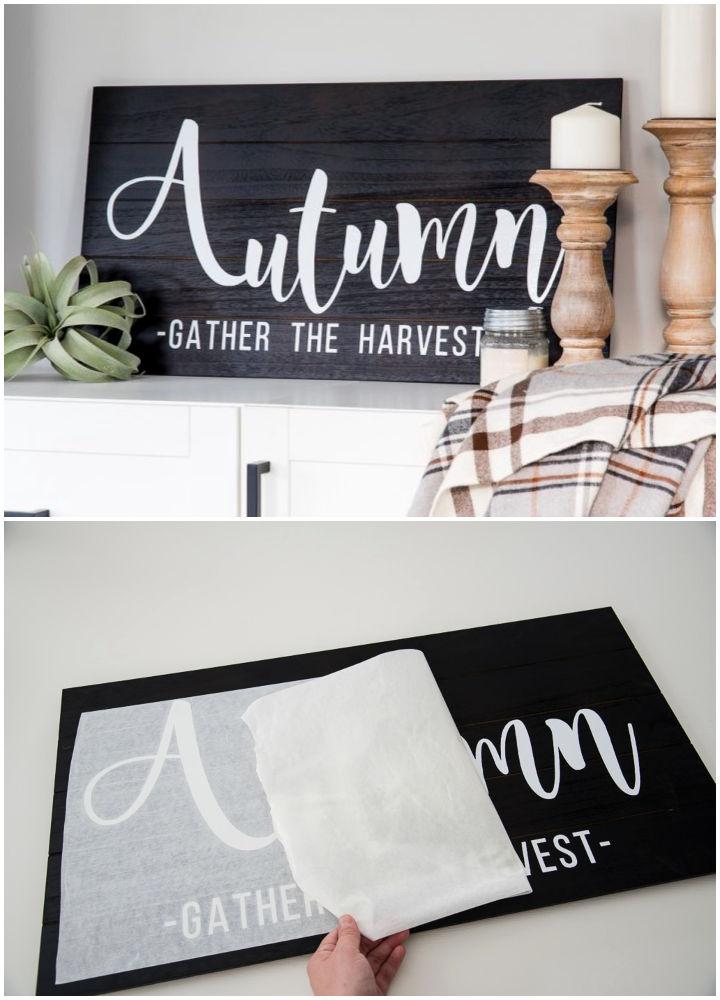
Make a cozy autumn atmosphere in your home with this DIY Easy Autumn Wooden Sign, a simple and delightful project from Christene Holder Home. Perfect for adding a touch of seasonal charm, this craft uses a Cricut Explore to cut a beautiful, hand-lettered style design. With easy-to-follow instructions, you can transform a wooden pallet-style sign into a piece of art that captures the essence of fall.
The process is streamlined with tips on resizing images, weeding vinyl, and applying your design with transfer tape, ensuring a polished and professional result. Ideal for anyone wanting to personalize their space, this wooden sign DIY is not only affordable but also a fun way to celebrate the changing seasons.
18. How to Build a Pallet Wood Sign
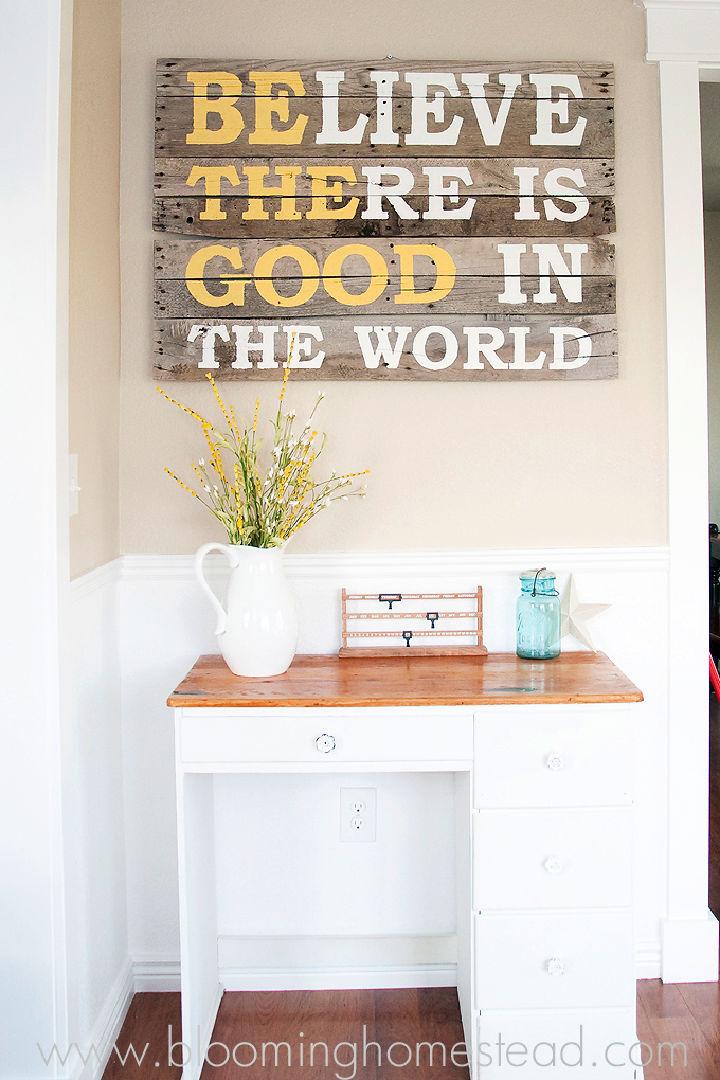
Make a charming pallet wood sign with this step-by-step guide from Blooming Homestead. This DIY project transforms simple materials like old pallets, paint, and cardstock into a personalized piece of home decor. Start by sourcing pallets, then dismantle them with care (watch out for nails!).
Assemble the boards, craft a stencil using a Silhouette Cameo, and bring your design to life with paint. Complete with hanging hardware, your rustic sign will add a touch of warmth to any room. For added convenience, follow the provided instructions to make your stencil and explore more DIY sign ideas on Blooming Homestead.
19. Beautiful Homemade Wood Signs
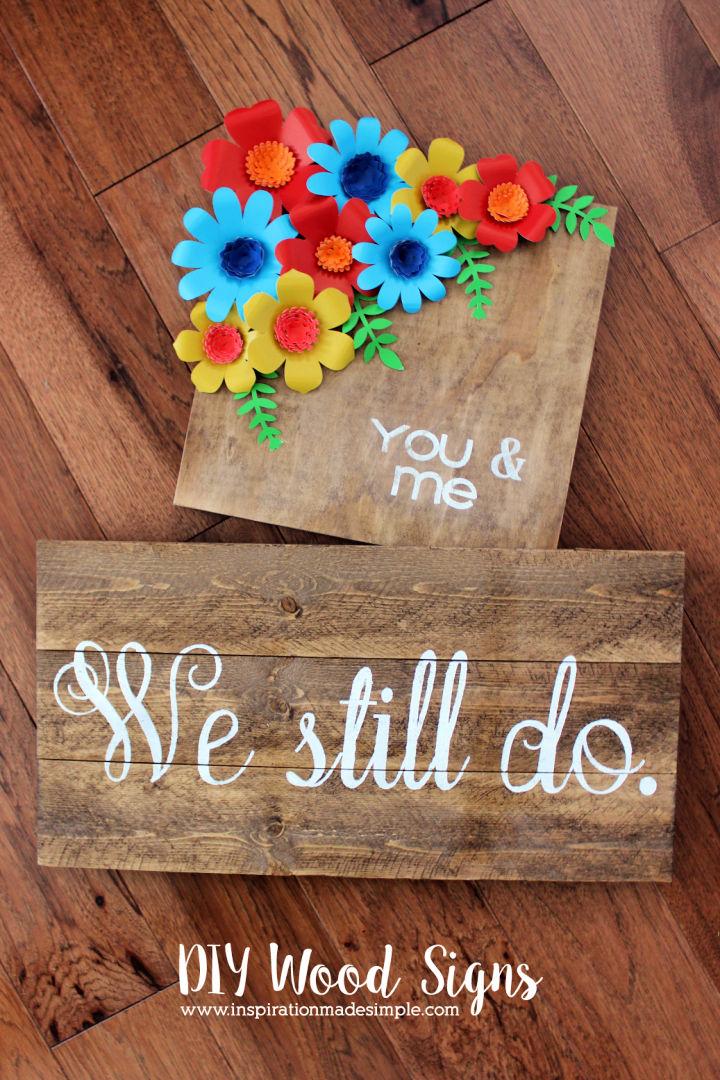
Make personalized wall art with ease using DIY wood signs, a project detailed on Inspiration Made Simple by Kim Morgan. Transform any room with these customizable pieces, perfect for adding a touch of warmth and character to your home decor. Kim guides you through the process, from selecting wood plaques and pallet signs to crafting your design with a Cricut Explore.
Whether you want to brighten up your space with colorful paper flowers or add a meaningful quote to your bedroom, her step-by-step instructions make it simple to achieve beautiful results. With just a few supplies like craft paint, cardstock, and a hot glue gun, you can make unique signs that reflect your style and celebrate special moments.
20. Affordable DIY Farmhouse Wood Signs
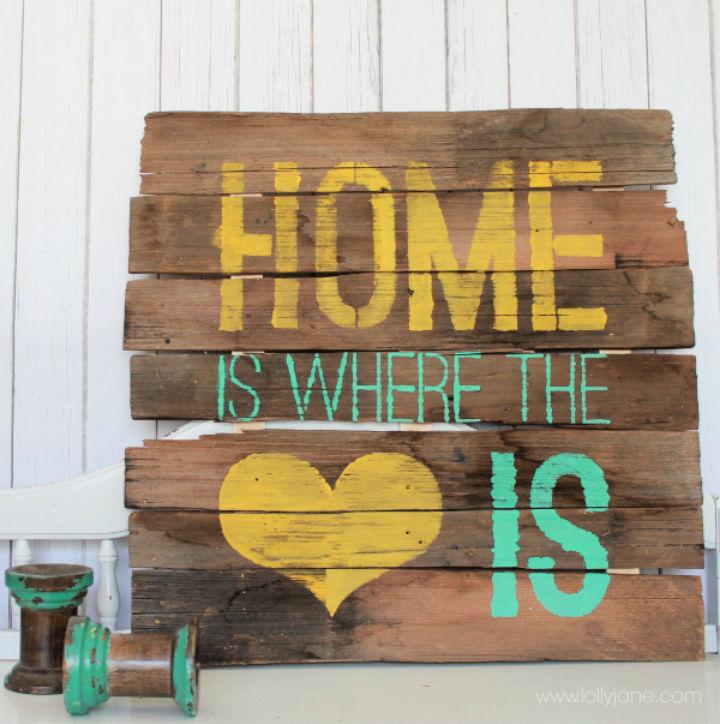
Discover how to make a charming “Home is Where the Heart is” sign using repurposed shingles or pallet wood with guidance from Lolly Jane. This DIY project is perfect for crafting enthusiasts eager to add a personalized touch to their home decor. The process is straightforward and suitable for all skill levels.
You’ll learn to assemble wood slats to form a canvas, securely attach them, and then bring the piece to life with a stencil and your favorite paint colors. Not only is this an enjoyable way to spend an afternoon, but you’ll also end up with a unique piece of art that embodies the warmth of home. Get ready to transform simple materials into a heartfelt creation that’s sure to be a conversation starter.
21. Handmade Mason Jar Pallet Wood Artwork Sign
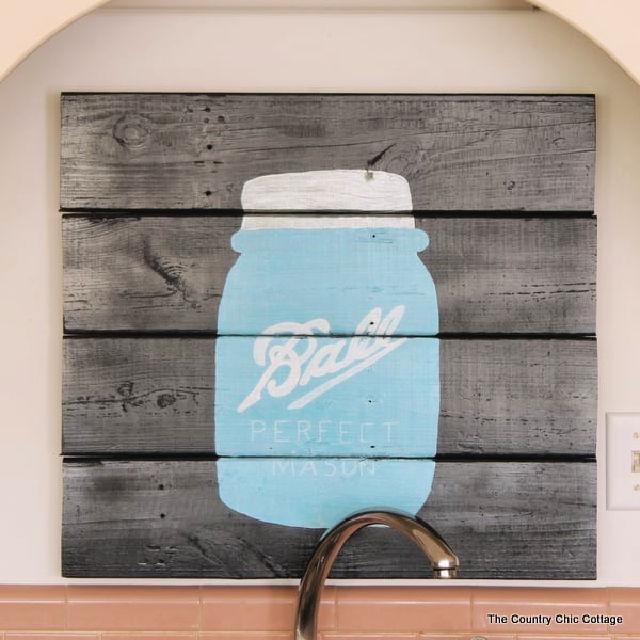
Discover how to make a charming mason jar pallet artwork with Angie Holden’s step-by-step guide. This DIY project is perfect for adding a rustic farmhouse touch to any room. Angie’s tutorial walks you through the process, from selecting scrap wood to the final protective sealer, ensuring your art piece is not only beautiful but also durable.
By following her instructions, you’ll learn how to mix paints for the perfect aqua shade, transfer lettering for a professional finish, and assemble your pallet art with ease. Angie Holden The Country Chic Cottage offers this creative and engaging way to personalize your home decor.
22. Easiest Way to Make Wood Signs
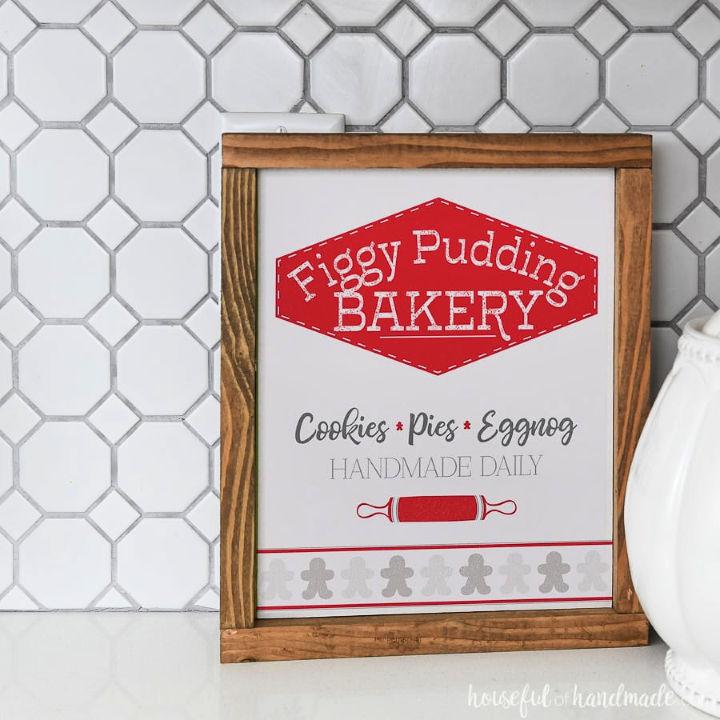
Making DIY wood signs is a fun and rewarding craft that can add a personal touch to your home or serve as thoughtful gifts. At Houseful of Handmade, you’ll find an easy-to-follow guide for making charming wood signs that can be customized for any occasion.
The process is cost-effective, with each sign coming in at around $4, and the materials needed are simple: plywood, 1×2 boards, Mod Podge, wood stain, and a few tools. Perfect for festive decorations or unique presents, these wood signs can be assembled quickly, and with the included tips, you’ll achieve a professional-looking finish. Get ready to craft beautiful wood signs that will impress friends and family alike.
23. Custom Wood Signs for the Front Porch
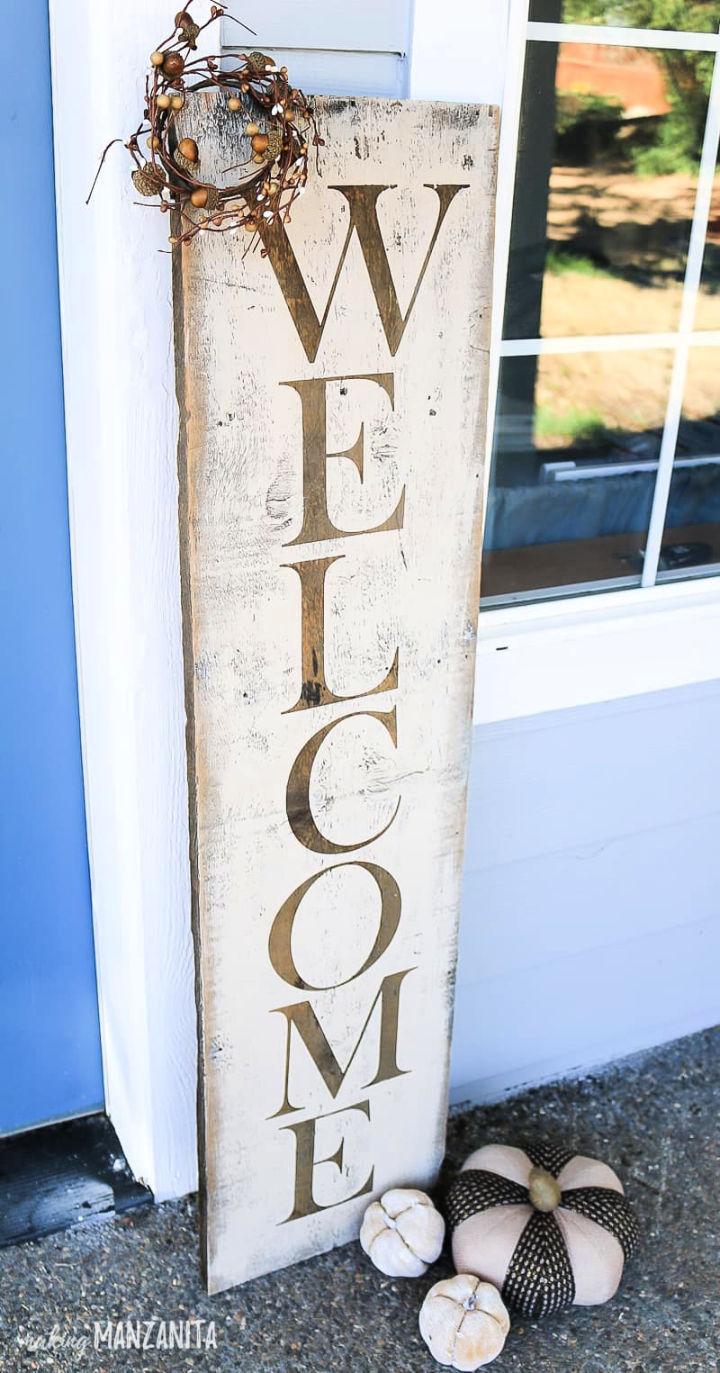
Discover how to craft stunning custom wood signs with Love & Renovations‘ comprehensive guide. Perfect for enhancing your front porch this fall, this DIY project is both simple and rewarding. With step-by-step instructions, learn to use a cutting machine for precision stencils, seal with Mod Podge for crisp lines, and paint with techniques that add a rustic charm.
From selecting the right wood to the final sealant, every detail is covered to ensure your handmade sign looks professional and inviting. Dive into this creative endeavor and personalize your home decor with a unique wooden welcome sign that reflects your style.
24. How to Make a Wooden Sign – Step by Step

Building a DIY wood sign adds a touch of rustic charm to any home decor. On DIY Candy, discover how to craft your own wooden sign with just a few simple steps. You’ll learn how to the perfect surface, apply stain or paint for a personalized touch, and add a graphic for that custom look. Ideal for farmhouse or industrial styles, this project is straightforward and rewarding. Whether sprucing up your living space or crafting a unique gift, this guide ensures an enjoyable and successful DIY experience.
25. Inexpensive DIY Pallet Wood Sign
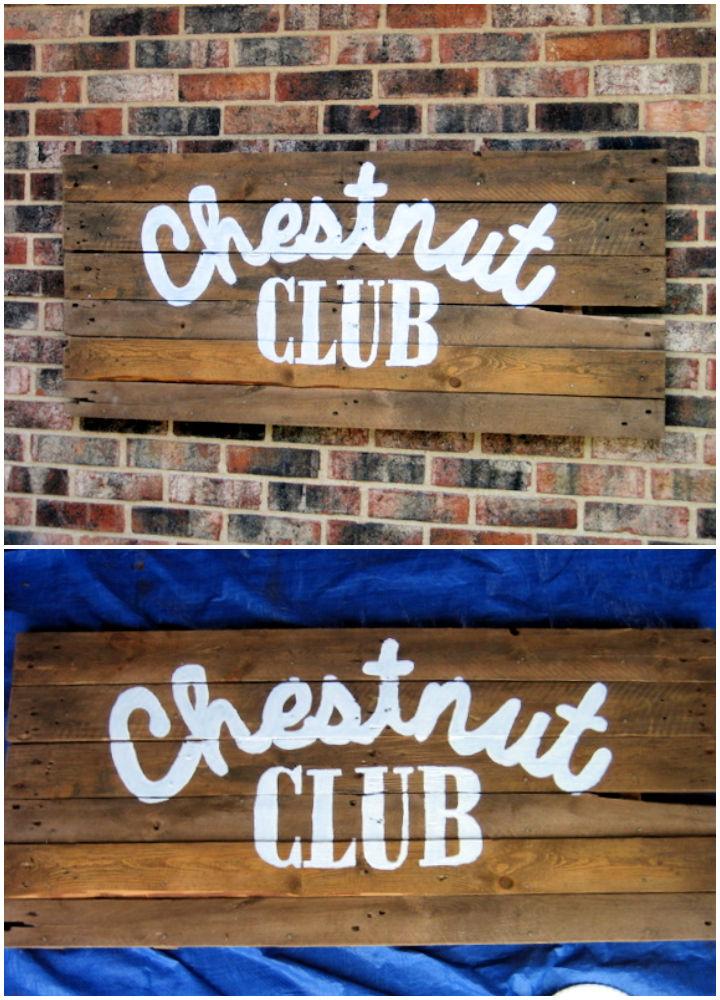
Making a DIY pallet sign is a charming way to add a rustic touch to your home decor. DIY Playbook offers a comprehensive step-by-step tutorial that guides you through the process, from dismantling the pallet to adding the finishing touches to your personalized sign. With detailed instructions and helpful images, even DIY novices can confidently tackle this project.
The tutorial also includes a clever tip on using a watered-down paint mixture to achieve a vintage look, ensuring your sign retains its weathered appeal. With a cost-effective approach and an engaging, easy-to-follow method, you’ll be able to craft a unique piece. It will be both aesthetically pleasing and sentimentally valuable.
26. How to Build a Wood Sign With Paint
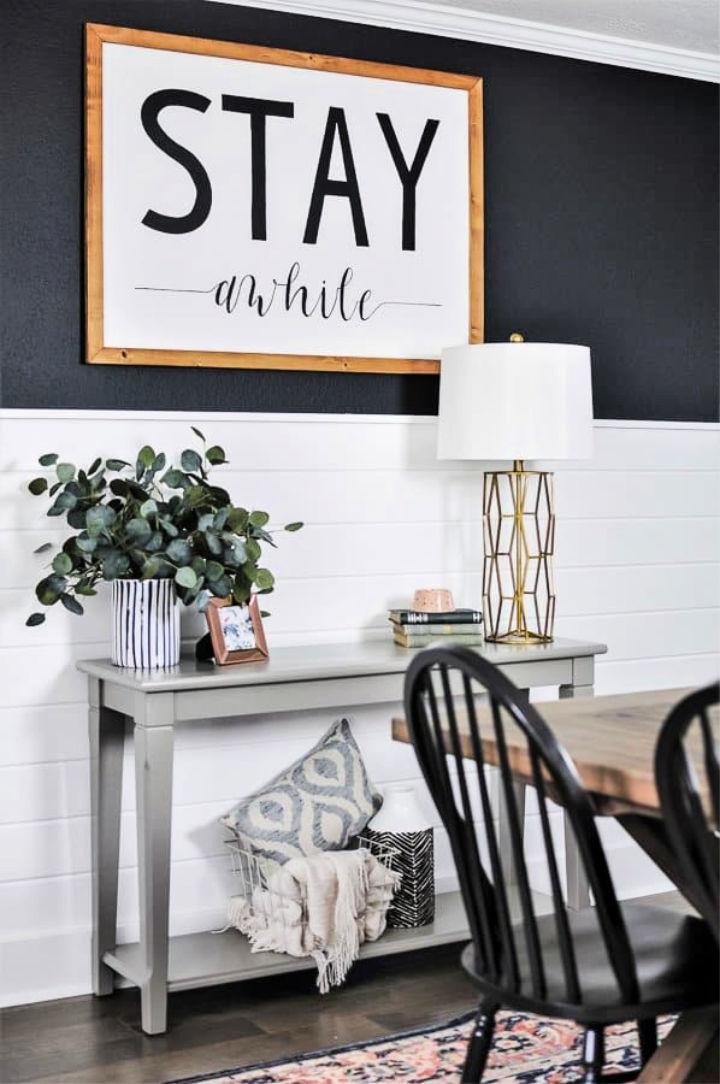
Making a DIY wood sign with a charming farmhouse look is a delightful project that can add a personalized touch to your home decor. Joyful Derivatives provides a comprehensive guide that breaks down the process into three manageable steps, ensuring that anyone can craft a beautiful piece regardless of their woodworking or artistic skills.
This tutorial helps you select, paint, assemble, and customize your sign with a favorite quote or phrase. It’s instructive and engaging! Get paint tips, a materials list, and everything you need to create a beautiful wood sign that complements your space.
27. Building a Wooden Welcome Sign for the Front Door
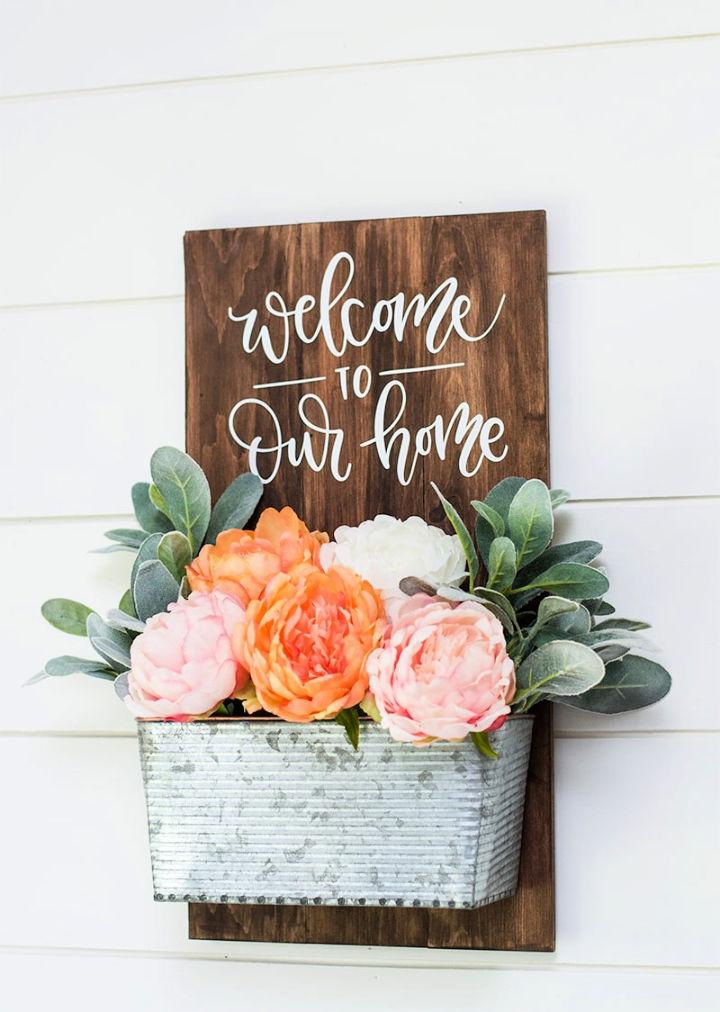
Transform your front porch with a personalized touch using Courtney Sanchez’s DIY Welcome Sign tutorial on Crafts by Courtney. Her guide offers an easy-to-follow process, involving simple materials like a wall planter, unfinished pallet sign, stain, vinyl, and a few other crafting essentials.
With her creative approach, craft a charming welcome sign that greets guests and enhances your home’s curb appeal. This project is versatile, allowing for seasonal decoration swaps, and hassle-free installation with Command Strips. Dive into crafting this delightful addition to your home, perfect for DIY enthusiasts looking to elevate their front door decor.
28. DIY Embroidered Pallet Wood Art

Transform pallet wood into a charming piece of embroidered art with this engaging DIY project from My So Called Crafty Life. Perfect for adding a rustic touch to your home decor, this craft involves simple materials like a piece of pallet wood, yarn, and basic tools.
Follow the step-by-step guide to make your own personalized art by drilling holes and stitching through the wood. This tutorial is perfect for crafters who want to explore the unique combination of woodworking and embroidery. Get ready to craft a one-of-a-kind decoration that’s sure to be a conversation starter!
29. Making a Framed Rustic Wood Sign
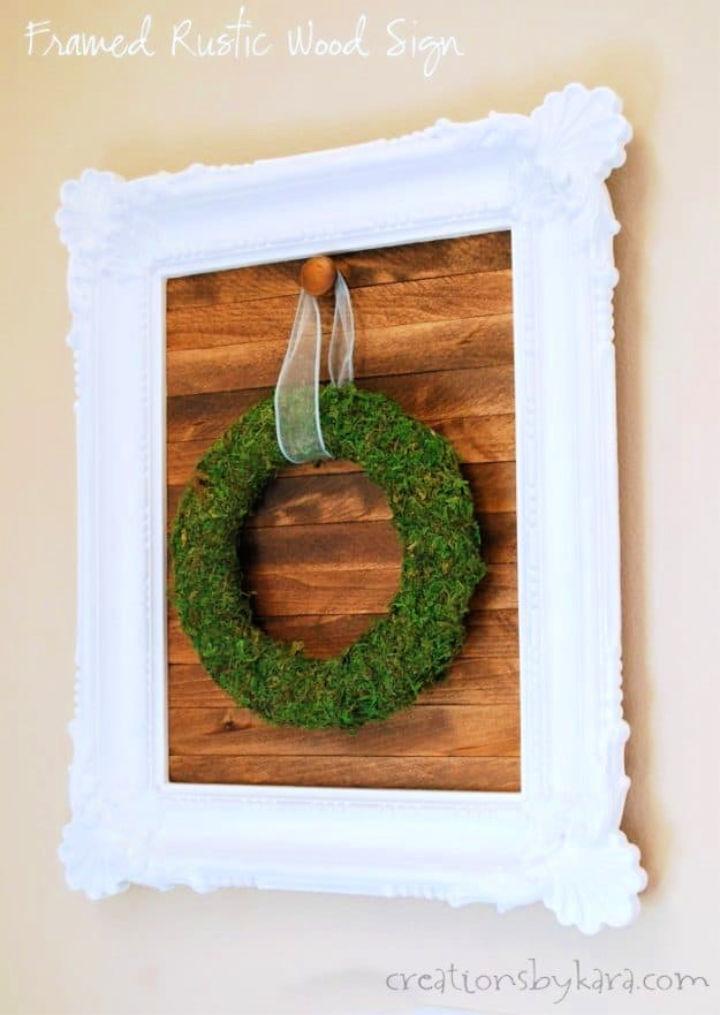
Make a charming rustic wood sign with a frame to enhance your home’s decor. Creations by Kara offers a step-by-step guide on crafting this beautiful piece, perfect for displaying wreaths and seasonal decorations. With simple materials like wood shims and a touch of paint, you can transform an ordinary frame into a statement piece. This project is ideal for anyone wanting to add a personal touch to their living space. Follow these instructions to make a stylish and functional wood sign that brings a warm, rustic feel to any room.
30. How to Make a Large Wood Sign With Cricut
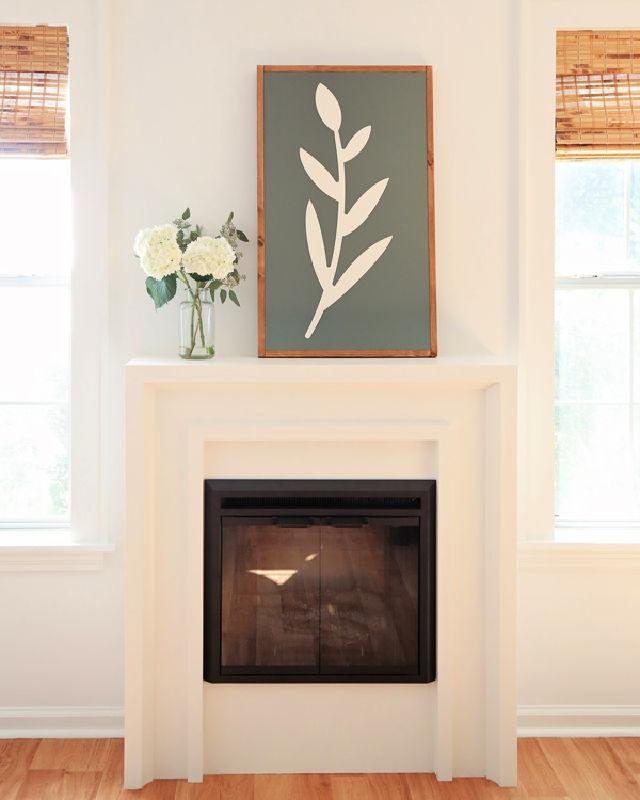
Transform your living space with a personalized touch by making a large, eye-catching wood sign using Cricut. Angela Marie Made provides a comprehensive guide that simplifies the process, from selecting materials to the final touches of framing. With the new Cricut Explore 3, crafting a custom piece of wall art has never been more seamless.
You can cut vinyl up to 12 feet long without a cutting mat, making your DIY project both efficient and enjoyable. This tutorial is perfect for adding a unique statement to your home decor, and with detailed steps and helpful tips, you’ll be well-equipped to design a stunning wood sign that reflects your style.
Conclusion:
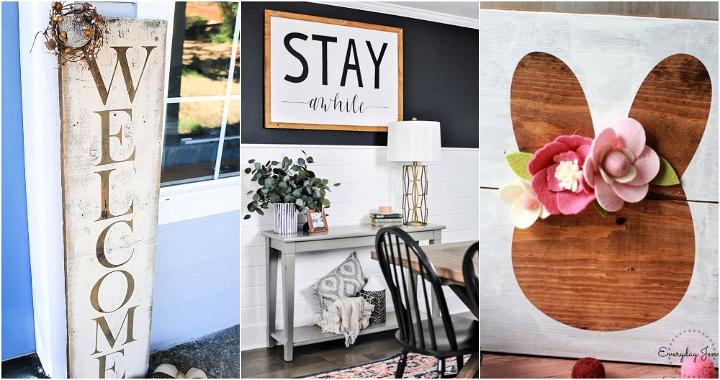
In conclusion, making your very own homemade wood signs is an enjoyable way to infuse your living space with personalized charm and warmth. Our guide provides you with a wealth of inspiration and practical tips to transform simple wooden planks into beautiful, bespoke pieces that reflect your individual style and add a touch of handcrafted elegance to your decor.
As you master the art of making these wood signs, you’ll discover a fulfilling hobby that allows for endless creativity and a unique way to express your thoughts and inspirations. So grab your tools, select your favorite sayings, and start crafting wooden signs that will become treasured accents in your home.
