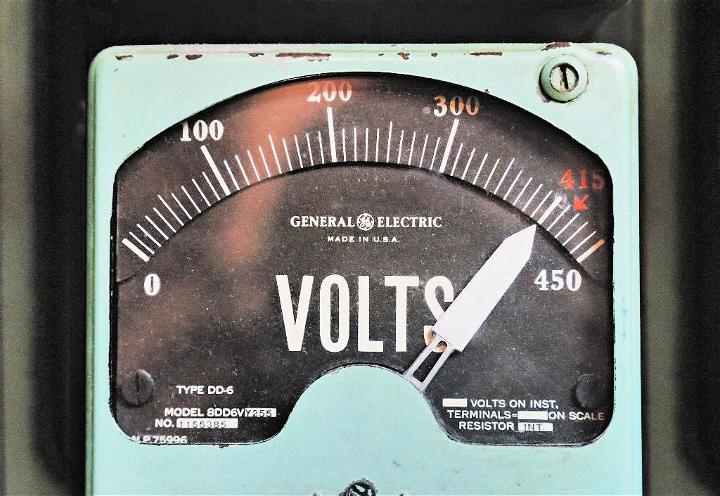
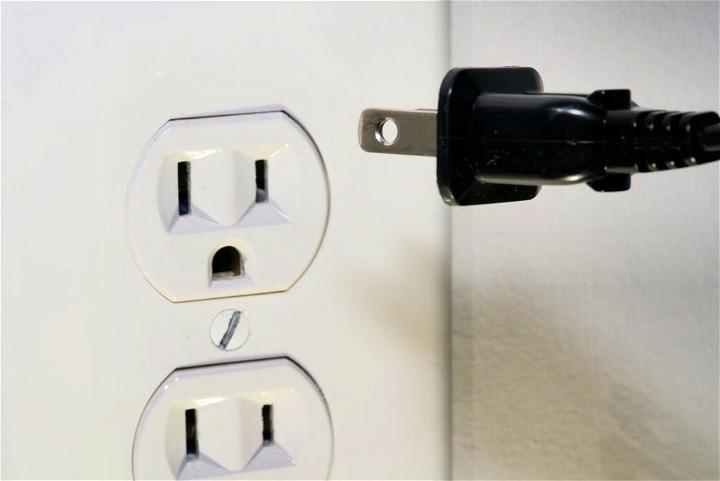
Most homeowners love taking matters about their house such as repairs into their hands. Some even build their homes themselves and complete the finishing with the help of some other persons if it’s a big property. From the plumbing, painting, to the electrical works, many people prefer to do it on their own and that could be you too.
When it comes to electrical fittings, repairs, and some other house installations, you might need the help of professionals to come to fix it up for you because of the technologies involved. However, in regards to electrical repairs, there are some that you should know how to fix on your own – professional or not. For example, if your bulb is busted; you don’t need to go call your electrician to help you fix it, just get another bulb of your choice and replace it.

So, what electrical repairs can you do by yourself? That’s what this article would be focusing on. Keep reading to discover some of those repairs.
Checking for an Electrical Short
When you switch on an electrical appliance, and you notice the circuit has been short out, reset the breaker and try switching the appliance on again. If that happens after that, know that the issue is from the appliance. But if it happens when you didn’t plug in the appliance, there is a high tendency you have a short in the wiring of the house or the receptacle.
Go ahead to disconnect any item that is connected by plug and that can be removed easily. Thereafter, try turning on the power to the circuit to check if the short has been rectified. If the short is still there after disconnecting the devices, you need to ensure that you turn off the power completely by setting the breaker to the off position or by taking out the fuse at the main electrical panel if that has not been done. Use a properly insulated volt or Ohm meter to verify that it’s off.
Thereafter, take out the receptacle from the box using pliers. Using the Ohm feature on the volt/Ohm Meter, check each wire. How do you carry out the process? Join one lead and the other of the testing meter to the black and white wire respectively. If the meter indicates ZERO or OL, that is a clear indication that there’s a dead short in the wiring. Repeat this process using all the wires till they have been checked against each other.
Get to read the community between the green and white and the uninsulated wires. After confirming the presence of the community using black wires, go ahead and remove other receptacles, light fixtures, and switches from the circuit where or when necessary. Keep checking the circuit with the meter you used earlier on after the removal of each device. After the community reading has been cleared, you would know where the trouble is coming from. Don’t play electrician than inside the panel, as it is quite dangerous and should be done by professionals.
Repairing an Electric Stove
If your electrical stove has been acting up lately, and you realized that one of the burners isn’t working properly, it might be due to multiple factors such as a damaged burner, switch, or a terrible socket connection. The first thing you want to do is to discover; what the challenge is by switching the damaged burner with one that actually works. Just remove the burner from the socket and input the prongs of the former burner in. The electrical tools every new sparky should have include wire strippers, electrical tapes, a multimeter, cutting or crimping tools, and screwdrivers. Check the socket properly if the burner still doesn’t work either.
Corroded or charred sockets need to unplug your stove and substitute the old socket for a new one. It’s really not complicated to remove; unscrew the socket from the stove, the wires, and get the wires connected directly to the new socket, and finally screw the new into the stove.
After doing the needful checks, and it remains the same, then there is the possibility that your socket is faulty. You need a multimeter tester in order to verify it. Next is to unplug your stove and locate where the switch is. Switch on the burner if you don’t mind and take the wire from the H1 terminal. Put your multimeters to RX-1 and set the probes on the terminals H1 and H2. Now, supposing the meter did not change, what do you now do? Replace the switch or contact a professional.
Repair an Extension Cord End
For people who have a heavy-duty extension cord, one thing we’d agree is that you know they used to be cheap. Notwithstanding, nothing is as simple as repairing a cord that has been completely cut or damaged. Begin by cutting the old plug off before gently cutting back the insulation jacket.
Remove the covering of each of the wires by using the right gauge and a wire stripper before you twist the wire together. Force them back into the plugin this strict orders black wire to gold screw, white wire to the silver screw, and green wire to the green screw. Depending on how close the plug, close and secure them.
Repair Any Loose Outlet
When your electrical outlet is moving around in its box, you need to stay on top of the situation as it could loosen your electrical wires and most importantly ensure safety. To handle this, switch off the power and ensure there is no electricity coming to the outlet by using a voltage tester.
Unscrew the cover plate and the outlet when it’s safe. If outlets are recessed too much, include outlet shims to the screws until he was flushed with your wall.

These and many more are tasks you should learn how to do yourself. Don’t be so motivated to hire a professional. Take a step backward and evaluate the situation critically, is it very serious and would cause harm? If yes, reach out to a professional else, learn how to do it yourself.
