Making a DIY end grain cutting board is not just a creative project—it’s a functional upgrade for any kitchen. Discover 15 free DIY end grain cutting board plans and designs to enhance your kitchen, perfect for both beginners and skilled woodworkers. With helpful guidance and practical tips, these end grain cutting boards ensure you’ll make a beautiful and long-lasting kitchen utensil.
Upgrade your culinary workspace by making an end grain cutting board with a design that’s uniquely yours. As you delve into these 15 free DIY end grain cutting board plans and designs, you’re poised to infuse your kitchen with a touch of personal craftsmanship. Engage with each step, and let your imagination lead the way to a cutting board that will amaze every guest. Ready to explore further? The next section awaits DIY end grain cutting board plans with inspiration and detailed instructions.
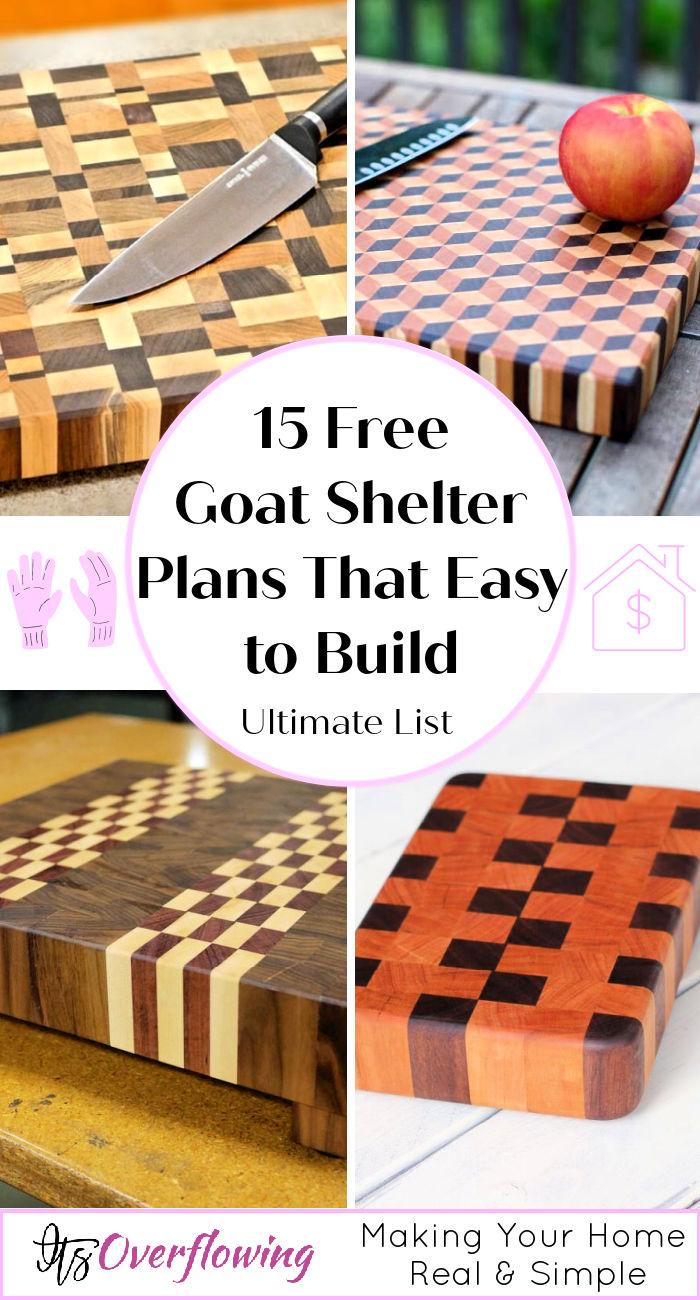
Why Make Your Own End Grain Cutting Board?
Making your own DIY end grain cutting board offers numerous advantages that go beyond the simple pleasure of DIY crafting. Let’s explore the compelling reasons to embark on this woodworking journey:
- Durability and Longevity: End grain cutting boards are incredibly durable. The wood fibers absorb the impact of knife blades, self-healing after cuts and prolonging the life of both your knives and the board.
- Customization: When you make your own cutting board, you have the freedom to choose the exact size, shape, and pattern that suits your needs and personal style. This level of customization is unparalleled in store-bought options.
- Quality Assurance: Crafting your own cutting board allows you to select high-quality woods and ensure that every step of the process meets your standards. This attention to detail results in a superior product that can last for generations.
- Eco-Friendly: Using scrap wood or repurposed materials not only saves them from the landfill but also reduces the environmental impact associated with mass-produced items.
- Cost-Effectiveness: While high-end cutting boards can be expensive, creating your own is often a more cost-effective solution, especially if you already have the necessary tools and materials.
- Personal Satisfaction: The process of making an end grain cutting board is deeply satisfying. There’s a special pride in using and displaying a functional piece of art that you crafted with your own hands.
By considering these factors, you’re well-equipped to decide if making an end grain cutting board is the right project for you. With the potential for creativity, practicality, and sustainability, it’s an endeavor that offers rewards far beyond the finished product.
Materials and Tools You’ll Need for DIY End Grain Cutting Board
Discover the essential materials and tools required for crafting your own DIY end grain cutting board. Get ready to unleash your creativity in the kitchen!
Materials:
- Hardwood Blocks: Choose durable hardwoods like maple, walnut, or cherry for longevity and aesthetics.
- Wood Glue: Opt for a waterproof and food-safe glue to ensure a strong bond between wood pieces.
- Mineral Oil: This will treat and protect your cutting board, keeping it safe for food contact.
- Beeswax: Optional for a more water-resistant finish and added shine.
- Sandpaper: Various grits for smoothing the surface, typically ranging from coarse (80 grit) to fine (220 grit).
- Rubber Feet: To keep your board stable and to allow for airflow underneath.
Tools:
- Table Saw: Essential for making accurate cuts and resizing the hardwood blocks.
- Clamps: For holding the wood pieces together securely while the glue dries.
- Planer: To even out the surfaces and ensure uniform thickness.
- Orbital Sander: Makes sanding quicker and results in a smooth finish.
- Chisel: Handy for cleaning up any excess glue and for detail work.
- Drill: If you plan to add rubber feet, you’ll need a drill for pilot holes.
- Router with CNC Attachment: Optional, for creating intricate designs or inlays.
Remember, always prioritize safety when using power tools. Wear protective eyewear, use push sticks to keep fingers away from blades, and work in a well-ventilated area. Take your time to measure twice and cut once to ensure the best outcome for your DIY end grain cutting board.
How to Make a Simple End Grain Cutting Board
Creating an end grain cutting board is not just about crafting a kitchen tool—it’s about making a piece of art that is both functional and durable. If you’re new to woodworking or simply looking for an easy-to-follow guide to creating your first end grain cutting board, you’re in the right place. Follow these steps for a straightforward approach to making a cutting board that will be the talk of your kitchen.
Materials and Tools Needed:
- Hardwood blocks (Maple, Walnut, or Cherry are great choices)
- Waterproof, food-safe wood glue
- Mineral oil for finishing
- Sandpaper (assorted grits)
- Four rubber feet (optional)
- Table saw or hand saw
- Clamps
- Planer or hand plane (optional)
- Orbital sander or sanding block
- Drill (if adding rubber feet)
Step-by-Step Guide:
1. Select Your Wood
Choose durable hardwoods that are known for their longevity and beauty. Maple, walnut, and cherry are excellent options for their ability to withstand repeated knife use without dulling the blades.
2. Cut the Wood Blocks
Using a table saw or hand saw, cut your wood into uniform blocks. The size of these blocks will determine the size of your cutting board.
3. Arrange the Wood Blocks
Lay out your blocks in a pattern or design that appeals to you. Pay attention to the grain patterns and colors for the most visually pleasing arrangement.
4. Glue the Blocks Together
Apply a generous amount of wood glue to the edges of your wood blocks, and clamp them together tightly. Ensure the glue used is waterproof and food-safe.
5. Let the Glue Dry
Allow the glue to cure as per the manufacturer’s instructions, usually for 24 hours, to ensure a strong bond.
6. Flatten the Surface
Once the glue has dried, use a planer or hand plane to even out any unevenness and ensure that your board has a uniform thickness.
7. Sand the Cutting Board
Start with a coarse grit sandpaper and work your way up to a finer grit. Sand until the surface is smooth to the touch.
8. Add Rubber Feet (Optional)
To prevent slipping and allow airflow underneath your cutting board, you can add rubber feet. Drill pilot holes in each corner of the board and screw in the feet.
9. Finish with Mineral Oil
Apply mineral oil to the cutting board to protect the wood and bring out its natural grain. Allow the oil to soak in, and then wipe off any excess.
10. Enjoy Your New Cutting Board
Once the oil has dried, your new end grain cutting board is ready to use. Enjoy the beauty and durability of your handcrafted kitchen tool.
Remember, safety is paramount when working with power tools. Always wear protective eyewear, follow the tool’s safety guidelines, and work in a well-ventilated area. Taking the time to measure carefully and work patiently will ensure a cutting board that you’ll be proud to show off and use for years to come.
FAQs About DIY End Grain Cutting Board Plans
Discover essential tips and tricks in our FAQs for creating your own end grain cutting board, a crucial step for any DIY woodworking project.
What is an end grain cutting board and why is it preferred?
An end grain cutting board is a type of cutting board where the surface is made from the ends of wood fibers. This design is preferred because it’s durable and gentle on knives, as the wood fibers can close back up after the knife blade passes between them.
How do I choose the right wood for an end grain cutting board?
Select hardwoods such as maple, walnut, or cherry for their durability and aesthetics. Avoid softwoods as they can be easily damaged and may harbor bacteria.
Can I make an end grain cutting board with scrap wood?
Absolutely! Using scrap wood is a great way to be eco-friendly and cost-effective. Just ensure the scraps are hardwood and free of any defects or contaminants.
What tools do I need to make an end grain cutting board?
You’ll need a table saw, clamps, a planer or hand plane, an orbital sander or sanding block, a drill (for rubber feet), and possibly a router for more advanced designs.
Is wood glue safe for making cutting boards?
Yes, use a waterproof and food-safe wood glue to bond the pieces of your cutting board together. This ensures durability and safety for food contact.
How do I finish and maintain my end grain cutting board?
After sanding the board smooth, finish it with food-grade mineral oil to protect and hydrate the wood. Reapply oil periodically to maintain the board’s condition.
Can I add features like rubber feet to my cutting board?
Certainly! Rubber feet can provide stability and allow for airflow underneath the board. Drill pilot holes and attach the feet with screws.
What safety precautions should I take when making a cutting board?
Always wear protective eyewear and follow the safety guidelines for each tool. Work in a well-ventilated area and keep your fingers away from blades using push sticks.
Can I use an end grain cutting board for all food preparation tasks?
End grain cutting boards are suitable for most tasks but avoid using them for raw meat to prevent cross-contamination. Have a separate board for meats or thoroughly clean the board after use.
How do I fix a warped or cracked end grain cutting board?
For minor warps, you can try to flatten the board by moistening the concave side and clamping it to a flat surface as it dries. For cracks, they can sometimes be repaired with wood glue and clamping. However, if the damage is extensive, it might be safer to make a new one.
Remember, crafting an end grain cutting board can be a fun and fulfilling project that adds a personal touch to your kitchen while providing a durable surface for food preparation. Enjoy the process, and take pride in your handmade creation!
15 Free DIY End Grain Cutting Board Plans and Designs
Discover 15 free and unique DIY end grain cutting board plans and designs to elevate your culinary creations.
1. How to Make a Cutting Board
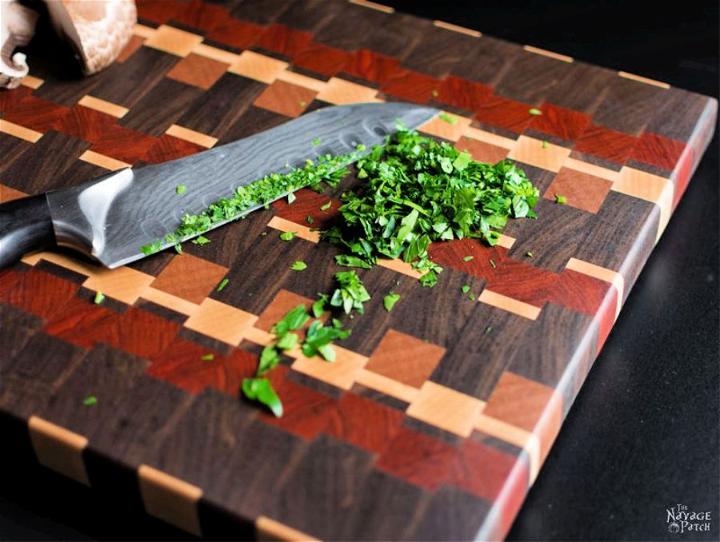
Ready to create a stunning end-grain cutting board? The Navage Patch offers a comprehensive tutorial guiding you through each step, from selecting the right wood to applying the final finish. This DIY project is perfect for enhancing your kitchen’s aesthetic and providing a durable surface for meal prep.
Discover the satisfaction of crafting a functional piece of art with a beautiful wood pattern that’s easy to follow—even if woodworking isn’t your usual hobby. Equip yourself with the tools, materials, and confidence to make a cutting board that’s sure to impress.
2. End Grain Cutting Boards from Scrap Wood
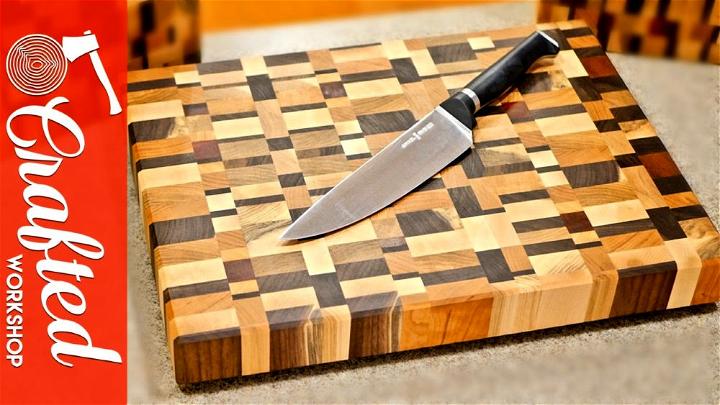
In the Crafted Workshop video “End Grain Cutting Boards from Scrap Wood How-To,” you’ll learn how to create stunning and functional cutting boards using leftover wood pieces. This DIY guide is perfect for those with an interest in woodworking and upcycling materials. The video walks you through the process step-by-step, from selecting suitable wood scraps to the final touches of oil finishing.
With a focus on the end grain technique, you can produce durable and aesthetically pleasing cutting boards that make excellent gifts or additions to your kitchen. The instructional video is detailed, making it accessible for anyone aiming to hone their woodworking skills while crafting a practical item from scrap wood.
3. Free End Grain Cutting Board Plans
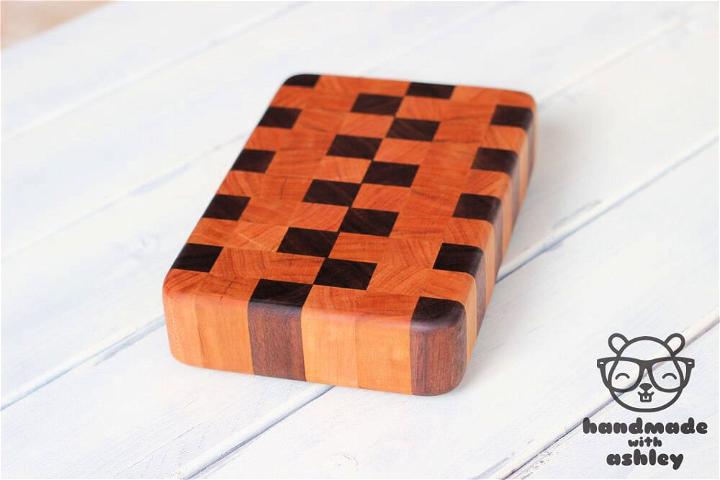
Learn how to craft an end grain cutting board using leftover materials with Handmade with Ashley’s tutorial on YouTube. Ashley demonstrates the entire process from selecting scraps to the final oil finish. The use of maple and cherry wood adds a beautiful contrast, while the detailed steps ensure even newcomers to woodworking can follow along.
Tools like a jointer, planer, and table saw are employed to achieve precise cuts and smooth surfaces. Ashley’s method promotes sustainability by repurposing wood pieces, and the final product is not only practical but also visually appealing. Follow her guidance for a rewarding DIY project that culminates in a personalized cutting board, perfect for home use or as a handcrafted gift.
4. Make End Grain Cutting Boards
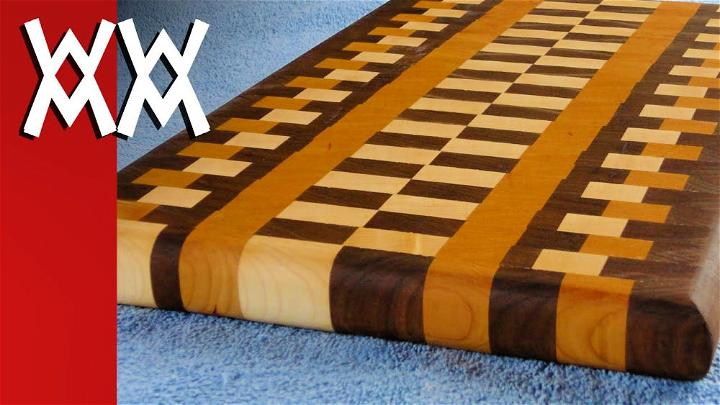
Creating an end-grain cutting board adds both beauty and durability to your kitchen essentials. Steve Ramsey’s video guide on YouTube simplifies this woodworking project, demonstrating how to use the Cutting Board Designer software to craft a personalized design with ease. Using materials like Cherry, Walnut, and Maple, Steve walks viewers through the process from the initial design to the final product.
Not only will you learn how to arrange and glue the wooden pieces, but you will also discover tips on achieving a smooth finish and proper application of mineral oil to protect your creation. Perfect for those who love to merge functionality with a touch of handcrafted charm, this tutorial promises a rewarding DIY experience. Visit YouTube to watch Steve’s instructional video and start making your own wood end-grain cutting board today.
5. Making a 3D End Grain Cutting Board
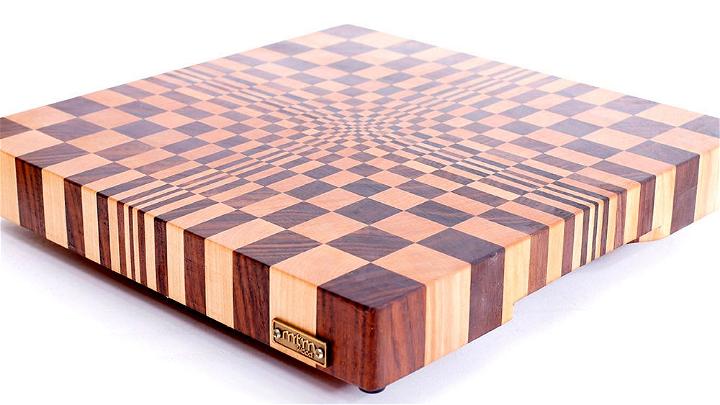
Explore the craft of woodworking with an Instructables guide on creating a 3D End Grain Cutting Board. Perfect for kitchen enthusiasts and crafters, this step-by-step tutorial offers clear instructions and helpful tips for constructing a durable and visually striking cutting board.
By focusing on end grain construction, you’ll produce a board that’s similar to knives and boasts a unique 3D effect. With concise, informative guidance, even those new to woodworking can navigate the process with confidence. So, grab your tools and let Instructables lead you through this engaging and rewarding woodworking project.
6. DIY End Grain Cutting Board
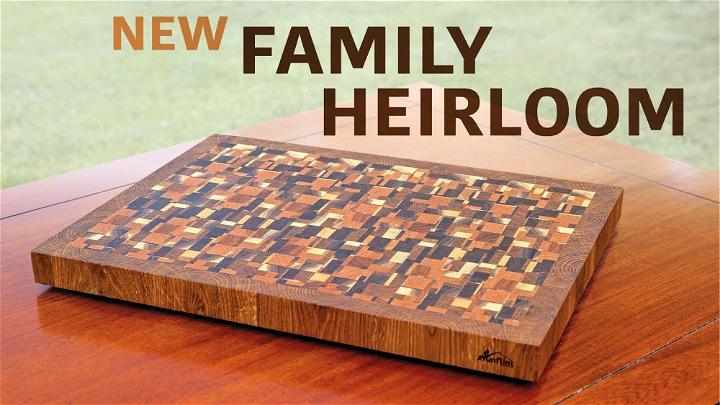
Delve into the craft of woodworking with the Chaotic Style End-Grain Cutting Board tutorial on YouTube. Gunflint Designs takes viewers through the intricate process of creating a unique and personal cutting board, using wood from a cherished family tree.
Ideal for DIY enthusiasts or those with a passion for handcrafted items, this video demonstrates step-by-step instructions to achieve a beautiful and functional piece for the kitchen. With clear explanations and helpful tips, anyone can learn to enhance their woodworking skills. Explore the rewarding experience of making something with your own hands, and add a twist of nostalgia to your cooking space with this end-grain cutting board guide.
7. Making a Cutting Board at Home
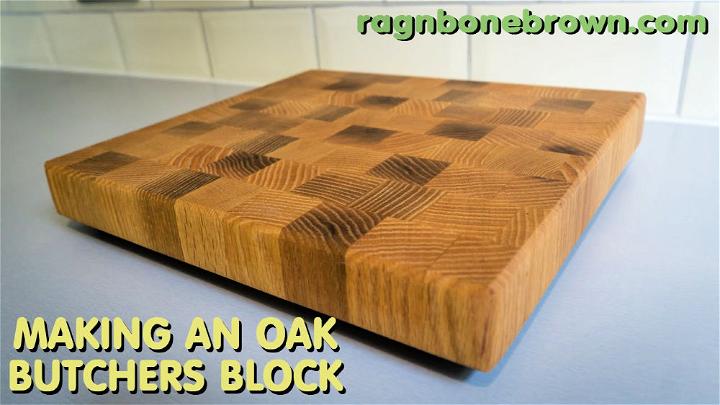
Transform salvaged oak into a durable and stylish end grain chopping board with guidance from Rag ‘n’ Bone Brown’s detailed YouTube tutorial. This instructive video showcases the process of repurposing oak hat and coat stands into a high-quality butcher’s block. Learn to size, glue, sand, and finish the oak pieces step by step.
It’s an engaging, eco-friendly project that’s as rewarding to make as it is to use. Perfect for those who appreciate upcycling, woodworking, or simply want a unique addition to their kitchen. Watch now and elevate your culinary space with a touch of handcrafted charm.
8. How to Make an End Grain Cutting Board
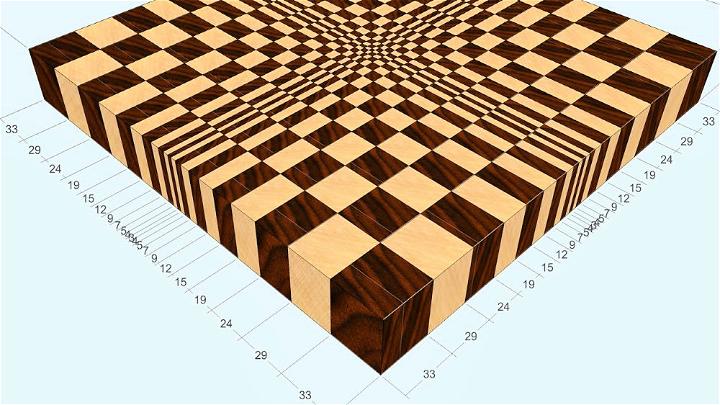
Are you keen on enhancing your woodworking skills and creating visually stunning pieces for your kitchen? The YouTube video titled “3D end grain cutting board #1 to make with the use of 13″ planer (version for woodworkers)” is a goldmine for enthusiasts eager to craft their own 3D end grain cutting boards. The tutorial provides step-by-step guidance on using light and dark wood, like maple and walnut, to achieve a mesmerizing 3D effect.
The presenter, with his expert approach, ensures that the process is accessible and manageable, even with a 13″ planer. This resource is not only instructive but also thoroughly engaging, offering clear, concise, and easy-to-understand instructions that will help you bring your woodworking project to life with precision and artistic flair. Dive into the video, follow the free plans available, and be ready to create a functional work of art that’s sure to be a conversation starter in any kitchen.
9. Building End Grain Cutting Board
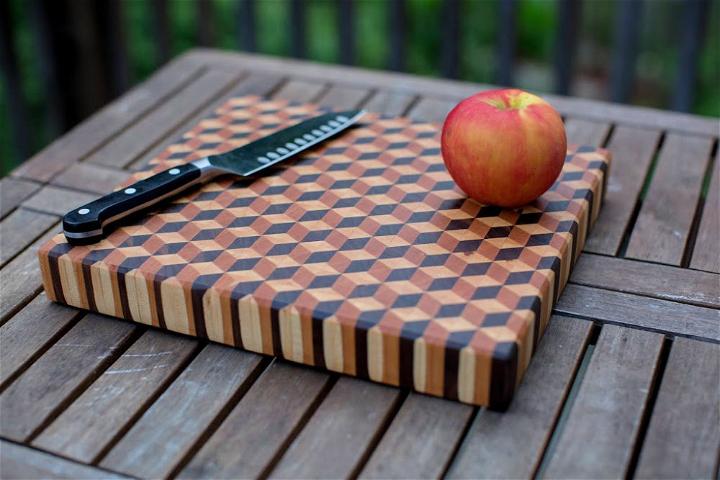
Creating your first end grain cutting board with hard maple, cherry, and walnut is an exciting challenge for any DIY enthusiast. Opting for a 3D design not only tests your skills but also results in a stunning piece of functional art. Imgur showcases an inspiring example by User Ztrobbins, whose impressive first attempt demonstrates that diving into complex projects can yield extraordinary outcomes.
When choosing hardwoods like maple, cherry, and walnut, you ensure durability and an attractive finish. For those keen on woodworking, crafting an end grain cutting board provides a rewarding project, honing your precision and creativity. As you embark on your creation, remember to measure twice, cut once, and enjoy the beauty of handcrafted work.
10. Make Adjustable Feet for a Butcher Block
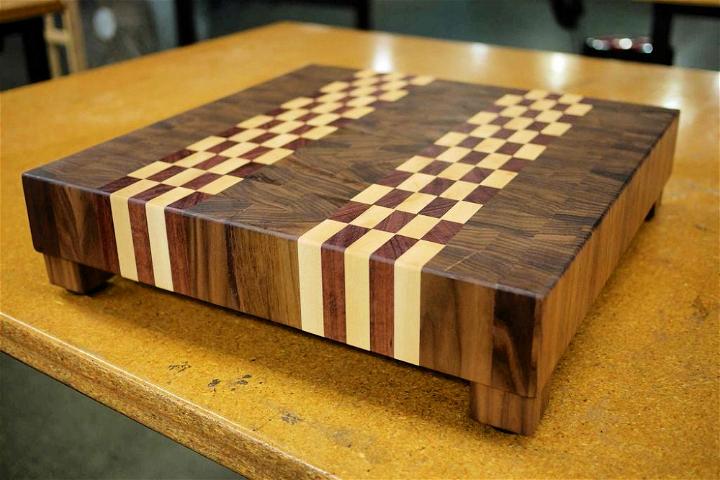
Learn how to create adjustable feet for a butcher block with this instructive guide from Instructables. Perfect for those seeking to add both function and flair to their kitchen workspaces, these feet can help prevent warping by allowing air to circulate under the block and offering stability on uneven surfaces.
With a focus on durability and adaptability, the process involves using materials like walnut scrap and furniture glides coupled with tools such as a miter saw and drill press. By following these steps, you can ensure your butcher block remains flat and secure, enhancing its longevity and performance in any climate.
11. How to Make Cutting Board with Cnc Inla
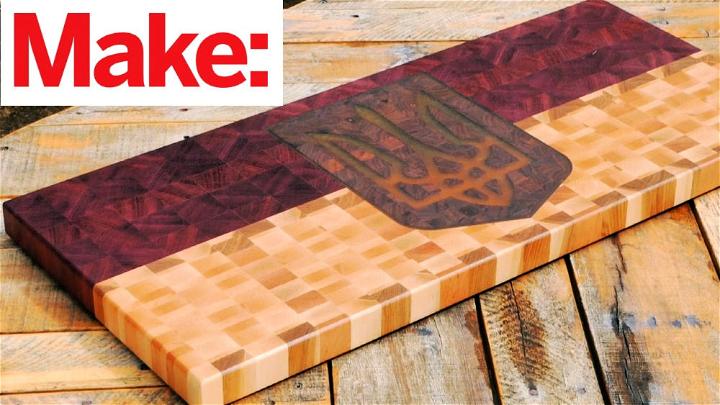
Discover the intricacies of crafting an end grain cutting board with a unique CNC inlay through Johnny Brooke’s tutorial on Crafted Workshop. In this engaging YouTube video, viewers can learn step-by-step how to create a visually striking cutting board using woodworking skills and CNC technology. Johnny expertly demonstrates the process from preparing individual boards to the precision of inlaying with a CNC machine.
If unexpected challenges arise, such as the cherry inlay setback, Johnny provides innovative solutions, like using epoxy, ensuring your project stays on track. Perfect for DIY enthusiasts and woodworkers aiming to enhance their craft, this video is packed with valuable tips, including the finishing touches of applying mineral oil and adding rubber feet. Visit YouTube to watch the full tutorial and elevate your woodworking projects with confidence.
12. Handmade Basket Weave Cutting Board
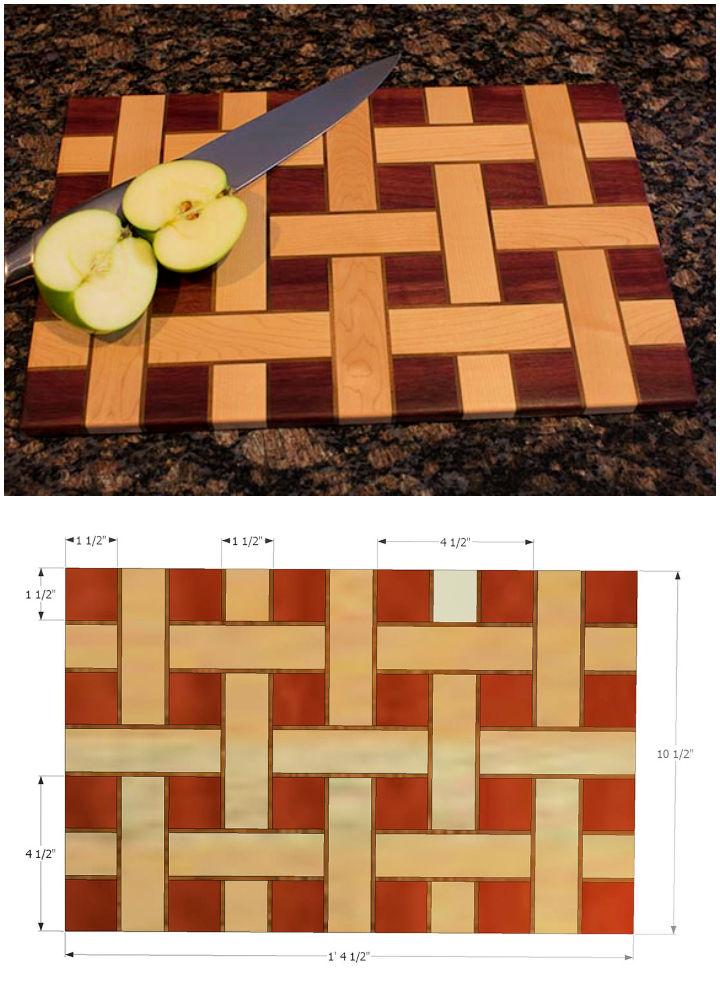
For woodworking aficionados ready to tackle a visually striking project, the 3D basket weave cutting board is an excellent challenge. Presented by Todd Fratzel at Home Construction Improvement, this step-by-step guide equips you with the know-how to create a cutting board featuring a mesmerizing 3D illusion.
Using a mix of Maple, Walnut, and Purpleheart woods, the guide emphasizes contrast and precision, ensuring that your final product is not only practical but also a work of art. With clear instructions and a focus on modular measurements, you’ll find this tutorial both accessible and engaging, perfect for enhancing your woodworking skills with a dash of creativity.
13. How to Make End Grain Cutting Board
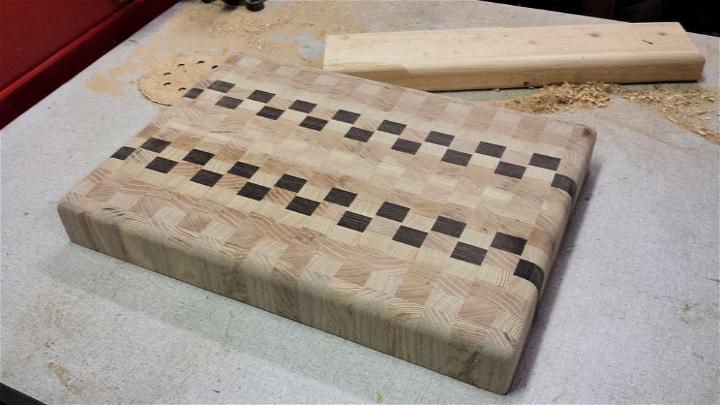
Ready to craft an end grain cutting board that’s as sturdy as it is stunning? Instructables provides a comprehensive guide to creating your own beautiful, patterned cutting board with a vertical wood grain orientation. Ideal for enhancing both durability and aesthetics, this DIY project requires hardwood, wood glue, and a few essential tools like a table saw and clamps.
Get detailed instructions, from selecting your wood to the final touches of sanding and optional finishing. Approach this project with care as power tools are involved, and always prioritize safety. With patience and precision, you’ll have a cutting board so impressive, it’s bound to be a conversation starter in your kitchen.
14. Making an End Grain Cutting Board
Learn to craft an exquisite end grain cutting board with the helpful guide from mtmwood. This tutorial employs stop motion to break down each step, making it easier to follow and apply to your woodworking project. Not only is this method visually engaging, but it also simplifies the intricate process of arranging and bonding wood strips to create a durable and attractive cutting surface.
Ideal for home chefs and woodworking aficionados, an end grain cutting board provides a resilient surface for slicing and dicing while also being a stylish addition to any kitchen. With free plans available, you can start building your custom cutting board today, enhancing both your culinary and crafting experience.
15. Easy DIY End Grain Cutting Board
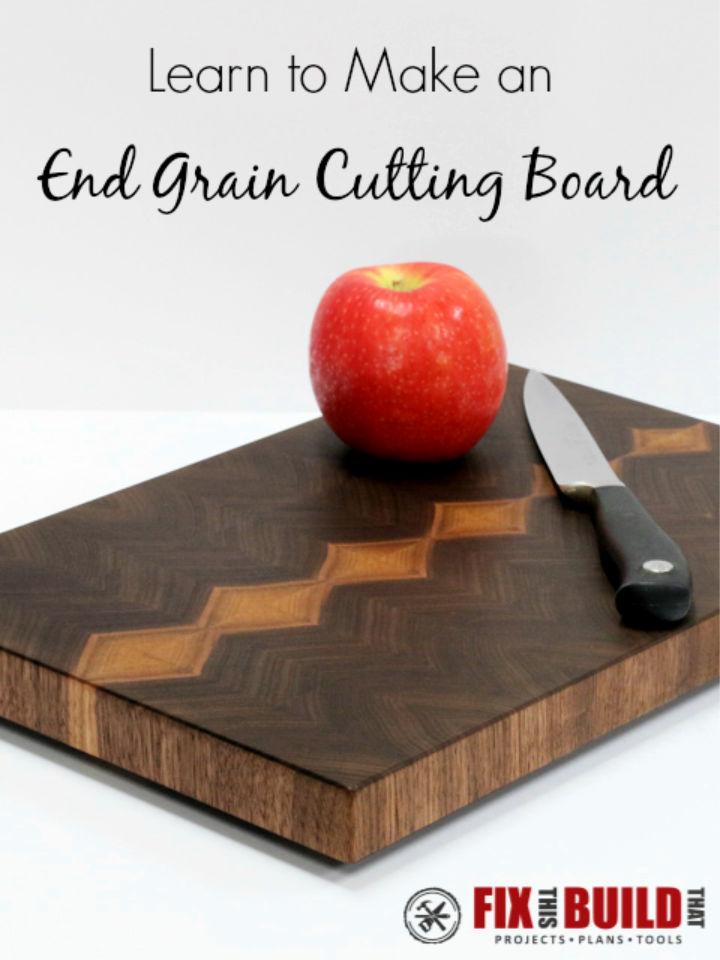
Creating an end grain cutting board adds both durability and beauty to your kitchen essentials. Fix This Build That provides an instructive guide that will help you through the process step by step. From selecting the right wood to applying the finishing touches with oil and beeswax, this tutorial is designed to ensure a smooth experience.
Learn how to arrange patterns, glue the blank, cut strips, and sand to perfection for a cutting board that’s as functional as it is visually appealing. With clear, easy-to-follow instructions, you’ll craft a piece that’s bound to impress. Whether it’s for personal use or a handmade gift, mastering the end grain cutting board is a satisfying woodworking project.
Conclusion:
In conclusion, making a DIY end grain cutting board is both a practical and fulfilling endeavor that enhances any kitchen. Our “15 Free DIY End Grain Cutting Board Plans and Designs” provide a wealth of inspiration, ensuring that woodworkers of all skill levels can make beautiful and long-lasting kitchen utensils. With detailed instructions and helpful tips, these plans are designed to guide you through the process of making a cutting board that’s not only functional but also a testament to your craftsmanship. Dive into these DIY end grain cutting board plans and enjoy the satisfaction of adding a personalized touch to your culinary workspace.
