Are you tired of dealing with food scraps clogging up your sink? Installing a garbage disposal could be the solution you need. By following a few simple steps, you can say goodbye to plumbing issues caused by leftover food.
Installing a garbage disposal may seem daunting at first, but with the right guidance, it can be a manageable DIY project. From disconnecting the pipes to mounting the disposal unit, each step plays a crucial role in ensuring your kitchen runs smoothly.
Whether you’re a seasoned DIY enthusiast or a beginner looking to upgrade your kitchen, learning how to install a garbage disposal can save you time and money in the long run. Stay tuned as we walk you through the process step by step, making it easy for you to enjoy the benefits of a functional disposal system in your home.

Gathering Required Tools and Materials
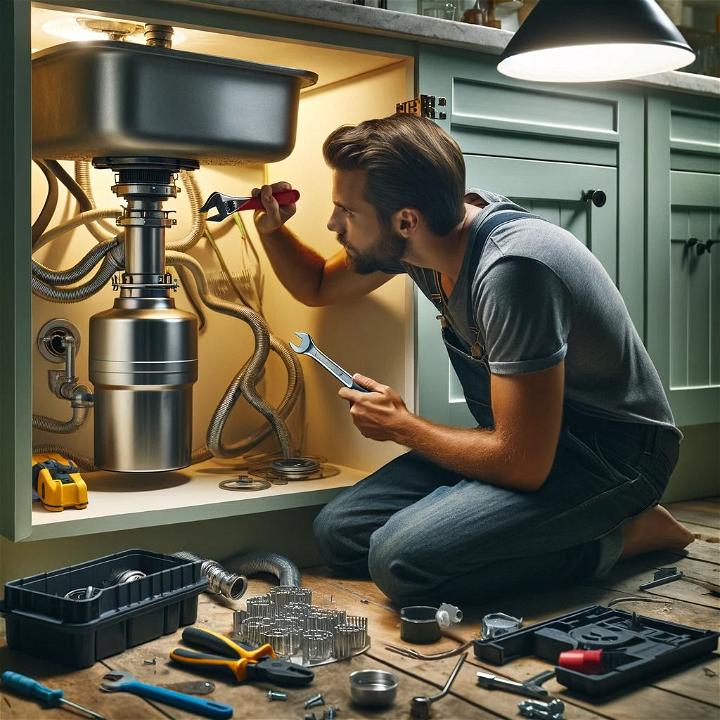
Before diving into installing a garbage disposal, it is essential to gather all the necessary tools and materials. Having the right equipment at hand will make the installation process much smoother and efficient.
Tools:
- Wrench: A wrench is crucial for tightening and securing various components during the installation.
- Screwdriver: Both Phillips and regular screwdrivers will be needed to handle different types of screws.
- Plumber’s Putty: This waterproof sealant is used to create a watertight seal around the sink flange to prevent leaks.
Materials:
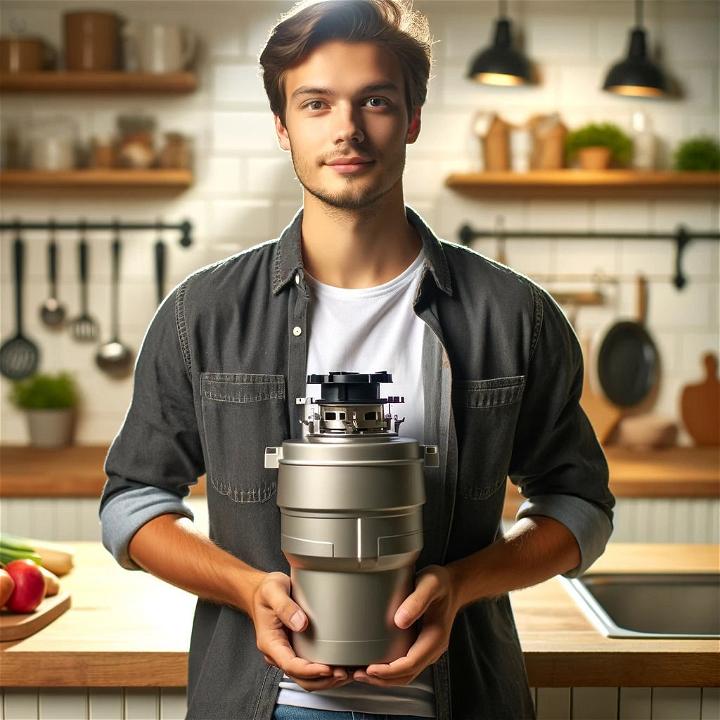
- Garbage Disposal Unit: The main component of the installation, ensure you have the right size and model for your kitchen sink setup.
- Power Cord: Some garbage disposals come without a power cord, so make sure to have one if needed.
- Drain Fittings: These fittings connect the garbage disposal to the existing plumbing system, allowing proper drainage.
Gathering these tools and materials beforehand will set you up for a successful garbage disposal installation process.

Preparation Steps
When it comes to installing a garbage disposal, taking the right preparation steps can make the process smoother and safer. Here are some essential tasks you should complete before getting started:
Turn Off Power and Water Supply
Before you begin the installation, it’s crucial to prioritize safety. Start by turning off the power and water supply to the sink area. This step ensures that you can work on the installation without any risk of electric shock or water leaks. Safety measures are paramount to a successful and incident-free installation process.
Clear the Area Under the Sink
Ensure the area under the sink is clear of any items that might obstruct your work. Having a clutter-free space allows you to move comfortably and access the necessary components for the installation. Clearing the area under the sink sets the stage for a hassle-free installation process.
Check for Compatibility
To avoid any last-minute surprises, check if the new garbage disposal unit is compatible with your existing plumbing setup. Verify that the dimensions and connections of the new disposal match your current configuration. Ensuring compatibility beforehand will save you time and effort during the installation process.
Remember, taking these preparation steps will set a solid foundation for a successful garbage disposal installation.
Installation Process
Installing a garbage disposal may seem daunting, but breaking it down into steps can make the process smoother. Let’s go through the key steps to successfully install a garbage disposal.

Attach Mounting Assembly:
- Prepare the Sink: Before starting, make sure to clear out the space under the sink and remove any obstacles.
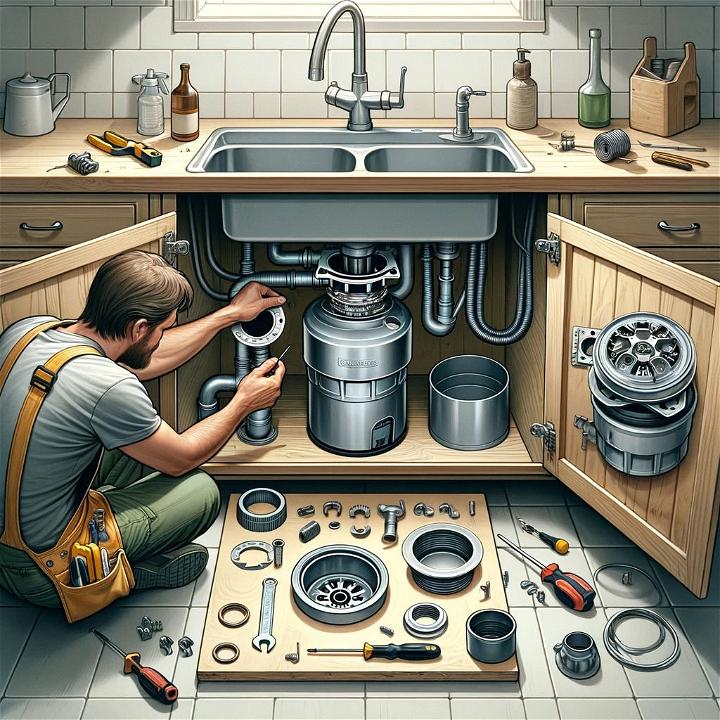
- Mounting Assembly Connection: Begin by connecting the mounting assembly under the sink. Follow the manufacturer’s instructions for securing it properly to the sink flange.
Connect the Disposal Unit:
- Position the Disposal: Lower the disposal unit into place, aligning it with the mounting assembly. Use the provided hardware to secure it.
- Connect Drain Lines: Attach the discharge tube to the disposal unit using the gasket and screws. Ensure a tight connection to prevent leaks.
Wiring the Power Supply:
- Safety First: Before any wiring, ensure that the power supply to the disposal unit is switched off to avoid any electrical accidents.
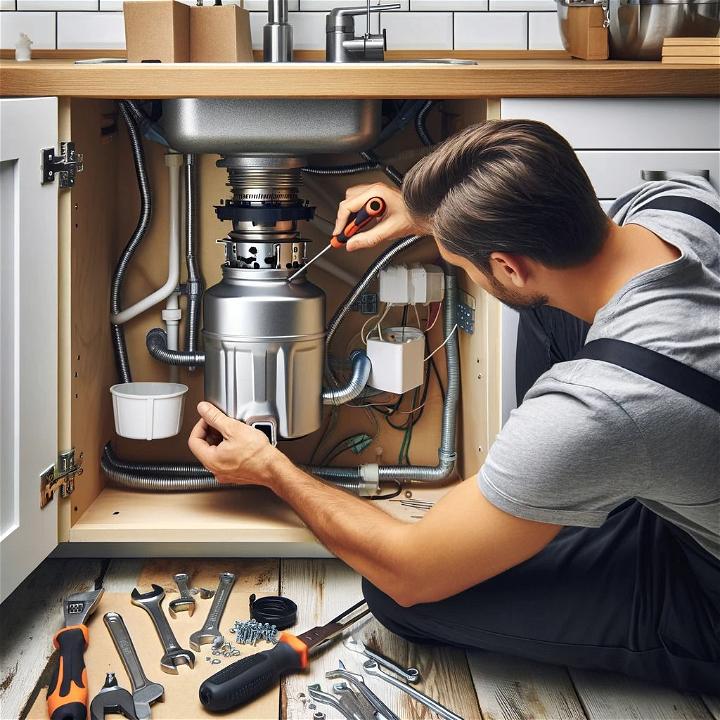
- Wire Connection: Follow the disposal unit’s manual to correctly wire the power cord. Pay close attention to matching the wires and securing them properly.
Test the Installation:
- Power On Test: Once everything is connected, turn on the power supply to the disposal unit to check for any signs of malfunction.
- Operational Test: Run water through the disposal to test its functionality. Ensure smooth operation and listen for any unusual noises.
By following these steps carefully and referencing the manufacturer’s guidelines, you can efficiently install a garbage disposal in your kitchen. Remember to prioritize safety throughout the process and do a thorough check post-installation to guarantee proper functionality.
Final Checks and Troubleshooting
After installing your garbage disposal, it’s crucial to conduct final checks to ensure everything is in order. Let’s go over some essential steps to take and troubleshooting tips to address any potential issues that may arise.
Check for Leaks
One of the first things you should do after completing the installation of your garbage disposal is to check for leaks. Inspect all the connections carefully, including the pipes, fittings, and the disposal unit itself. Look for any signs of water dripping or pooling around the unit. If you notice any leaks, tighten the connections or replace any damaged components to prevent future issues. Checking for leaks is essential to avoid water damage and ensure the proper functioning of your garbage disposal.
Troubleshooting Tips
Even with a proper installation, it’s not uncommon to encounter some hiccups with a newly installed garbage disposal. Here are a few common issues and troubleshooting tips to help you address them:
- Disposal Not Turning On: If your garbage disposal doesn’t start when you flip the switch, check if it is properly plugged in and that the circuit breaker is not tripped. Press the reset button on the bottom of the unit to reset it.
- Jammed Disposal: In case your garbage disposal gets jammed, turn off the power and use a hex key to manually rotate the disposal blades to free the jam. Avoid putting hard items like bones or fruit pits into the disposal to prevent future jams.
- Unusual Noises: If you notice strange or loud noises coming from the disposal, it could indicate loose components or debris stuck inside. Turn off the disposal and inspect it for any foreign objects. Tighten loose fittings and run water to flush out any obstructions.
By conducting these final checks and being prepared to troubleshoot common issues, you can ensure that your garbage disposal functions smoothly and efficiently. Regular maintenance and prompt attention to problems will help prolong the lifespan of your disposal unit.
Maintenance and Care Tips
Taking care of your garbage disposal unit is essential for its longevity and efficiency. Proper maintenance not only prevents potential issues but also ensures a fresh-smelling and smoothly running appliance. Let’s dive into some maintenance and care tips to keep your garbage disposal in top condition.

Cleaning the Garbage Disposal: Methods to keep the disposal unit clean and odor-free
Keeping your garbage disposal clean is crucial for preventing foul odors and maintaining optimal performance. Here are some effective methods to help you clean your garbage disposal:
- Ice Cubes and Citrus Peels: Drop a few ice cubes along with citrus peels into the disposal and run it with cold water. The ice helps dislodge debris, while the citrus peels leave a fresh scent.
- Baking Soda and Vinegar: Sprinkle baking soda followed by vinegar into the disposal, let it fizz, then rinse with hot water. This natural cleaner helps eliminate odors and break down grease.
- Dish Soap and Water: Pour a few drops of dish soap into the disposal, run cold water, and let it run for a minute. The soap helps clean the blades and interior walls.
- Avoid Harsh Chemicals: Refrain from using harsh chemicals like bleach, as they can damage the disposal and pipes over time.
By incorporating these simple cleaning methods into your routine, you can maintain a clean and odor-free garbage disposal.
Regular Maintenance Practices: Recommendations on maintaining the garbage disposal to prolong its lifespan
Regular maintenance is key to ensuring that your garbage disposal remains in optimal working condition. Here are some practices to help extend the lifespan of your unit:
- Run Cold Water: Always run cold water when using the garbage disposal to solidify any grease or oils, allowing them to be chopped up and flushed away smoothly.
- Avoid Overloading: Refrain from putting large amounts of food waste into the disposal at once. Instead, feed it gradually to prevent clogs and strain on the motor.
- Use it Regularly: To prevent rust and corrosion, it’s advisable to run the disposal regularly even if you don’t have food waste. This keeps the parts moving and prevents buildup.
- Grind Tough Food Waste: Grinding items like small bones, citrus peels, and ice cubes helps clean the disposal and maintain the sharpness of the blades.
By following these regular maintenance practices, you can prolong the lifespan of your garbage disposal and ensure it continues to operate efficiently.
Frequently Asked Questions about Installing a Garbage Disposal
Garbage disposal installation can seem daunting, but with the right guidance, it can be a manageable DIY task. Here are some common questions homeowners have about installing a garbage disposal along with helpful answers:
1. Can I Install a Garbage Disposal Myself?
Installing a garbage disposal can be a DIY project if you have some basic plumbing knowledge and the right tools. Many homeowners successfully install garbage disposals themselves by following step-by-step instructions.
2. Do I Need Special Tools to Install a Garbage Disposal?
You will need a few common tools like a screwdriver, pliers, and plumber’s putty to install a garbage disposal. Most garbage disposal units come with installation instructions that outline the tools required for the job.
3. How Long Does It Take to Install a Garbage Disposal?
The time it takes to install a garbage disposal can vary depending on your level of experience and the complexity of the installation. On average, a straightforward installation can take around 1-2 hours.
4. What Size Garbage Disposal Do I Need for My Kitchen Sink?
Garbage disposals come in different sizes to fit various kitchen sink configurations. It’s essential to choose a disposal unit that matches the size of your sink and the amount of food waste you typically generate.
5. Can I Install a Garbage Disposal on a Septic System?
If you have a septic system, you can still install a garbage disposal, but it’s crucial to choose a model that is compatible with septic systems. Look for units specifically designed for septic tanks to prevent any issues.
6. How Do I Maintain My Garbage Disposal After Installation?
Regular maintenance is key to prolonging the life of your garbage disposal. You can keep it in top condition by running ice cubes through it to clean the blades, avoiding putting certain items like grease down the disposal, and using a disposal cleaner periodically.
By addressing these common questions about installing a garbage disposal, you’ll be better equipped to tackle this home improvement project confidently and efficiently.
Conclusion
You’ve reached the end of this step-by-step guide on how to install a garbage disposal in your kitchen. By following the detailed instructions provided, you are now equipped with the knowledge and skills to successfully complete this project on your own.
Recap and Review
Let’s quickly recap what we’ve covered in this article:
- Preparation: We began by gathering all the necessary tools and materials needed for the installation process.
- Safety First: Ensuring the power is completely turned off before starting any work to prevent accidents.
- Step-by-Step: We then proceeded with a detailed breakdown of each installation step, from removing the old disposal to connecting the new one.
- Testing: Lastly, we emphasized the importance of testing the disposal to verify that it’s working correctly.
Ready to Dispose with Confidence?
Now that you have all the essential know-how, it’s time to roll up your sleeves and tackle this project head-on. Remember, while installing a garbage disposal may seem daunting at first, taking it one step at a time will lead you to a successful outcome.
So, why wait? Get ready to upgrade your kitchen and simplify your cleanup routine by installing your very own garbage disposal! Feel free to refer back to this guide anytime you need assistance. Good luck, and happy installing!
