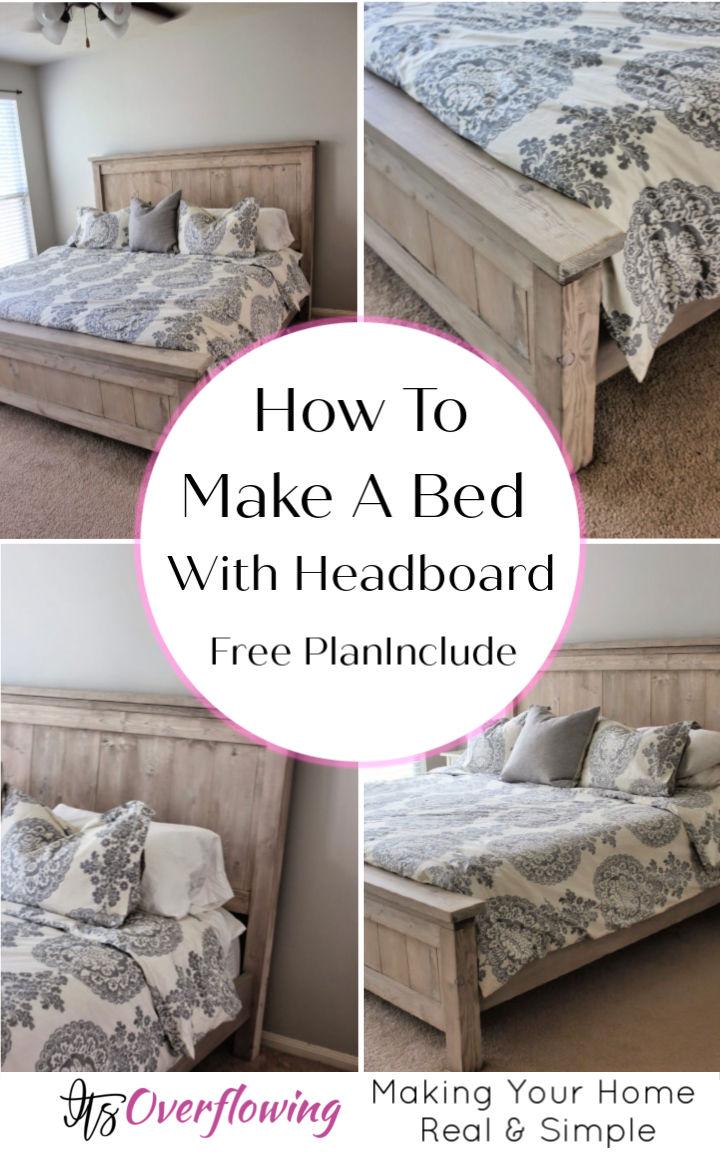
A few months prior, my husband and I went to look for new bed designs for our bedroom. After visiting various Home decor stores like West Elm, Crate and Barrel, Restoration, etc, both online and their outlet stores! I did not find exactly what I was looking for that also fits well in my budget. I wanted a bed matching the color palette of my house, which has a neutral tone of greys and beige color with a wooden finish.
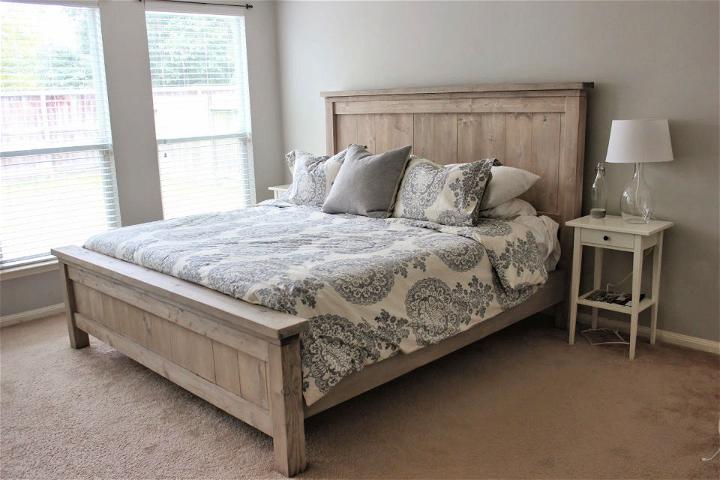
Although I am not a DIY expert, when I came across the Ana White Farmhouse Bed online on how to make a DIY bed with headboard, I fell in love with her creations and the design she has posted. For those of you who have been asking for this design on Instagram, I am super glad to share with you this DIY headboard, bed frame, or all in all DIY farmhouse beds with a FREE plan.
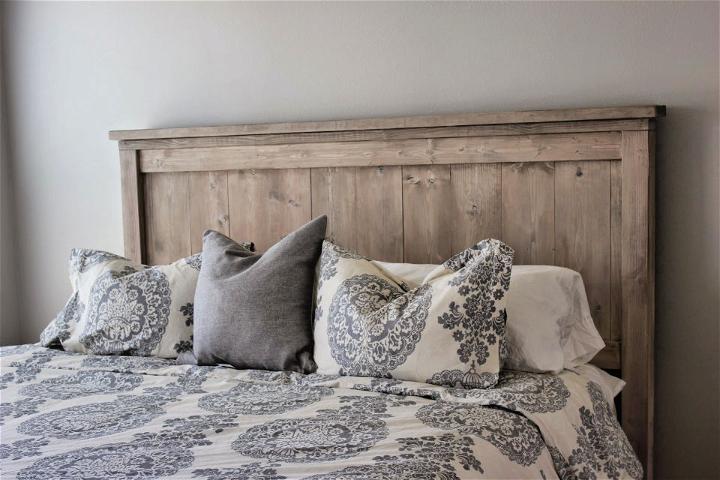
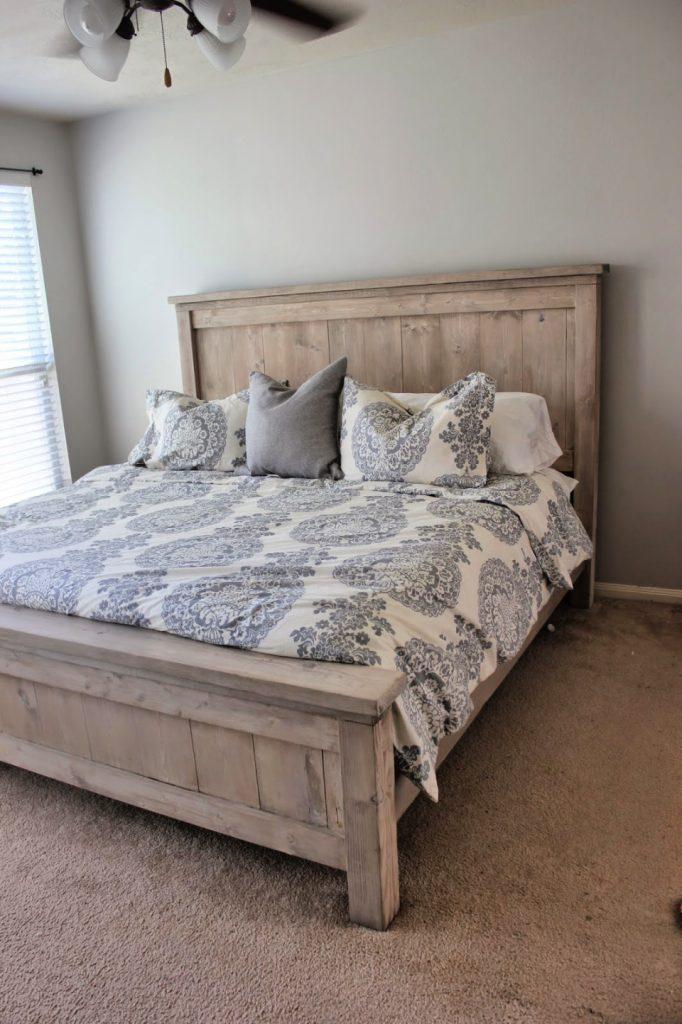
I did have to alter certain structural procedures while making this bed as I have a King-sized bed, and the design of this bed was for a Queen size bed. So, I believe I ended up making the bed even sturdier and compact (at least as per my requirements)!
The complete and must I say, thoroughly explained, designs are listed below. I bought the wood at Home Depot, and it is all various grades of pine (staining instructions are listed below.
Supplies Required
Let me share with you a quick list of supplies you will be needing.
Tools Required
- Tape Measure
- Miter saw
- Speed square
- Pencil
- Safety glasses
- Ear Protection
- Dill
- Brad Nailer
- And Sander
For the detailed cut lists for the bed, mattress, and headboard. Head below!
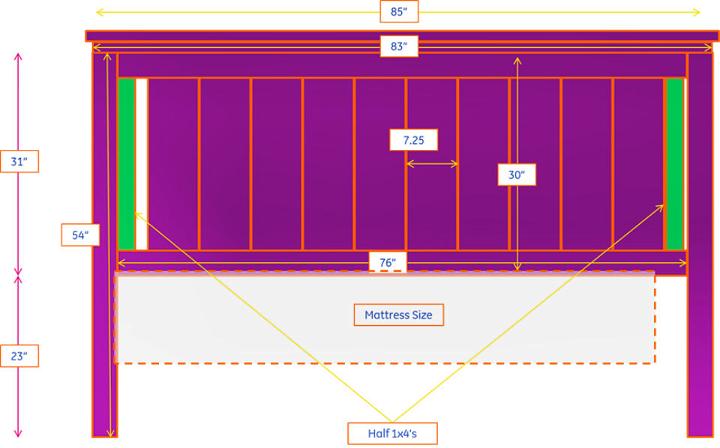
DIY King-sized Bed Plam
As I have already mentioned that the size details at Ana’s were about a Queen sized bed, so I made some alterations. Because my husband and I were looking for a king-sized bed. Hence, thanks to his attention to details kind of nature, I have added below this detailed list of cutting details.
So, if you are looking for a DIY headboard plan or a comprehensive guide on how to make a bed all by yourself, you will find these details pretty helpful! That’s a promise. Since mine is adjusted plans, for someone who would like to go with the original plan, you can find it HERE!
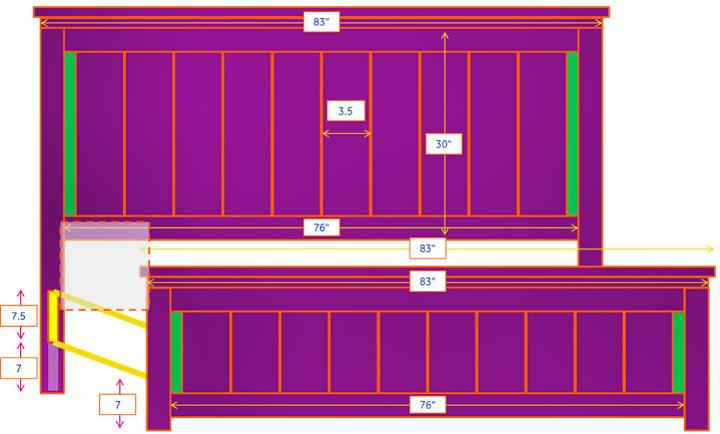
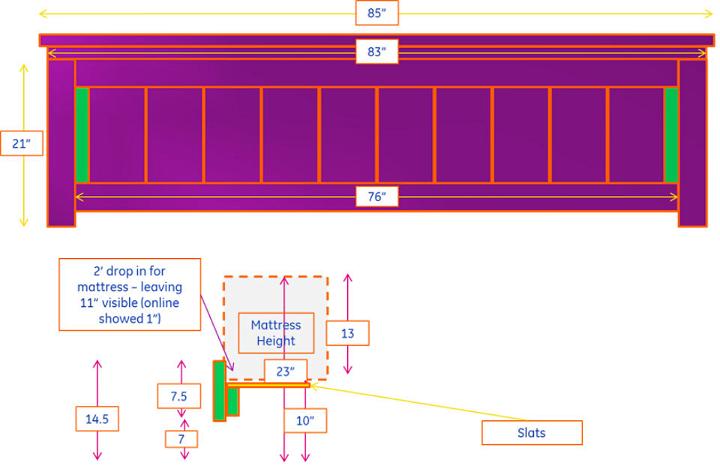
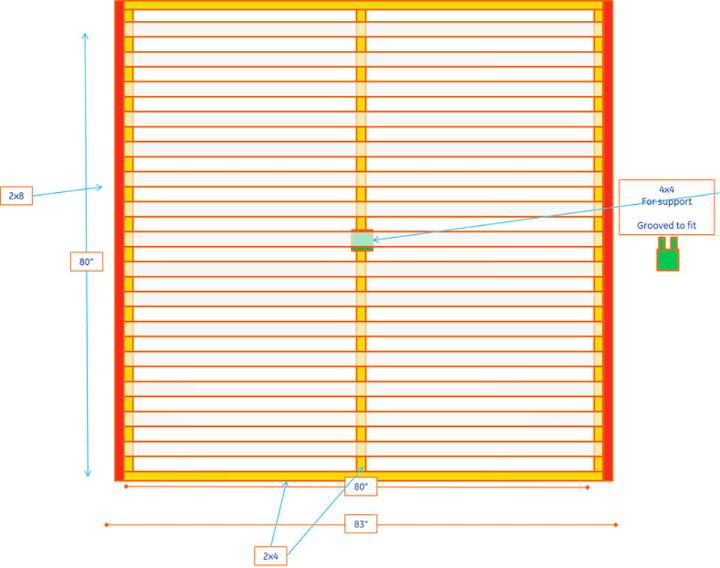
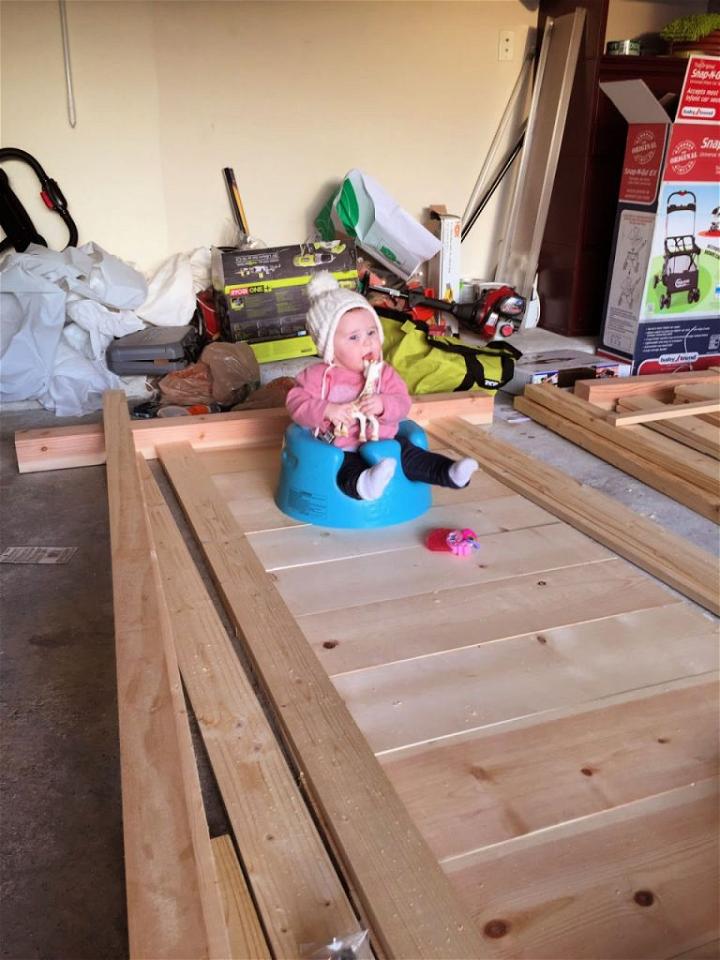
And, oh, did I mention all the inspirational help I got from my little angel? I believe it is good to keep the whole family around while working on anything. But, of course, first keeping the safety part in check. My little girl has us all accompanied from time to time. So, it won’t be wrong to say that this DIY farmhouse bed turned out to be quite a family bonding activity for my family and me. Also, not to raise any eyebrows on my maternal skills, no, she wasn’t out during all the drilling and sawing or things like that!
So, anyway, for any of you looking for a detailed list of materials with pricing for both DIY King Sized and Queen Bed versions, you can get some DETAILED help from there. Just hover on the versions behind, and they will take you to the guides, directly! DISCLAIMER: Our family takes the Sharing is Caring gesture way too seriously! I did end up purchasing a few new tools for making this bed, but as I said—I am not really a crafty person by nature, so I did not have the correct tools to build things!
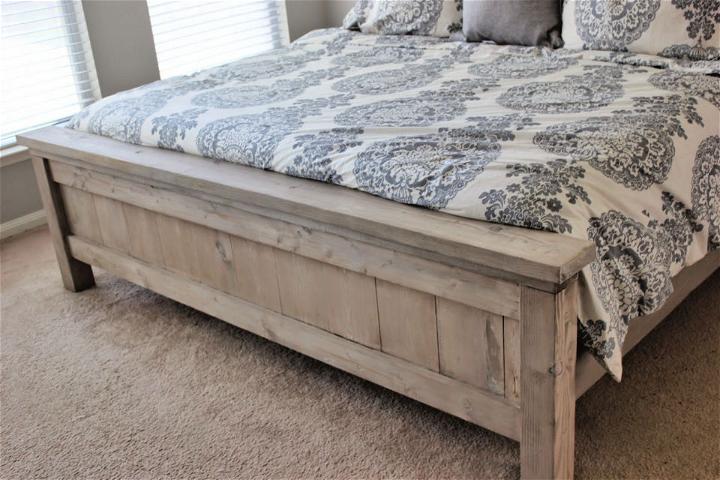
Note from my Husband (The Builder)
If you have ample time on your hand, go ahead and build this DIY farmhouse bed! However, I would not recommend building this bed to save up money. Yes, sure, it surely very rewarding and comforting to have full control over the design, shape, and color, but this process got really tiresome and intricate at times.
I built this as the only bed I liked in the market was way over budget! However, during this process, I have developed a sense of respect for furniture stores, and now I totally understand the price. As it takes ALOT of specific tools and works to build furniture!
Finishing Details
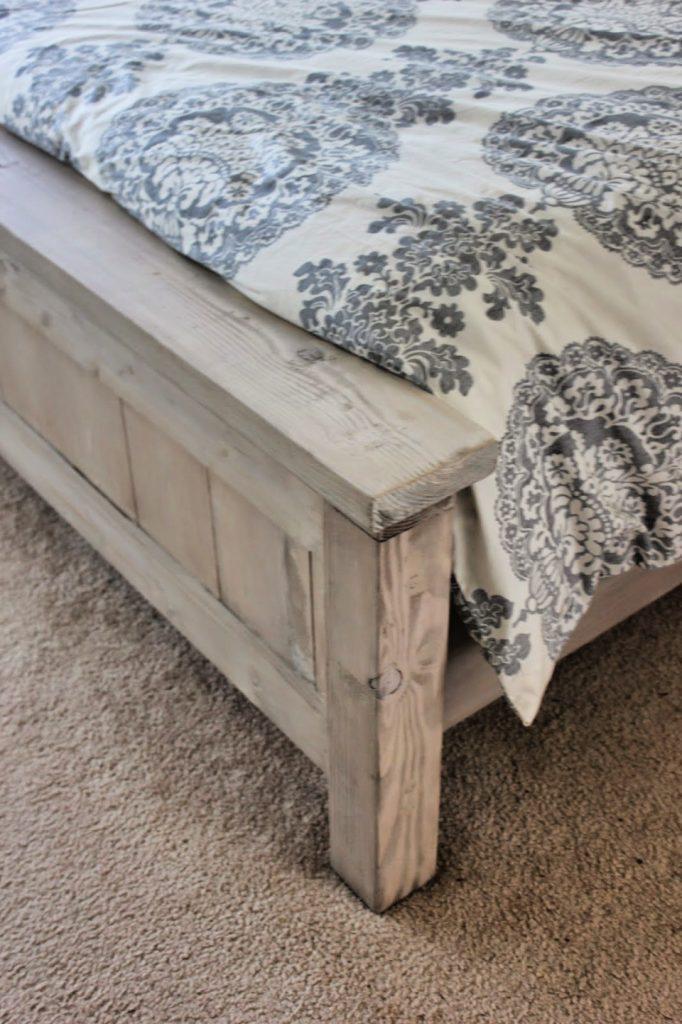
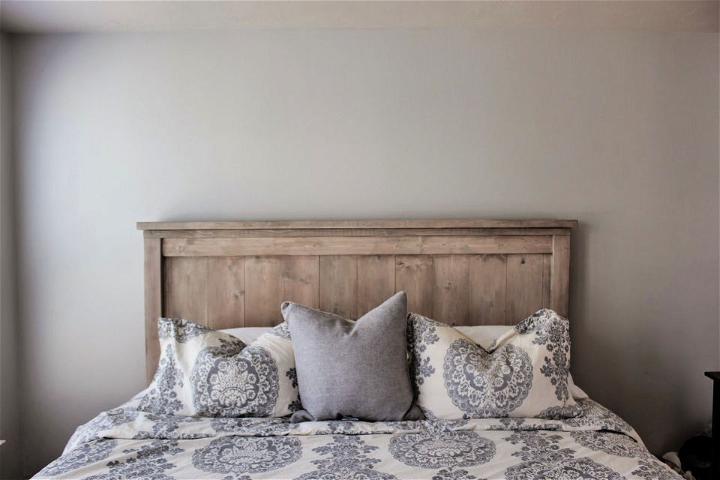
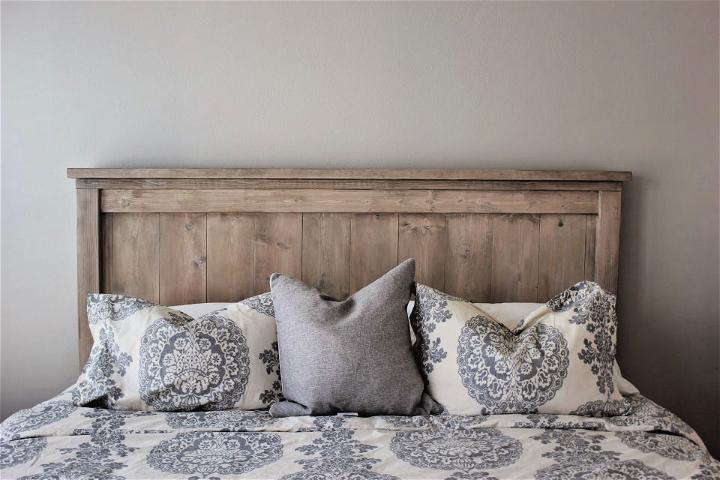
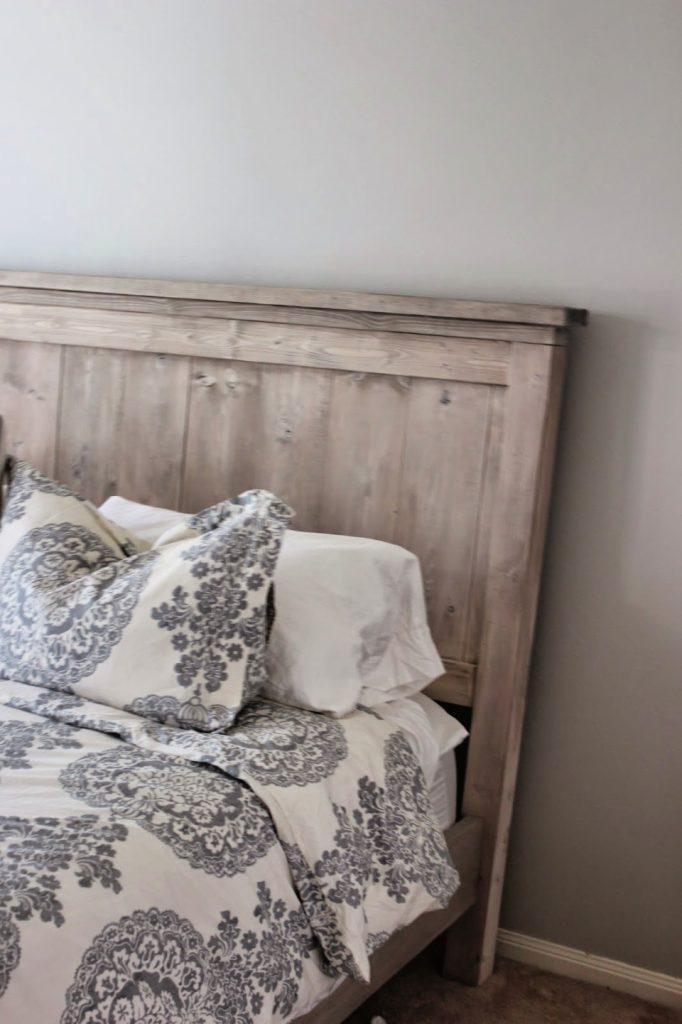
A lot of people asked me about the color and the procedure for the finishing on the wood. We tried various painting and finishing techniques that I searched online. I came across a tutorial, and this one was quite helpful!
Few Instructions for staining:
Use a standard white paint to first “whitewash” the whole bed. I used a quarter cup of water to one tablespoon of paint (1 cup water to 4 Tbsp. of paint to which I added and then let it dry. Then I repeated the same process again. Although I’m not sure exactly how long did it take to dry, I did make sure it was completely dry.
After it was completely dried, I used the Provincial by Mini Wax. I applied it by rubbing a solid coat first and did not let it sit there for long. Then we wiped it off with a clean piece of rag. Just make sure not to let it sit there for long. Like NOT AT ALL! And I have got to say. It turned out to be better than I expected! Certainly, the power of the internet!
My Takeaways from this DIY Bed
I would suggest you all search up video tutorials on small skills like this! They very strategically explain to you the skill and make you a pro! I love the end result! So there it is! The final product! It is always so surreal to look back on this. With a little effort and some required skill, you all can make this DIY Bed with a headboard! Feel free to ask any questions. Though everything is pretty detailed, and with all the helping tutorials and with our FREE plan, anyone can nail this DIY farmhouse bed.
