Do you love different easy to make stamp shapes and patterns that often come to your imaginations? Transfer them to your favorite item like on drapes and curtains with the help of this DIY Stamp Tutorial and Curtain Decoration Project. Just make a stamp of anything you love a lot and desire to see again and again. Simple use of rubber carving blocks will be an ideal choice to make a DIY stamp of choice. Just trace your favorite stamps on the rubber carving block, cut the shapes out and shift them on a piece of wood. Going with this DIY Stamp project will make it a child’s play for you to design, carve, and use a stamp. There are step-by-step instructions too that will leave you with no confusion in your mind.
This DIY rubber stamp tutorial involves making a standard and shark fish stamp out of the rubber carving block. Finally, you can use these stamps to bring life to any boring fabric item like a table runner, curtain, bedspread, and even to a fashion outfit. This stamping tutorial will help to spice up lots of things in your life and will be a breeze to make and use.
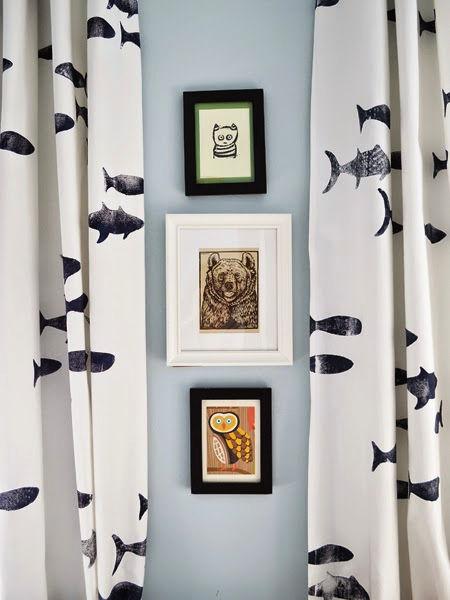
Here the finally completed DIY rubber stamp is to use to decorate IKEA Merete Panels with lovely fish stamped patterns, and they make ideal nautical curtains. Learn how to make a stamp at easily using rubber carving blocks!
Materials For DIY Stamp:
- Curtains
- Pieces of Scrap Wood
- A Rubber Carving Block
- Super Glue
- Xacto Knife
- Pencil
- Fabric OR Craft Paint
- Paint Roller
- An old Drop Cloth Sheet
- Paint Tray
- A Piece of Cardboard
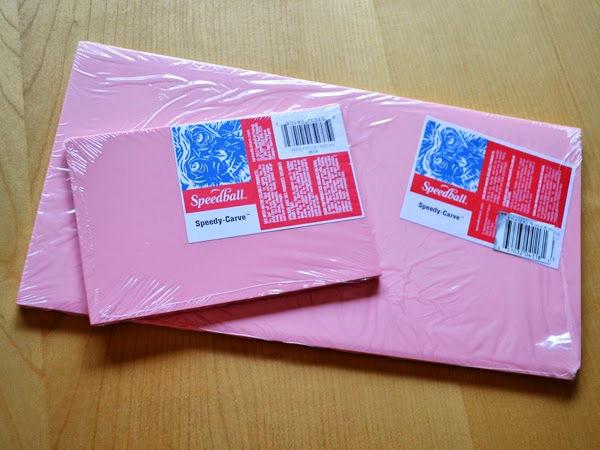
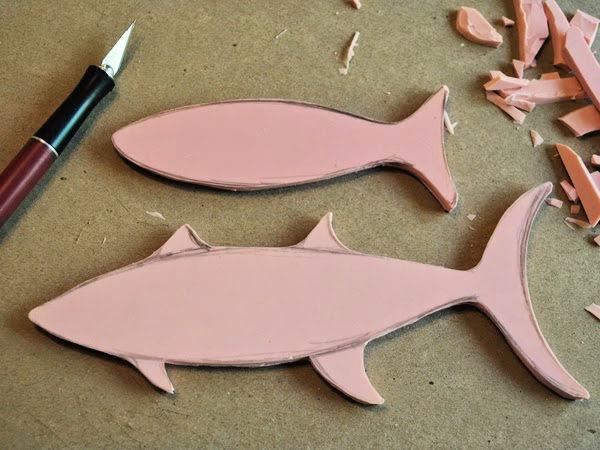
The project involves stamping the drapes that will be a great window decor treatment! So, the first step is to make the stamps! DIY Rubber stamps will work great for fabric stamping! You can also use these stamps to decorate your DIY no SEW drop cloth curtains at home. Use a rubber carving block to cut your stamp design! I used here two sizes of Speedball Speedy-Carve, the bigger one worked great for the shark and the smaller ones for the normal fish! Stamping large and small fishes together will make the fish pattern look a bit more natural and arresting!
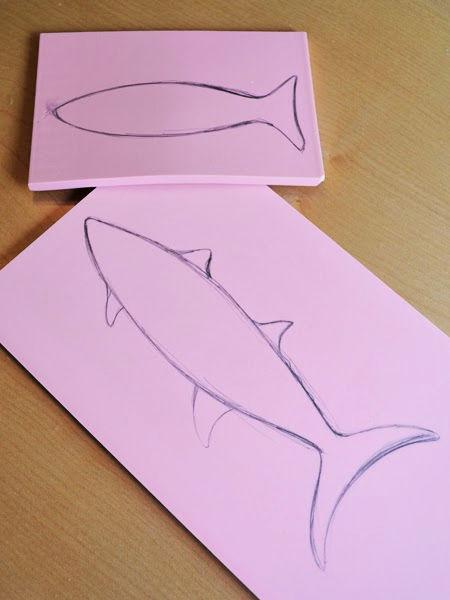
First, draw your fish stamp design on the carving blocks! It would be better to take the help of a printer if you are not handy at drawing! Just print out your favorite design and simply adhere to it on the carving block! You are all free to use any other way to trace our fish design like stenciling and using the cutout fish templates!
Note: Every of your traced pattern on the carving block will be reversed when stamping! So, if you first draw the reverse stamp design then it will come out as normal as you want! This will matter a lot in various other DIY stamp designs you may prefer, but in case of a fish stamp, the things do not matter!
Obviously, after tracing out your design, the next step would be to cut your DIY stamp! Just grab the fine cutting tools to do so! I used an X-Acto knife that you can select in any number or size that suits your situation best! Just keep your fish design and cut apart anything else using the X-Acto knife, the carving skills will help a lot in this step! Adhere you cut out rubber fish stamp design on a wooden block! So, when stamping, only the rubber design will touch your fabric, the wooden block will stay behind!
There are various other cuttings tools to cut out the complicated stamping designs like a Cricut or Silhouette! You can go with any DIY stamp design here you like a lot!
You can keep the bottom of the carving block as a part of your DIY stamp! So, you can hold the bottom for easy stamping! This will rock while making DIY stamps!
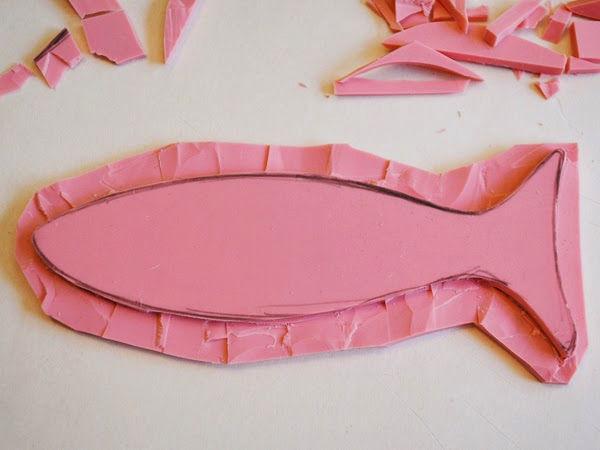
In my case, the fish stamps designs are large so I was a little worried that if stamping ink or paint transferring from the bottom area of stamp, it will ruin your stamping pattern and it will be all ugly! So, to remove all my worries, I considered cutting out the whole fish design with no more carving block bottoms! I mount them on another durable and hard medium that will allow easy gripping and hence fine stamping!
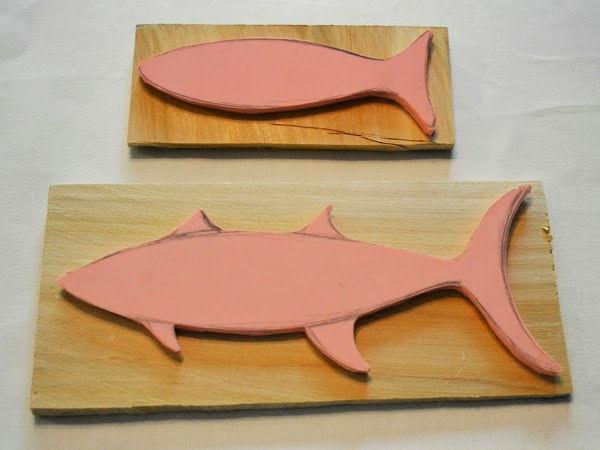
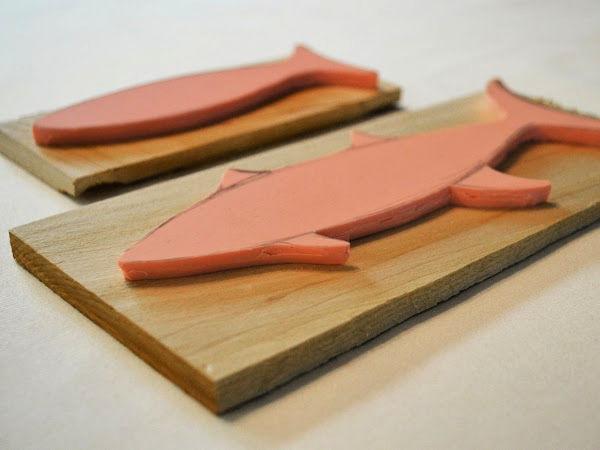
Some leftover wood pieces worked great for me! They gave me the ideal bottoms for rubber fish stamps that will allow an easy hold for accurate stamping! Just glue your final cut out rubber fish stamp designs on the wooden pieces, should be a little larger than the stamps! Now, finally completed DIY rubber stamps are ready to use!
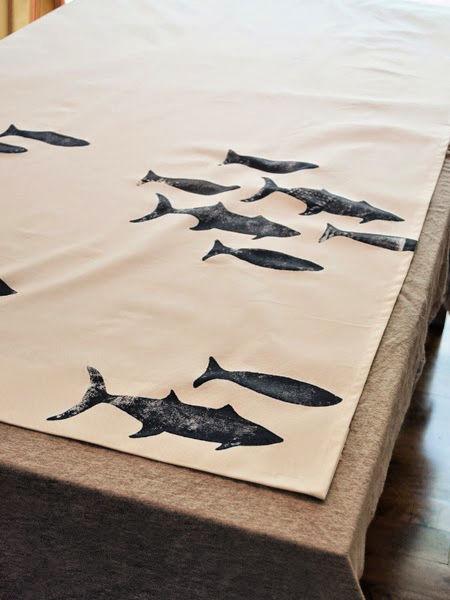
Let the fun begin, start stamping any of fabric with these homemade rubber fish stamps! I preferred to spice up my IKEA Merete Panel White curtains that you first hem to the length! First, iron your IKEA curtains to remove all the wrinkles and creases! However, if you have not bought the new curtains but willing to upgrade the old grades by going with the smarter way of stamping then just wash and clean them first! It will give you better results!
Next, you can simply head over to get a large flat surface to lay flat you fabric for fun stamping! In my case, the kitchen table top did the trick! Put a drop cloth or an old cloth sheet underside your curtains before you start stamping! This will help avoid the ink bleeding that may spoil the things!
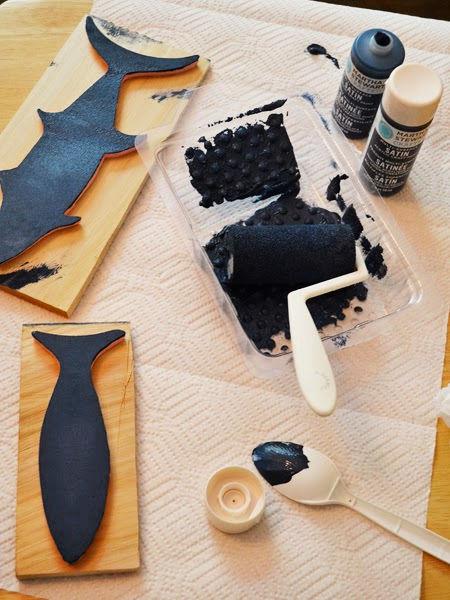
Now just grab a paint roller and a paint tray and roll the paint-dipped roller or brayer on the stamps! By doing so, you will get a solid print of DIY stamp on your decided fabric, curtains in our case! You can use an ink pad in case of miniature stamps, but here things are a bit change, the fish stamps are bigger! So, using the paint roller will nicely layer the paint on them for solid stamping!
I used the Maratha Stewart Multisurface Satin Acrylic Craft Paint, but you can go with any fabric paint of choice! First, do a little trial and then move ahead to real work!
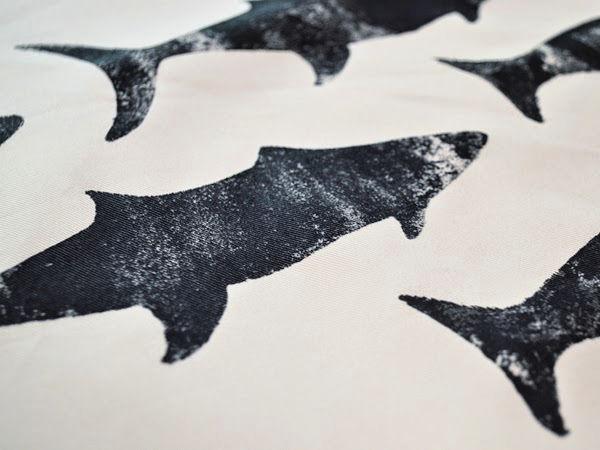
Just do some measurements and planning first if you want to go with a geometrical pattern while stamping! But, in my case, I wanted an organic pattern, not a geometrical pattern! So, just stamp 2 or 3 fish in a group and then go with 6 or 7! After applying 1 time on the stamp you can easily get a couple of stamps on your fabric! Stamp also the edges that will show that your design is going on and this will make your design look more authentic! For half stamp transfer on the curtain edges, use the cardboard pieces otherwise the stamping ink will go on the table countertop!
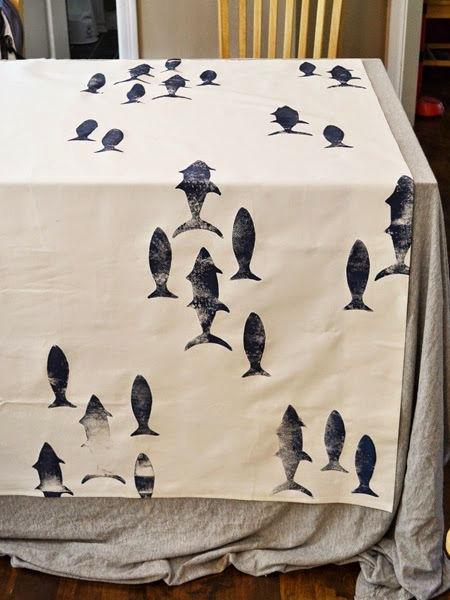
Use your kitchen countertop table as a sewing machine and keep on sliding the stamped portions until you get the whole curtain stamped just nicely! Make sure you are getting the equal portion of the curtain fabric on the countertop after sliding the stamped part! Repeat this process and get all the curtain stamped cool!
This is going to be a great window decor treatment that you can give using your own homemade stamps! The fish stamps will also help to feature a nautical theme in the entire room and they will just be a big breeze to see every morning!
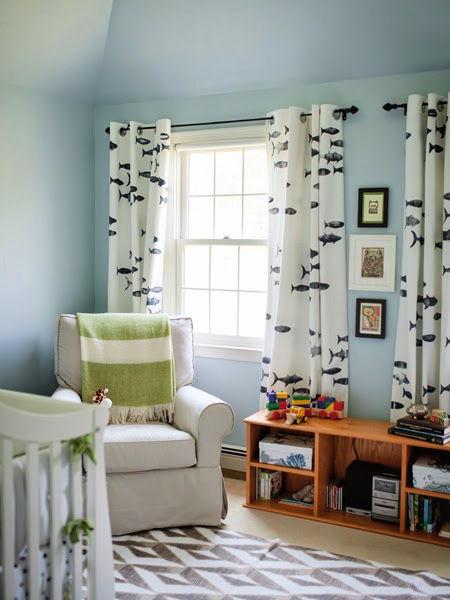
The DIY stamp will be an amazing choice when you want to make decorative curtains for other rooms of the home and even for a bathroom! Learn how to make a stamp and start decorating your favorite prints, designs, and patterns all around the home and they can be stamped on any fabric like on the bedsheets, on everyday outfits and also the window drapes and valances!


