A Kreg Jig is a clever tool that simplifies woodworking, transforming how you join pieces of wood. Perfect for both beginners and seasoned woodworkers, this versatile system allows for sturdy, seamless joints with minimal effort. Grasping the essentials of a Kreg Jig could elevate your woodworking projects, providing a professional touch with every use.
Harness the power of the Kreg Jig and unlock its full potential with comprehensive instructions and tips. From the R3 to the K5, this guide ensures mastery over every model, offering you the ability to tackle any woodworking challenge. Gain the knowledge to make swift and effective adjustments, ensuring your projects stand out with expert precision. Let’s delve into these methods and start creating with confidence and ease.
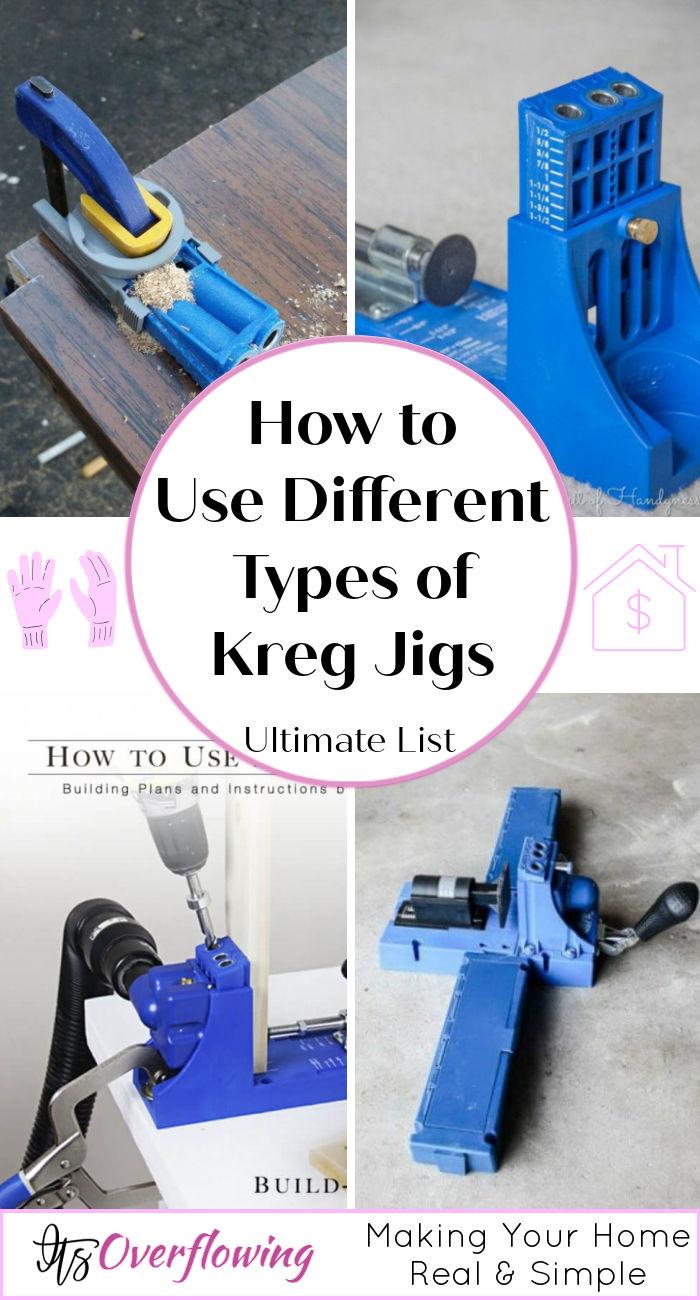
Why Use a Kreg Jig?
When tackling woodworking projects, precision and strength in joinery are key to a successful outcome. Here’s why a Kreg Jig is an invaluable tool for your workshop:
- Simplified Joinery: The Kreg Jig simplifies the process of creating strong and precise joints, making it accessible even for beginners.
- Hidden Screws: It allows for pocket hole joinery, meaning the screws are concealed, resulting in a clean, professional look.
- Versatility: Suitable for a wide range of projects, from building furniture to simple repairs, the Kreg Jig can handle it all.
- Time Efficiency: It speeds up the joining process compared to traditional methods, saving you valuable time on each project.
- Durability: Joints made with a Kreg Jig are robust, ensuring the longevity of your creations.
- Ease of Use: With clear instructions and simple setups, using a Kreg Jig is straightforward, avoiding frustration and common mistakes.
- Adaptability: Various models cater to different project sizes and complexities, providing the right tool for any task.
- Skill Enhancement: By using a Kreg Jig, you enhance your woodworking skills and can take on more challenging projects with confidence.
Remember, in woodworking, the quality of your tools often reflects in the quality of your finished projects. A Kreg Jig is a reliable and user-friendly choice that helps ensure your work not only looks great but stands the test of time.
Understanding the Different Types of Kreg Jigs
Kreg Jigs are incredibly versatile tools in woodworking, designed to create strong, hidden joints with relative ease. Whether you’re a beginner or a seasoned woodworker, there’s a Kreg Jig model that’s right for your project’s needs. Below, we’ll explore the different types of Kreg Jigs available, helping you to understand their uses and select the best one for your woodworking endeavors.
Kreg Jig R3: The Portable Option
Ideal for: Small to medium-sized projects and on-the-go use.
The Kreg Jig R3 is the perfect companion for DIYers who need portability and ease of use. This compact jig is designed to clamp onto the end of your workpiece, allowing you to drill pocket holes almost anywhere. It’s fantastic for small projects like picture frames, shelves, or repairs where you don’t need the more extensive setup of larger jigs.
Kreg Jig K4: The Do-It-All Starter
Ideal for: General woodworking and varied project sizes.
The Kreg Jig K4 is a great all-purpose jig that suits most woodworking projects. With a benchtop base, it’s stable and easy to use. This model includes a removable drill guide block, which can be used portably like the R3. The K4 also features a large clamping recess, making it simple to secure your workpiece.
Kreg Jig K5: The Advanced User’s Choice
Ideal for: Frequent use and larger projects.
The Kreg Jig K5 builds upon the features of the K4 with user-friendly advancements like a front-mounted handle for easy clamping, a swiveling dust collection port, and storage wings for keeping accessories close at hand. It’s a robust model that can handle repeated use and is ideal for individuals who create a lot of pocket hole joinery.
Kreg Jig Mini: The Budget-Friendly Basic
Ideal for: Occasional use, tight spaces, and budget-conscious woodworkers.
The Kreg Jig Mini is the simplest form of Kreg Jig. It’s a single-hole jig that’s small and affordable. While it lacks the advanced features of the larger models, it’s perfect for quick repairs or when working in tight spaces. Its simplicity also makes it an excellent entry point for those new to pocket hole joinery.
Kreg Jig HD: The Heavy-Duty Solution
Ideal for: Large outdoor projects and heavy-duty construction.
When your project demands extra strength, the Kreg Jig HD (Heavy Duty) is the go-to tool. It’s designed to work with thicker materials and create larger, stronger joints. Use this model for building decks, fences, or furniture that will support heavy loads.
Choosing the right Kreg Jig depends on the specific requirements of your project. Whether you need the portability of the R3, the versatility of the K4, the advanced features of the K5, the simplicity of the Mini, or the strength of the HD, there’s a Kreg Jig that fits the bill. With the right model, you’ll be creating professional-quality joints in no time, ensuring your woodworking projects are both durable and beautifully finished.
Getting Started with Your Kreg Jig: A Step-by-Step Guide
Learn the basics of using your Kreg Jig with this step-by-step guide. Master the essential techniques to create strong and reliable joints for your woodworking projects.
Understanding Your Kreg Jig
Before diving into projects, get familiar with your Kreg Jig model. Each Kreg Jig has unique features that cater to different project needs, but the general use is similar across models. The jig is designed to create pocket holes, which allow you to join pieces of wood together with screws that sit at an angle, hidden from view.
Setting Up Your Kreg Jig
Step 1: Select the Correct Screw Length
- Match your screw length to the thickness of your wood. Use the provided chart that comes with your Kreg Jig to make the right choice.
Step 2: Adjust the Drill Guide
- Align the jig’s drill guide to the thickness of your wood. Most jigs have a simple mechanism for sliding the guide up or down.
Step 3: Clamp the Jig
- Secure the jig onto your workpiece. If using models like the R3, attach it directly to the end of the wood. For benchtop models like the K4 or K5, place the wood into the jig and use the built-in clamp to hold it steady.
Step 4: Set the Drill Bit Collar
- Your Kreg Jig comes with a special drill bit and a collar that sets the depth of your holes. Adjust the collar according to the thickness of your wood.
Drilling Pocket Holes
Step 5: Drill Your Holes
- With the jig clamped and the drill bit set, start drilling into the wood at the designated spots on the jig. Keep the drill level and apply steady pressure.
Assembling Your Project
Step 6: Align Your Pieces
- Position the wood pieces to be joined, ensuring they are properly aligned.
Step 7: Apply Glue (Optional)
- For added strength, you can apply wood glue along the joining edges.
Step 8: Join with Screws
- Drive the Kreg screws into the pocket holes, pulling the two pieces of wood tightly together. Repeat for all necessary joints.
Step 9: Clean and Finish
- Wipe away any excess glue before it dries. Once your project is assembled, you can sand and finish the wood as desired.
Tips for Success
- Always make sure your work area is secure and stable.
- Measure twice, drill once – accuracy is crucial for seamless joints.
- Use a face clamp to hold the pieces together while you join them, if necessary.
- Be mindful of the drill’s torque setting to avoid stripping the screw or damaging the wood.
By following these simple steps and tips, you’ll harness the full potential of your Kreg Jig and create strong, professional-looking joints for all your woodworking projects. Remember, practice makes perfect, so don’t hesitate to experiment with scrap wood before moving on to your actual project. Happy building!
FAQS: Mastering the Kreg Jig for Woodworking Projects
Learn how to master the Kreg Jig for woodworking projects with this FAQS guide.
What is a Kreg Jig and why should I use it?
A Kreg Jig is a tool that helps create strong joints in woodworking by drilling angled holes for screws, known as pocket holes. It’s favored for its ability to make sturdy, nearly invisible joints quickly and easily.
How do I choose the right Kreg Jig for my project?
Consider the following factors:
- Project Size: Smaller projects may only require the portability of the R3, while larger projects could benefit from the K5’s advanced features.
- Frequency of Use: If you’ll be using it frequently, a more robust model like the K5 may be appropriate.
- Budget: The Mini is an affordable option for those on a tight budget or for occasional use.
- Material Thickness: For heavier construction, the Kreg Jig HD is designed for use with thicker materials.
Can you explain how to set up a Kreg Jig?
Absolutely, here are the basic steps:
- Select the Correct Screw Length: Match it to the thickness of your wood.
- Adjust the Drill Guide: Set it according to your wood’s thickness.
- Clamp the Jig: Securely attach it to your workpiece.
- Set the Drill Bit Collar: Adjust the collar on the drill bit to control hole depth.
What are the common mistakes to avoid when using a Kreg Jig?
To ensure the best results:
- Measure Accurately: Always double-check your measurements before drilling.
- Use Proper Clamping: Make sure the jig and the pieces being joined are clamped firmly.
- Mind the Drill Torque: Avoid over-tightening screws, which can strip the wood or the screw itself.
Can I use a Kreg Jig on any type of wood?
Kreg Jigs can be used on a variety of wood types, including softwoods, hardwoods, and even some composite materials. However, always ensure you are using the correct screw type and length for the material.
Do I need to use glue with a Kreg Jig?
Glue is optional but recommended for added strength. When using glue, apply it to the joining edges before driving in the screws.
How do I know which screw length to use?
Use the chart provided with your Kreg Jig, which correlates screw length to the thickness of the wood. As a general rule, the screw should penetrate the joining piece by about half its thickness.
Can I hide the pocket holes made by the Kreg Jig?
Yes, you can either:
- Place Pocket Holes Strategically: Where they will be less visible or covered by other parts of the project.
- Use Pocket Hole Plugs: To fill the holes after your project is assembled and sanded.
How do I maintain my Kreg Jig?
To maintain your Kreg Jig:
- Clean Regularly: Remove wood chips and dust after each use.
- Check for Wear: Inspect drill bits and replace them if they become dull.
- Store Properly: Keep the jig in a dry place to prevent rust and damage.
Where can I find more project ideas for using a Kreg Jig?
You can find project ideas on woodworking websites, in Kreg Jig’s project plan library, or by exploring DIY blogs and social media platforms dedicated to woodworking.
Remember, practice makes perfect. Don’t hesitate to try out your Kreg Jig on scrap wood to refine your technique before moving on to your actual project. Happy building!
10 Best Ways to Use a Kreg Jig
Discover the top 10 ways to maximize the potential of your Kreg Jig with our expert guide. Whether you’re a beginner or a seasoned pro, these tips will take your woodworking projects to the next level.
1. Easy Way to Use a Kreg Jig
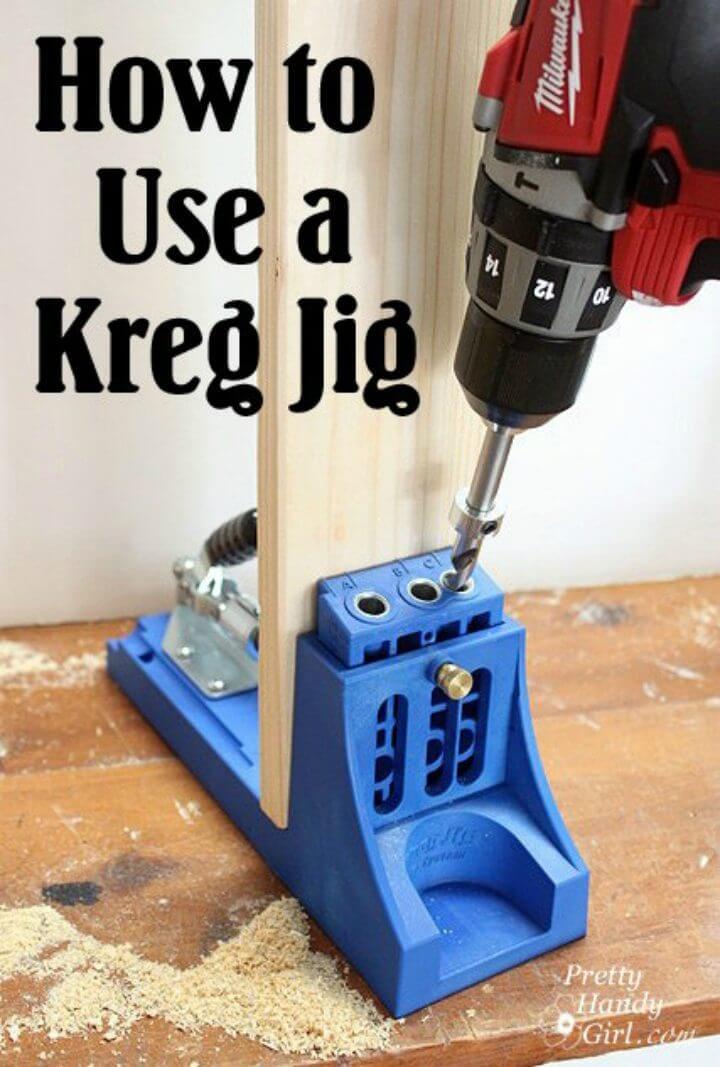
Ready to master the Kreg Jig for all your woodwork projects? Pretty Handy Girl‘s in-depth tutorial demystifies the process, providing a step-by-step guide to help you create strong, durable joints with ease. Whether constructing furniture or crafting frames, learning to use this tool can elevate your DIY endeavors.
The guide covers everything from measuring your wood accurately to concealing pocket holes for a polished finish. With practical advice and clear instructions, it’s an essential read for woodworkers aiming to enhance their building techniques. Plus, with recommendations on different Kreg Jig models, you’ll find just what you need for your workshop. Get ready to build with confidence and precision!
2. How to Use a Kreg Jig – Comparing the R3 and K5
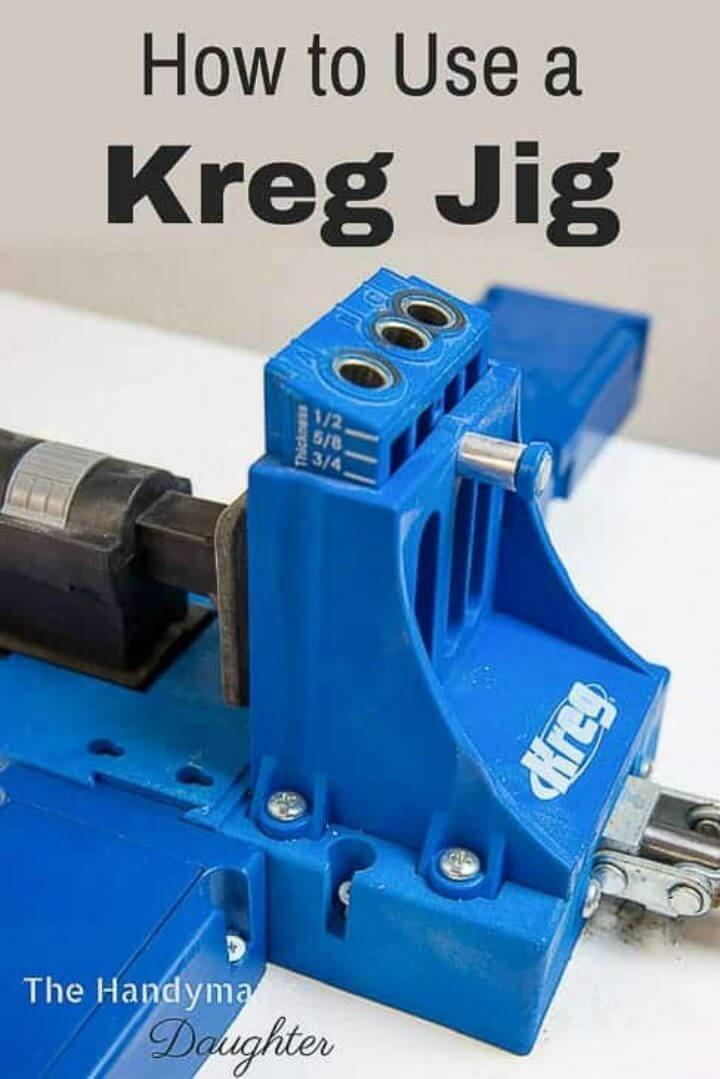
For those eager to delve into woodworking with pocket holes, Vineta Jackson from The Handyman’s Daughter offers a comprehensive look at using a Kreg Jig. Perfect for DIY furniture projects, her guide compares the user-friendly Kreg Jig R3 and the more advanced K5 model. Both jigs have distinct advantages; the R3 is cost-effective and great for precise hole placement on large pieces, while the K5 speeds up the process with built-in clamping and a dust port for a cleaner workspace.
Learn how to adjust and use these tools with ease and take your building to the next level. Plus, discover more woodworking insights with her ultimate guide to pocket holes. With the right Kreg Jig in your toolkit, constructing strong, professional-looking furniture is just a few steps away.
3. How to Use a Pocket Hole Jig
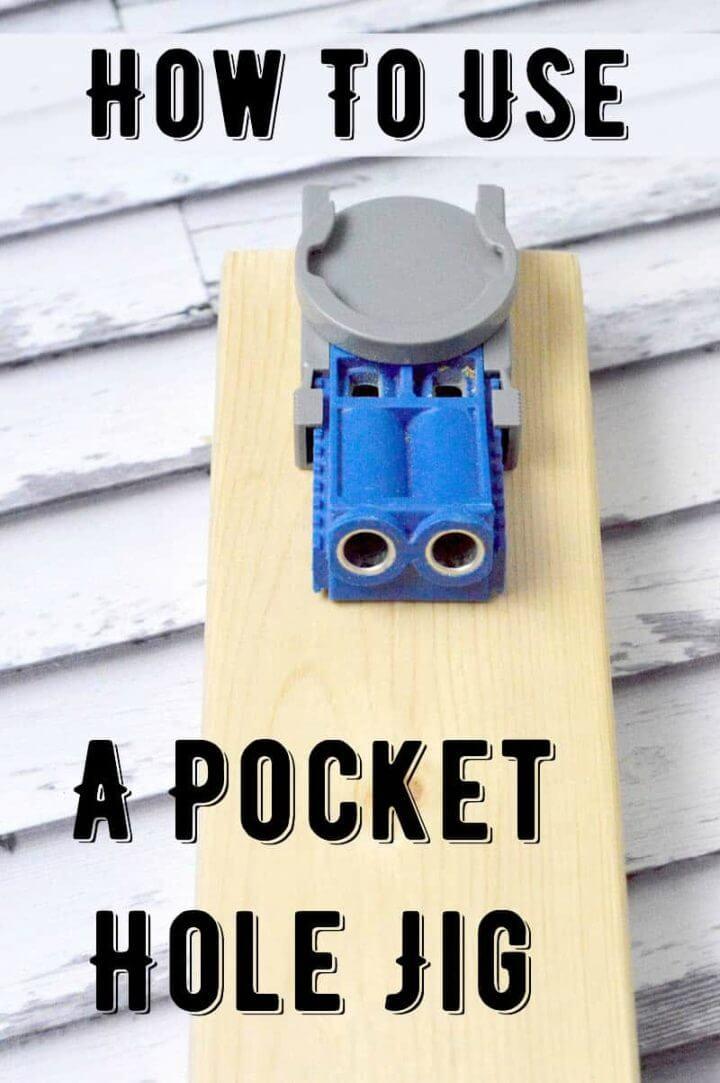
Master the art of woodworking with the pocket hole jig, commonly known as the Kreg Jig, a must-have tool for creating strong, seamless joints. Ideal for DIY furniture projects and home improvements, the Kreg Jig allows you to conceal screws for a professional finish.
This handy guide from DIY Candy offers step-by-step instructions on setting up the jig, selecting the correct screw length, and using it effectively for nearly invisible, robust joins. With helpful tips and visual aids, the process is made straightforward and accessible, ensuring your woodworking projects are executed with precision and strength. Get ready to transform your crafting experience with the confidence to tackle any joinery task.
4. How to Use a Kreg Jig R3
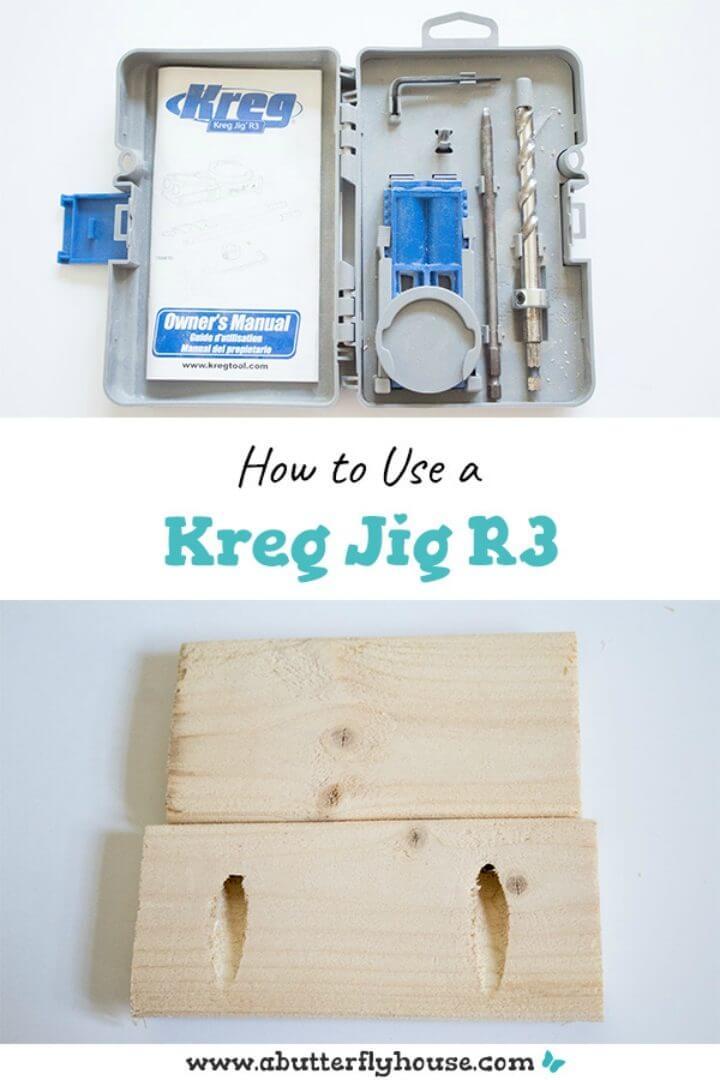
Master the art of woodworking with the Kreg Jig R3—a tool that simplifies creating strong, seamless joints. A Butterfly House offers an informative tutorial to guide you through the process, from adjusting the jig to the final assembly. You’ll learn how to select the appropriate screw sizes and understand the importance of accurate drilling. Clamping tips ensure your pieces stay put, avoiding frustrating mishaps. Embrace the Kreg Jig R3 for your next project and join the ranks of satisfied DIY furniture builders.
5. How a Kreg Jig Works
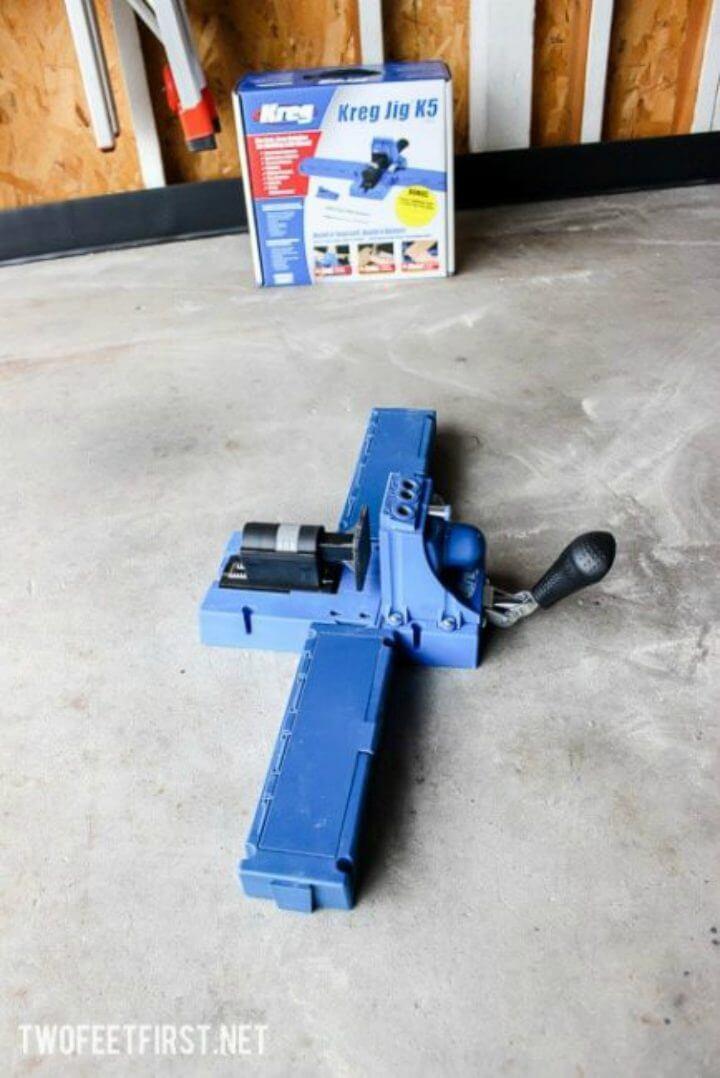
Discover how a Kreg Jig can transform your woodworking projects with ease. TwoFeetFirst reveals the simplicity and strength behind this innovative tool, ideal for creating sturdy joints in a multitude of builds, from cabinets to tables. Learn about different Kreg Jig models, find out which one fits your needs, and watch a practical demonstration to get started.
With Megan Taylor’s guidance, grasp the basics of this must-have gadget, making professional-looking woodwork accessible for DIY enthusiasts. Dive into the tutorial and elevate your crafting game with the Kreg Jig’s pocket-hole magic.
6. How to Use a Kreg Jig to Make Pocket Holes
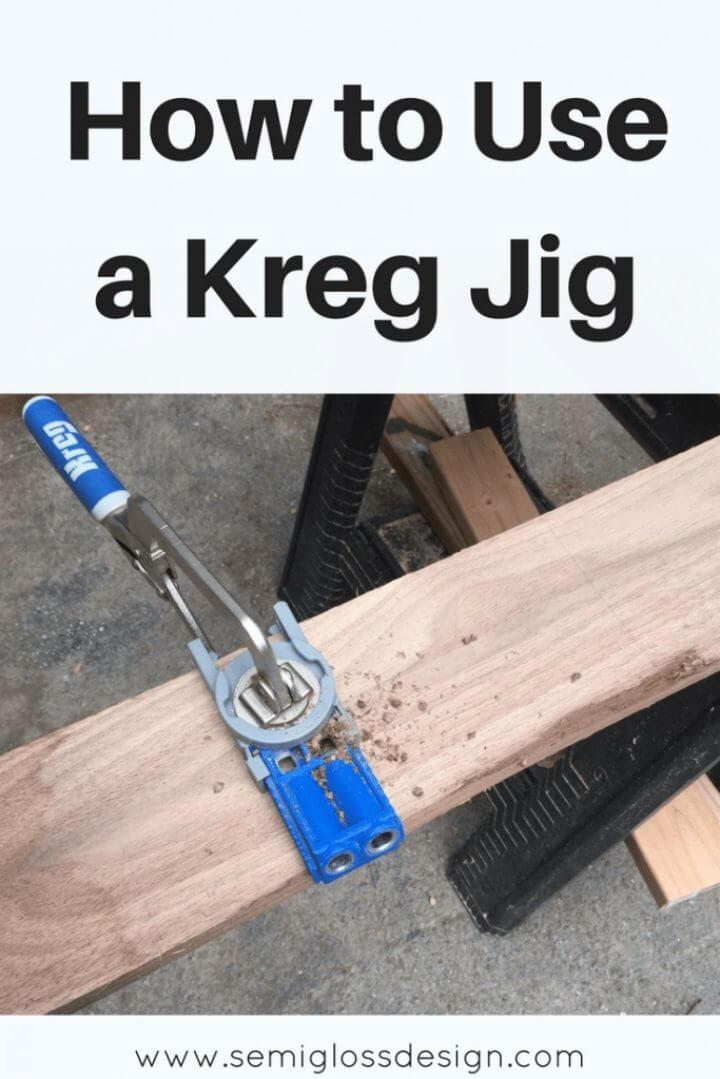
Transform your woodworking projects with the Kreg Jig—a must-have tool for creating clean, professional-looking pocket holes. Emy Flint’s easy tutorial on Semigloss Design offers a step-by-step guide on using this ingenious device. Learn to join wood seamlessly without visible screws, ideal for crafting furniture or adding details to your home décor.
Master the simple process of measuring, adjusting, drilling, and joining pieces with confidence. This tutorial ensures that even those new to pocket hole joinery can achieve strong, discreet joints for a polished finish. Get ready to elevate your DIY skills and bring precision to your projects with the Kreg Jig.
7. How to Use a Kreg Jig
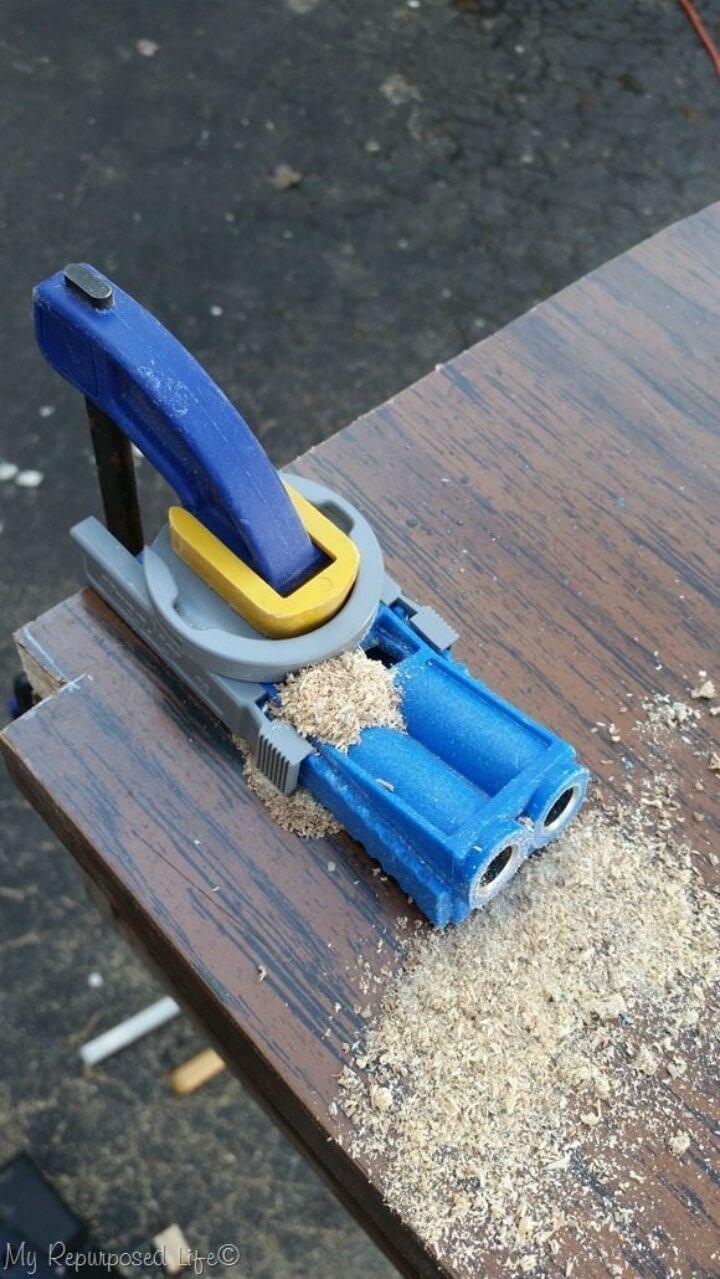
Master the art of woodworking with the Kreg Jig Pocket Hole System as Gail Wilson guides you through its versatile uses on My Repurposed Life. Perfect for both crafting new pieces and repairing furniture, this tool will revolutionize your DIY projects. Learn to build sturdy joints and flawless furniture with no visible screws.
Embrace the simplicity of creating “the box” as the foundation for countless designs. If you’ve got a Kreg Jig gathering dust, it’s time to dust it off and tackle a project. For further inspiration, Gail’s library of Kreg Jig Projects offers plenty of ideas to get you started. If questions arise, Gail is ready to assist. So, grab your tools and let your creativity flow with each cut and join!
8. Modify Your Kreg Jig for Easier Use
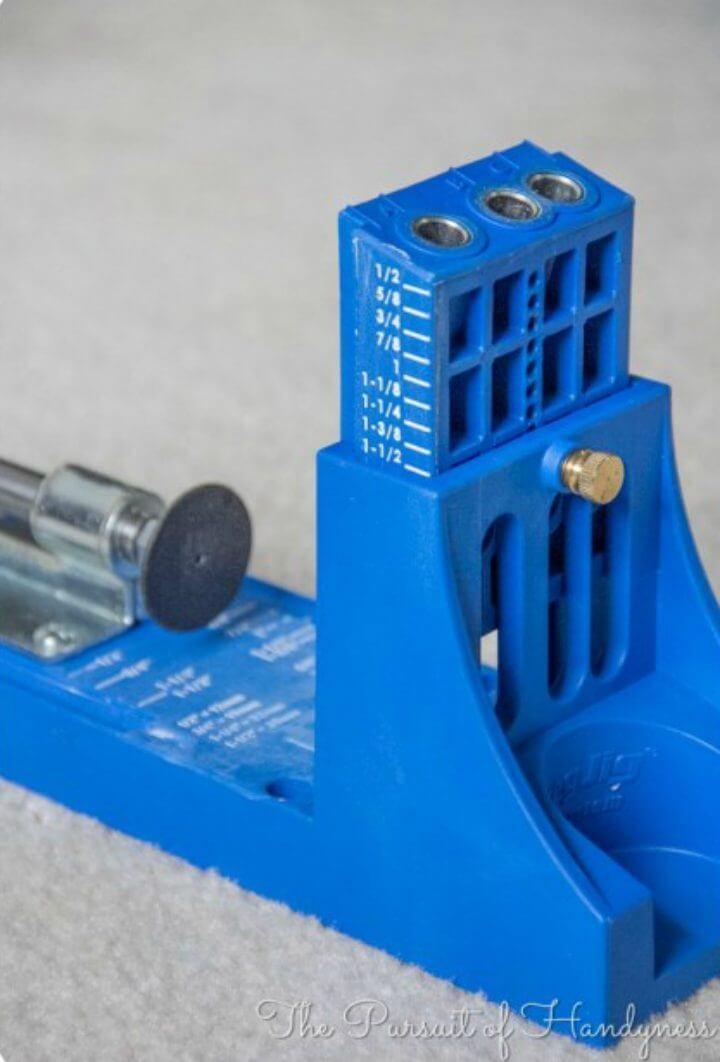
Struggling with the tiny markings on your Kreg Jig? Sawdust Girl® offers a simple yet effective hack to enhance the visibility of these crucial settings. With just white paint, a small brush, and a damp cloth, you can transform the way you use your pocket hole jig. Simply paint over the markings, wipe away the excess, and behold the improved clarity. No more squinting or guessing – precision in your woodworking projects is now easier to achieve. Get ready to see your Kreg Jig in a whole new light and enjoy more accurate adjustments in your DIY endeavors.
9. How to Use a Kreg Jig – Beginner Friendly

Learn to master woodworking projects with ease using a Kreg Jig, a vital tool for creating pocket holes for joinery. Hot Mess Housewife breaks down the process in a clear, step-by-step guide, making the art of hidden screws accessible to DIY enthusiasts. Discover the Kreg Jig Mini, an affordable option for crafting sturdy furniture without visible screws, and elevate your woodworking skills. Visit Hot Mess Housewife for a comprehensive tutorial and start transforming wood into beautiful, functional pieces today.
10. How to Set Up a Kreg Jig
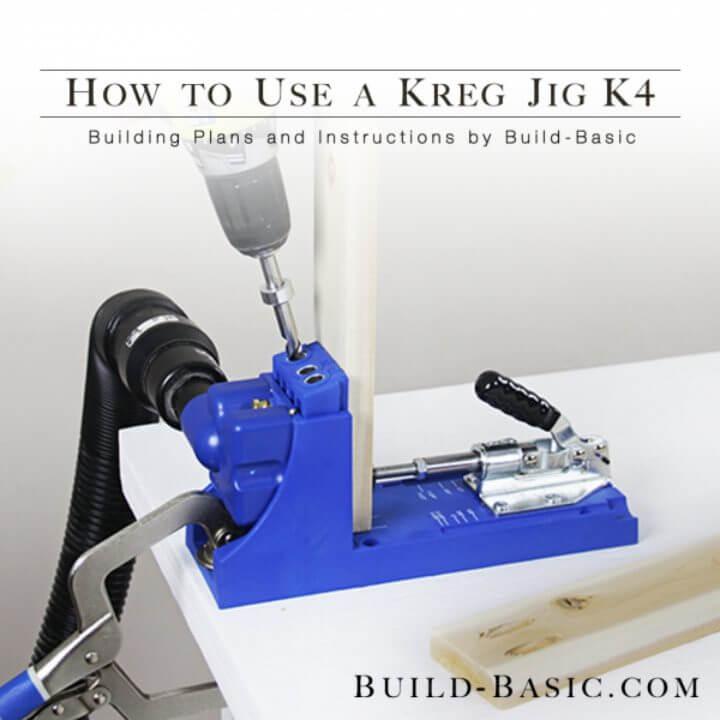
Explore the functionality of the Kreg Jig K4 Master System with Build Basic’s easy-to-follow guide. Enhancing your woodworking projects has never been more straightforward. This powerful tool is essential for creating strong, hidden joints with pocket hole joinery, a favorite technique among woodworkers. The K4 System is a game-changer, allowing for quicker and more efficient workflow.
On Build Basic, learn how to harness the full potential of this system to take your creations to the next level. Our instructive content ensures a smooth experience, whether you’re crafting simple projects or more intricate pieces. Emphasizing user-friendliness and practicality, our guide is perfect for anyone eager to improve their joinery skills.
Conclusion
In conclusion, mastering the Kreg Jig system is a game-changer for woodworking enthusiasts keen on elevating their craft. The “10 Best Ways to Use a Kreg Jig” showcases this versatile tool’s capacity to create strong, hidden joints with remarkable ease. From comparing models like the R3 and K5 to providing beginner-friendly tips, our comprehensive guide is designed to boost your confidence and precision in every project. With these expert insights, you’re now equipped to handle woodworking tasks with the finesse of a pro. Happy building!
