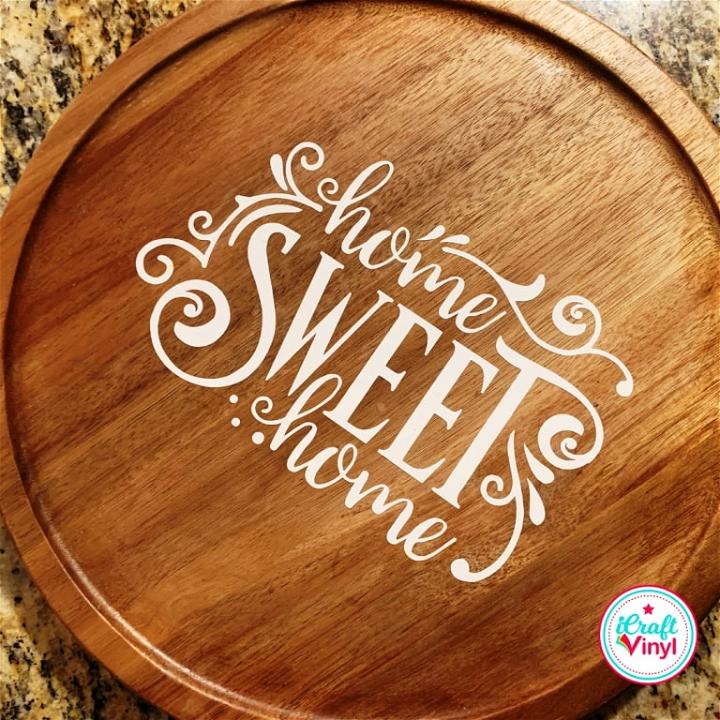
Are you ready to try something a little different than applying heat transfer vinyl to t-shirts? HTV can be applied to so much more than just fabric. That includes – but is certainly not limited to – canvas, glass and even wood. In this blog, we are going to tell you all you need to know about using HTV on wood so you can give this a try for yourself. While applying HTV to a new medium may be a little intimidating at first, with the proper application process and a few tips and tricks you’ll master this craft in no time!

Before we move into the instructions, let’s first go over a few things like why you would want to use HTV on wood and the different types of wood you can apply HTV to.
Is 651 Vinyl or HTV better for wood?
You may be wondering why you would want to apply heat transfer vinyl on wood when there is an alternative like adhesive vinyl. But you actually can use both materials on wood, it just depends on what you’re using the project for and how you want it to look. When you apply HTV to wood, the end result is going to look more like the design was painted on. When you use adhesive vinyl – 651 or 631 – the final look of your design will resemble more of a sticker with a glossy finish.
If you do decide to use HTV, you will need to gather your supplies. In addition to the material, and wood you’re pressing on (which we will discuss further next), you also need a piece of parchment paper or Teflon sheet, your cutter (like a Cricut or Silhouette) and a weeding tool. You will also need a home iron or heat press, but for most projects, you will likely use a home iron. With bulky pieces of wood, it can be hard to get an even press with a heat press. If you have a swing away press, however, you should be able to press small, flat pieces of wood.
What type of wood can HTV be applied to?
Now let’s move on to which types of wood you can apply HTV to. There is quite a few options including stained, painted, sealed, raw and untreated wood. If the wood you choose has a rough, uneven surface, we do suggest sanding it down to help your iron on vinyl adhere better. Another tip is to press in short increments for wood that has been painted on to help prevent discoloration.
Different HTV Materials That can Be Used

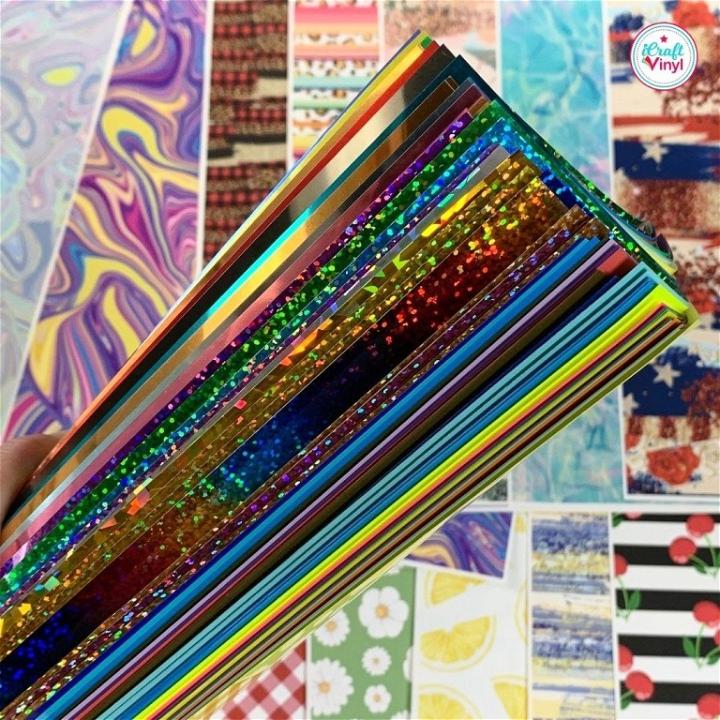
When choosing the HTV material that you will apply to your wood project, you don’t have to stick to flat colors like matte. Glitter, spectrum and hologram are just a few other options that you can adhere to the wood. Using thicker materials will likely be a little easier, but with some patience, you can apply thinner, softer material like liquid. We suggest starting at a lower temp for those projects.
Let’s Apply it!
Now that you have the basics of applying heat transfer vinyl to wood, it is time to apply it! Prepare your cut file on your cutter’s software and be sure you mirror the design. Then load your heat transfer vinyl onto your cutting mat with the shiny (carrier sheet) side down. Make sure you use the right settings for the material you selected. If you’re using a material like glitter or a hologram, use a setting with more pressure to ensure it cuts through the HTV but not through the carrier sheet.
After the design has finished cutting, remove it from your machine and weed out the excess material. You can use a craft hook, pin pen, X-acto knife, etc. It is really a personal preference! And now it is time to apply it! The process is really very similar to applying heat transfer vinyl to a shirt or other garment.
Turn your home iron on and set it to the highest temperature – which is usually the cotton setting. Be sure you do not use any steam! Cover your design with parchment paper or a Teflon sheet and use firm pressure to adhere to your design. Check if your design is adhered to frequently by letting it cool and removing the carrier sheet. If there are parts of your design that are not quite adhered to yet, place the carrier sheet and parchment paper back down and iron those places again.
And that is it! You will notice how the material melts beautifully into the wood instead of sticking on top of it. Enjoy your finished project and all the fun things you can do with this craft!
More tips & tricks
- Do not apply heat directly to the carrier sheet, always keep a piece of parchment paper or Teflon sheet over your design.
- Do not over press your design. If you press too long, you can warp or melt your HTV design. If you notice the carrier sheet is starting to warp, that is usually an indication that you have applied enough – or even too much – heat.
- Alway cold peel! Wait for your design to cool down completely before you remove the carrier sheet.
- With these projects, you do not need to do a final press once you remove the carrier sheet like you would with garments.
