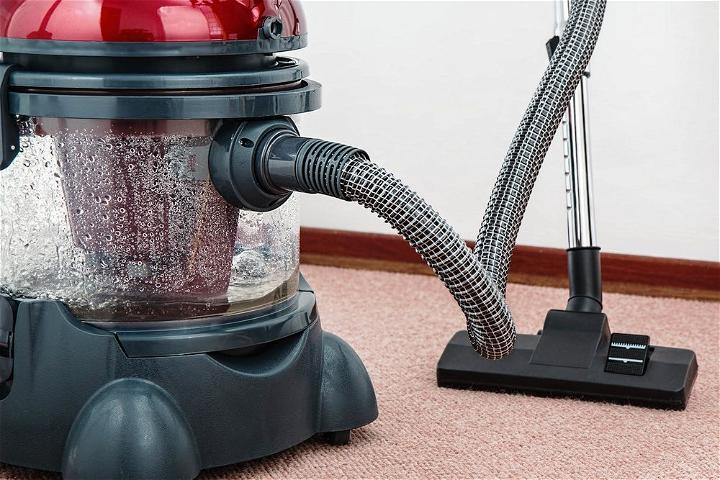
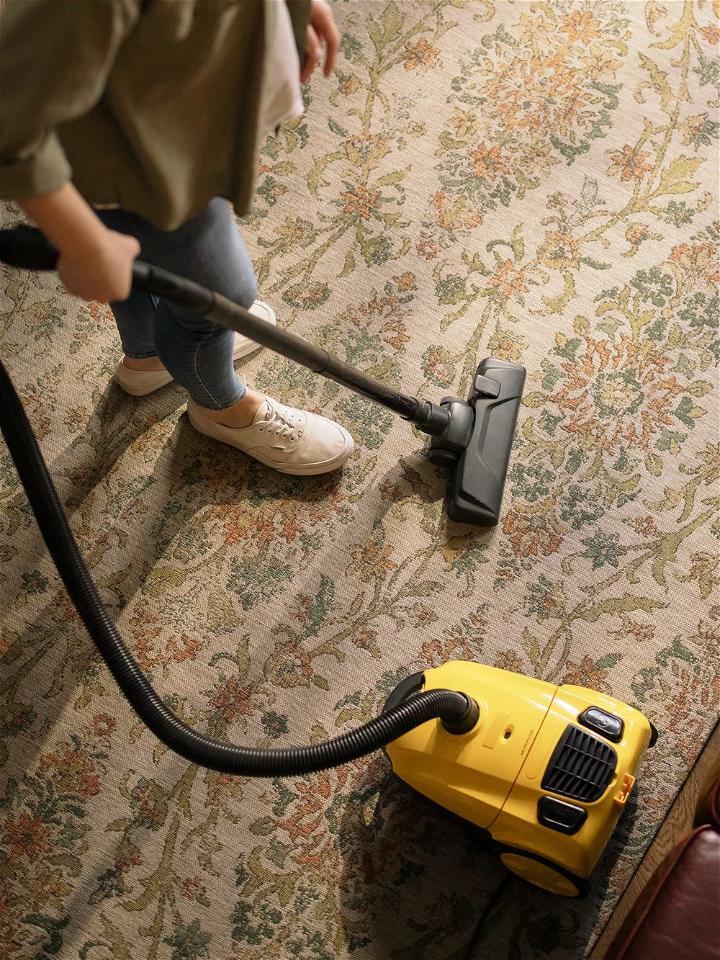
A vacuum cleaner is a vital part of your home. Getting rid of unwanted dirt and allergens is vital in keeping a clean and healthy environment, but only if the vacuum is in good working condition. If you have just bought one or want to buy a new one, it’s crucial to understand how they work. The purpose of a vacuum cleaner is to make your life easier by cleaning up after you’ve been busy doing other things – moving furniture around, for example. It gives people the freedom to kneel on floors with a dustpan and brush when some spills or messes need clearing away.

Types Of Vacuum Cleaners
There are three types of vacuum cleaners: upright, canister, and robotic. They each have advantages over the others, depending on what you are looking for in a vacuum. Upright models are the traditional type that stands up on their own, which is why they are also called upright vacuums. They have powerful motors and may come with different attachments so you can vacuum more easily around your home.
Canister models use a large cylinder attached to wheels or rollers, making them easy to move around. This gives greater control while using it because you can attach an attachment to the hose that comes with it if necessary to get into small spaces. Robotic cleaners automatically do your housework by moving around each room like robotic explorers, connecting themselves to an outlet when their power runs out.
How To Maintain And Clean Your Vacuum Cleaner
To protect and prolong the life of your rug or carpet, you need to do some simple maintenance and cleaning tasks for your vacuum cleaner. Here’s how to clean your vacuum cleaner:
1. Check The Filter
Depending on the type of vacuum cleaner you use, a filter needs to be checked and washed at least every month. This is the part of your vacuum that picks up dust and dirt from the air, so it’s essential not to neglect this area when cleaning your machine. Use the water filtration vacuum cleaners to wash the filter in cold water with no detergent or soap, letting it dry overnight before putting it back into your machine. If you have allergies, wash it more regularly because a dirty filter can exacerbate an allergic reaction for some people. In addition, it’s a good idea to get a special filter for people who have asthma.
2. Deodorize Your Vacuum Cleaner
If you have pets in your home, even the cleanest homes can smell a little like their favorite furry or feathered friend after a while. Animals shed hair and leave behind dander that you probably don’t want to clog up your vacuum cleaner’s motor, so it’s crucial to deodorize your machine regularly. You can use baking soda, salt, or kitty litter inside your vacuum cleaner bag and leave overnight to absorb smells and eliminate odors. Then, discard the contents in your bin.
3. Clean The Roller Bar
Most vacuum cleaners have a roller bar that helps pull dirt, dust, and hair into the machine as it sucks up all sorts of messes on floors or carpets. This is an essential part of your cleaner because it’s doing its job effectively by removing waste from your home’s surfaces. However, over time the roller bar can become clogged with hair, fibers, and other debris, which will affect its performance. To clean out this area, use a brush attachment on your vacuum cleaner hose to loosen anything stuck onto the roller brush before you eradicate it for cleaning. Wash this area separately with soap and water, then allow it to dry thoroughly, putting it back into place on your machine before using it again.

4. Clean The Brush On Your Vacuum Cleaner
To clean the brush on your vacuum cleaner, turn off the machine and unplug it from its power supply, then lay your cleaner on its side with the brush facing up. Remove any hair or fibers wrapped around the bristles of the brush by hand, taking care not to bend them. Some vacuums have a release button somewhere on their handle, which you can press gently to release the bottom plate so you can access this area more easily. Then use either an old toothbrush or something similar like a pipe-cleaner to get rid of any dirt in hard-to-reach areas of your rotating brush before reassembling it carefully back onto your machine.
5. Clean Out The Filters On Your Vacuum Cleaner Regularly
Your vacuum cleaner filter is an integral part of your machine, so it’s essential to clean these regularly, according to the manufacturer’s guidelines, for best results and optimum performance from your cleaner. Some vacuums have a removable filter which you can take out and wash in warm water with detergent or soap, then leave to dry thoroughly before putting back into place in your machine when it’s scorched. Other cleaners have a paper or foam filter that needs to be washed in cold water without detergent or soap using a small brush to get all the dirt out from the tiny holes in the material before leaving it to air-dry overnight before replacing it in the machine. Depending on your manufacturer’s recommendations for your cleaner model, some filters can be washed up to 5 times before they need replacing.
6. Keep The Motor Cool
If you often vacuum for long periods, the motor will start to heat up as it sucks in air and transfers that into energy to create suction. This is why it’s essential to let the motor cool down regularly to maintain its performance and prevent any damage from overheating caused by overuse during a longer vacuum session which could cause problems with the cleaner itself over time. It’s also advisable to clean out any dust or fluff build-up in the ventilation grills around the housing for this part of your machine because this will help airflow and help the motor cool down rapidly.
Before you use your vacuum cleaner again, make sure the dust bag inside it is empty and clean out the container for debris too. If there’s any dirt on the outside of the machine after you’ve cleaned it thoroughly before putting it away, wipe it over with a damp cloth or a small brush to avoid build-up, which will cause problems in time. So these are some valuable tips on how to maintain and keep your vacuum cleaner working effectively for longer without having to pay professional appliance repair costs down the line when things start wearing out or breaking down.
