Are you charmed by home decor and the allure of handcrafted furniture? Our guide on making DIY rustic end tables promises to fuel your creativity and furnish your living space with unique charm. By choosing to make these end tables yourself, you’re starting on a cost-effective journey that offers personalization and a sense of achievement. From finding free lumber on Craigslist to selecting the perfect finish, we cover all the bases to ensure your DIY rustic end tables become a standout feature in your home.
Dive into the world of DIY and learn how simple it can be to construct stunning rustic end tables. Our step-by-step instructions will help you turn raw materials into eye-catching and practical furniture. Not only do these DIY rustic end table ideas enhance your skills, but they also pave the way for potential profits. Get ready to transform your space with a side table that’s more than just furniture—it’s a statement of your craft and ingenuity. Now, let’s take a closer look at how you can build these amazing pieces on your own.
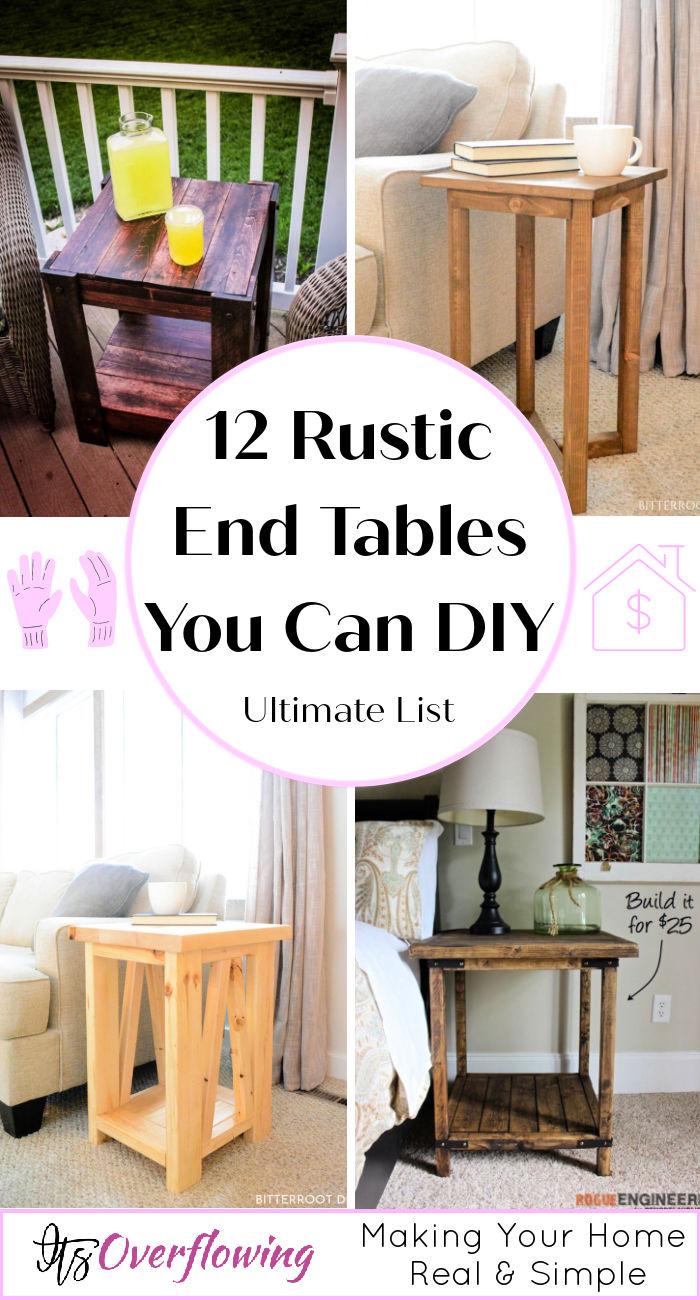
Why You Should Consider DIY Rustic End Tables
Discover the benefits of crafting your own DIY rustic end tables. Add a touch of charm and personality to your living space with these unique and stylish pieces.
- Boost Savings: Making your own rustic end tables is incredibly budget-friendly. Furniture stores can charge a premium, but by choosing the DIY route, you use affordable or even free materials like reclaimed wood. This approach can potentially save you hundreds of dollars.
- Personalize Your Space: A DIY end table is a blank canvas. You pick the size, finish, and features that reflect your style and fit your living area perfectly. Your end table won’t just blend in; it’ll stand out as a unique centerpiece.
- Grow Your Skills: With each end table you craft, you learn new woodworking techniques. This practical experience builds your confidence, and before long, you may find yourself ready to tackle even more ambitious projects.
- Eco-Friendly Crafting: DIY projects often use recycled materials, which helps reduce waste. Turning pallets or old lumber into beautiful end tables is a creative way to be eco-conscious.
- Make Emotional Value: There’s undeniable pride in using the furniture you’ve crafted with your own hands. It holds a sentimental value that can’t be bought and might one day become a treasured family heirloom.
- Potential for Profit: Once you’ve honed your end table-making skills, there’s an opportunity to monetize your hobby. Handcrafted pieces are in demand, and you could sell your unique tables on platforms like eBay, Etsy, or Amazon.
By adopting these insights, you’re all set to build DIY end tables that are not only practical and stylish but also a reflection of your dedication to craftsmanship and sustainability.
Materials and Tools You’ll Need for DIY Rustic End Tables
When starting your DIY rustic end table projects, having the right materials and tools is crucial for success. This section will guide you through what you need to get started, ensuring you’re well-equipped to make your unique furniture pieces.
Essential Materials:
- Wood: Depending on your design, you might need pallets, 2x4s, project panels, or pine planks. Reclaimed wood is a great option for an authentic rustic look.
- Wood Screws: These will be used to assemble the parts of your end table securely.
- Wood Glue: For additional strength in your joints, high-quality wood glue is a must.
- Sandpaper: You’ll need various grits for smoothing out rough edges and prepping the wood for staining or painting.
- Stain or Paint: Select a color or finish that complements your decor and the type of wood you’re using.
- Polyurethane or Sealer: This will protect your end table from moisture and wear.
- Dowels: For certain designs, dowels can be used for added decorative and structural elements.
Required Tools:
- Saw: A miter saw or circular saw will be necessary for cutting your wood to the correct dimensions.
- Drill: Essential for making pilot holes and driving screws.
- Measuring Tape: Precision is key, so a reliable measuring tape is vital.
- Square: A carpenter’s square helps ensure all your angles are perfect.
- Hammer: Needed for any nails or for helping to dismantle pallets.
- Sander: An orbital sander can save time and effort in the finishing process.
- Kreg Jig: For building strong, hidden joints, a Kreg Jig is highly useful.
- Clamps: These will hold your wood in place while you’re working.
- Brad Nailer: Optional, but can make attaching thin trim or smaller pieces easier.
Safety Gear:
- Safety Glasses: Protect your eyes from dust and debris.
- Gloves: Wear gloves when handling rough wood or when using stain and sealants.
- Ear Protection: Use when operating loud power tools.
- Dust Mask: Essential when sanding or working in a dusty environment.
Before starting your project, ensure you have all the necessary materials and tools listed above.
How to Build Your Own DIY Rustic End Tables
Making DIY rustic end tables can be a fulfilling and enjoyable project that adds a personalized touch to your home decor. Here’s a step-by-step guide to help you through the process with ease and confidence.
Choose Your Design and Materials
1. Define Your Style:
- Consider the existing decor of the room where the end table will be placed.
- Decide on the specific rustic look you’re aiming for – farmhouse, industrial, shabby chic, etc.
2. Select Your Wood:
- Choose between pallet wood, reclaimed lumber, or new wood from a hardware store.
- For a truly rustic feel, reclaimed wood or pallets are ideal, and they’re often available for free or at a low cost.
3. Gather Supplies:
- Purchase wood screws, wood glue, sandpaper, your choice of stain or paint, and a sealer like polyurethane.
- Collect any additional decorative elements such as dowels or hardware.
Prepare Your Workspace
1. Find a Suitable Area:
- Ensure your workspace is well-ventilated, especially if you’ll be staining or painting.
- Clear ample space to lay out materials and tools.
2. Safety First:
- Wear safety glasses, gloves, ear protection, and a dust mask as needed.
Tools You’ll Need
1. Basic Tools:
- Miter saw or circular saw
- Drill with various bits
- Measuring tape and carpenter’s square
- Hammer and sander
2. Advanced Tools (Optional):
- Kreg Jig for pocket holes
- Clamps to hold pieces together
- Brad nailer for attaching trim
Step-by-Step Construction
1. Measure and Cut:
- Follow the dimensions from your chosen design.
- Double-check measurements before cutting.
2. Assemble the Base:
- Start by constructing the frame of the end table.
- Use screws and wood glue for sturdy joints.
3. Add the Top and Shelves:
- Attach the top surface and any additional shelves or features.
- Ensure everything is level and securely fastened.
4. Sand and Finish:
- Sand the wood to smooth out rough edges and surfaces.
- Apply your chosen stain or paint and allow it to dry.
- Seal the wood with polyurethane to protect it.
Customization and Finishing Touches
1. Personalize It:
- Add unique hardware or decorative elements that reflect your style.
- Consider creative touches like stenciling or wood-burning.
2. Inspect and Tweak:
- Go over the table to make sure all screws are tightened and the finish is even.
- Make any necessary adjustments for stability and appearance.
By following these steps, you’ll be able to make beautiful, rustic end tables that enhance the charm and functionality of your living space.
FAQs on DIY Rustic End Tables
What are the benefits of making my own rustic end table?
- Save Money: Building your own table is usually cheaper than buying one.
- Personalization: You can make a table that perfectly fits your space and style.
- Skill Building: Each project can improve your woodworking abilities.
- Eco-Friendly: Using reclaimed wood helps reduce waste.
- Emotional Value: Handmade pieces hold special significance.
- Potential Profit: You could sell your creations online.
What materials do I need for a DIY rustic end table?
- Wood (pallets, planks, or 2x4s)
- Wood Screws
- Wood Glue
- Sandpaper
- Stain or Paint
- Polyurethane or Sealer
- Dowels (optional)
What tools are required for building a rustic end table?
- Saw (miter or circular)
- Drill
- Measuring Tape
- Square
- Hammer
- Sander
- Kreg Jig (optional)
- Clamps
- Brad Nailer (optional)
Where can I find wood for my DIY project?
- Hardware stores
- Reclaimed wood from old buildings
- Free pallets listed on Craigslist
Can I make a rustic end table with limited woodworking skills?
Yes, there are many simple designs suitable for beginners, and online tutorials can guide you through the process step-by-step.
How do I protect my DIY end table from damage?
Applying a sealer like polyurethane after painting or staining can protect the wood from moisture and wear.
What should I do if my end table wobbles?
Check all the joints and ensure the screws are tight. If the floor is uneven, consider adding felt pads or adjustable feet to the table’s legs.
Can I sell the rustic end tables I make?
Yes, many people sell their handcrafted tables on platforms like eBay, Etsy, or Amazon.
How do I price my handmade end tables for sale?
Consider the cost of materials, time invested, and the going rate for similar items. Don’t forget to factor in any fees from the platform you’re using to sell.
Are there any safety concerns I should be aware of when making an end table?
Always wear safety gear like glasses, gloves, and a dust mask. Follow all tool instructions and work in a well-ventilated space.
DIY Rustic End Tables
Discover how to build your own rustic end tables with this easy DIY guide. Add a touch of charm and character to your home decor with these unique pieces.
1. DIY Pallet End Table
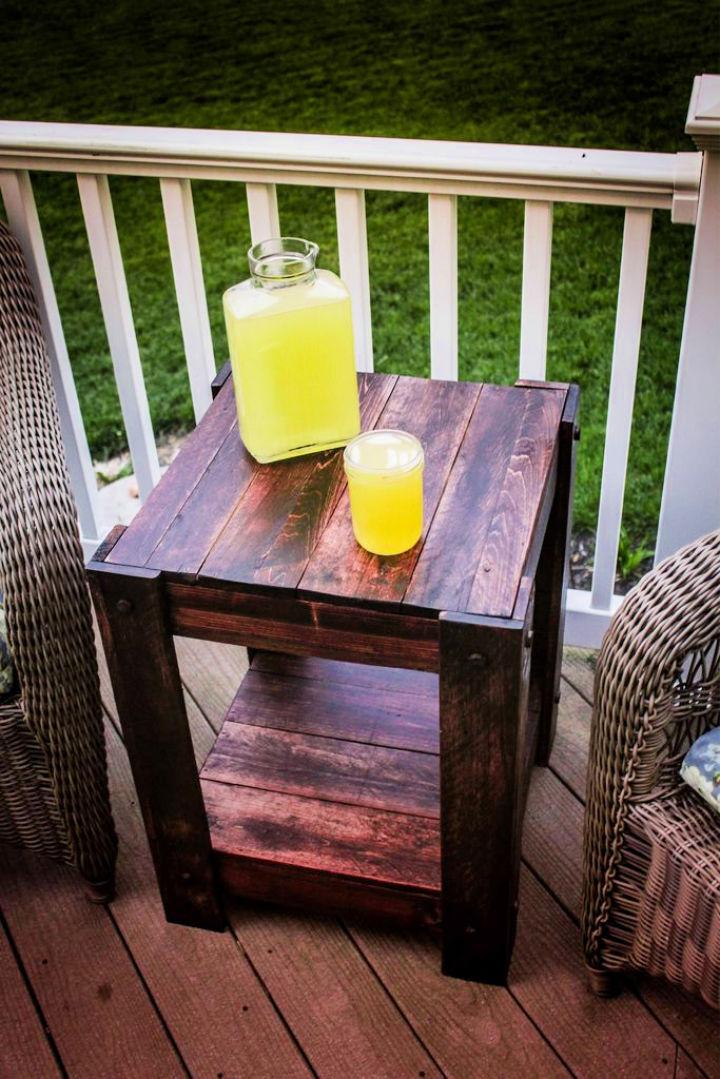
Transform reclaimed pallets into a stylish end table with our step-by-step guide on Instructables. Perfect for DIY enthusiasts looking to add a touch of rustic charm to their living space, this project is both eco-friendly and cost-effective. Our instructions are clear, concise, and tailored to assist you in building a unique piece that’s not only functional but also a conversation starter. With straightforward language and practical tips, you’ll be able to craft a pallet end table that enhances your home decor and showcases your handiwork. Get your tools ready, and let’s start building!
- Outdoor Furniture Plans: Discover a collection of DIY outdoor furniture plans to bring your backyard to life. Get creative and build your own stylish and functional pieces for outdoor living.
2. Rustic End Table from Free Pallets
Looking to craft a charming rustic side table from upcycled materials? Steve Ramsey’s YouTube guide offers a straightforward approach, perfect for a weekend project. Utilizing free pallets, often found on Craigslist, you can make a shabby-chic piece that adds character to any outdoor space. The video tutorial is designed for those with fundamental woodworking skills, and limited tools are needed—a jigsaw, hammer, drill, and sander will suffice.
Steve provides a practical method for dismantling pallets and demonstrates each step with clarity. The result is a bespoke side table that not only saves money but also brings a touch of rustic elegance to your home. Dive into this DIY project, and let your craftsmanship shine with a side table that’s both functional and stylish.
3. How to Build a Rustic X End Table
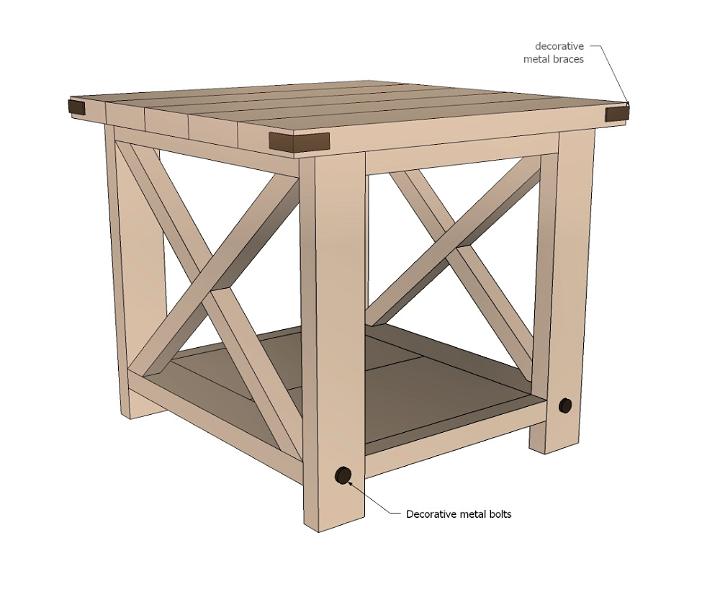
Make a cozy, rustic touch in your living space with the Rustic X End Table from Ana White. Ideal for intermediate DIYers, this project transforms 2x4s and lumber into a stylish, functional end table with a spacious bottom shelf—perfect for storing books or showcasing decor.
Ana White provides clear, step-by-step plans that include a shopping list, cut list, and diagrams to ensure a smooth building experience. Customize your creation with a choice of stain or paint to match your home’s aesthetic. With Ana White’s beginner-friendly instructions, you’ll enjoy crafting a piece that adds warmth and character to any room.
4. Homemade Wooden End Table
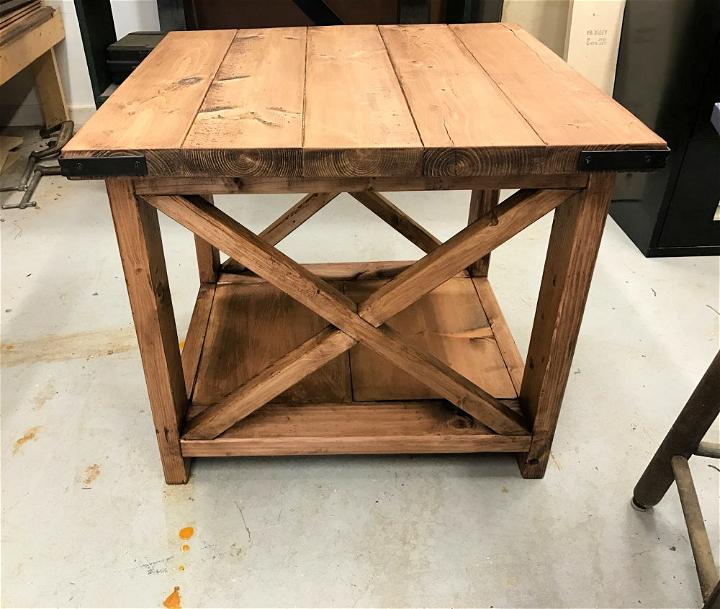
Ready to tackle a charming DIY project? Our guide on building a Rustic X End Table offers a hands-on approach to crafting beautiful, farmhouse-style furniture. With a detailed material and cut list, along with step-by-step instructions, you’ll be guided through the process of building a sturdy and stylish end table.
Discover the magic of a Kreg Jig in assembly, learn how to construct the signature “X” side detailing, and finish with sanding and staining techniques that bring out the wood’s natural beauty. Ideal for enhancing your living space or gifting a homemade treasure, our DIY walkthrough is here to help you transform raw materials into a functional work of art. We Are Grown Up
5. DIY Rustic Square Bedside Table
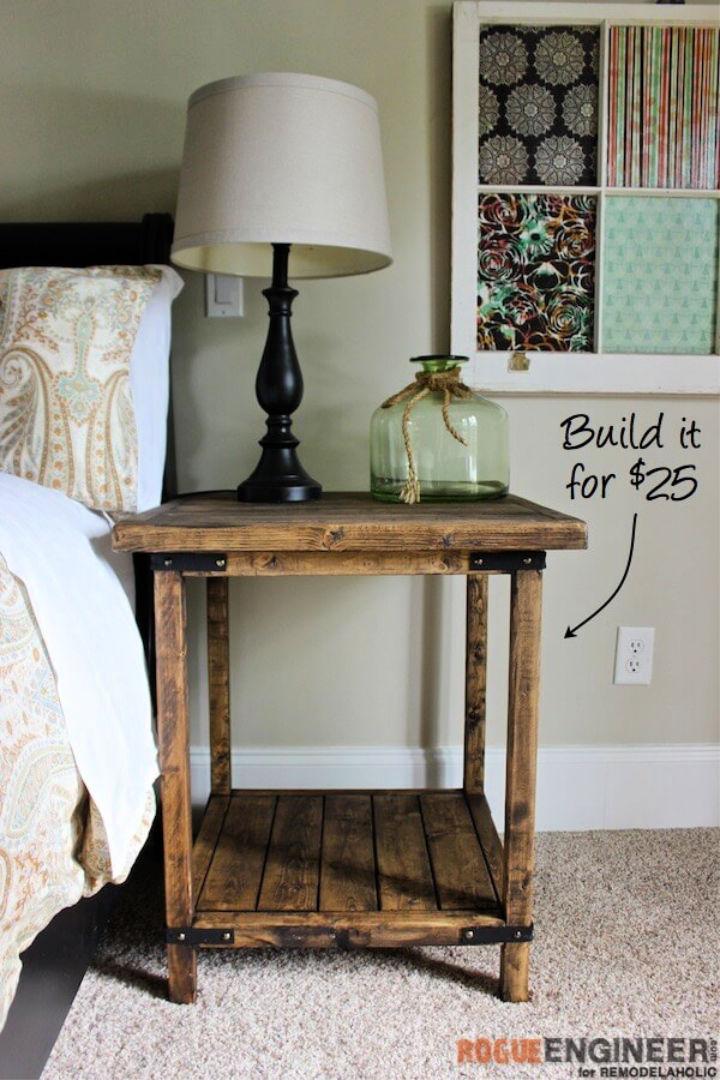
Looking to craft a charming square side table without breaking the bank or needing extensive woodworking skills? Rogue Engineer offers a comprehensive guide that lets you make your very own rustic bedside table for under $25. With a straightforward and instructive approach, this DIY plan is perfect for those who appreciate hands-on projects.
The guide provides a detailed list of materials, cut dimensions, and step-by-step instructions to ensure you can follow along with ease. Tailored to be helpful and engaging, Rogue Engineer ensures an enjoyable building experience that culminates in a functional and stylish piece of furniture for your home.
DIY Lamp Ideas: Explore inspiring DIY lamp ideas to illuminate your space with style.
6. Rustic End Table Plans for Less Than $10
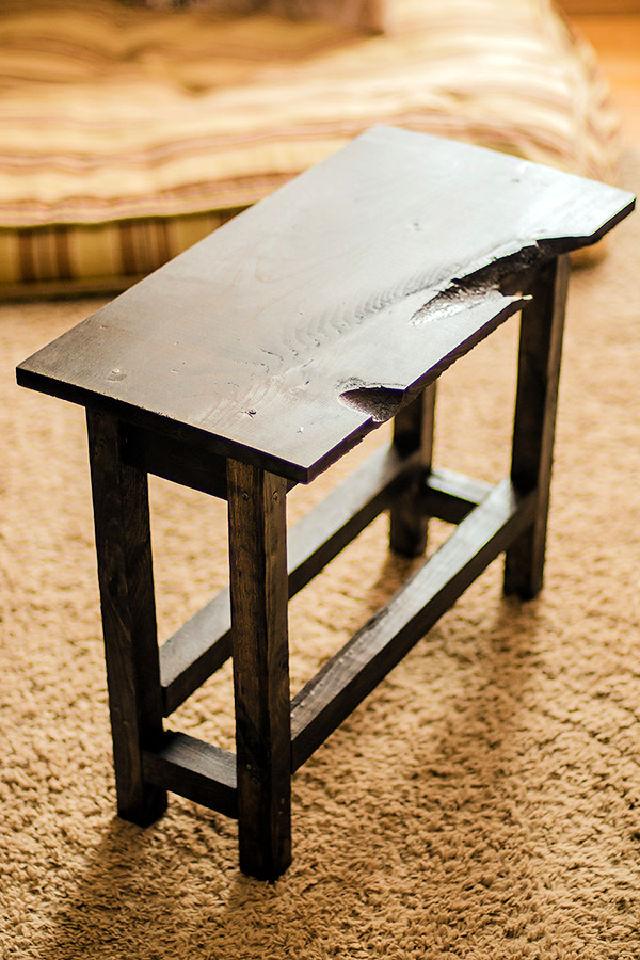
Discover how to make a charming rustic end table with a simple DIY project detailed on Commatose.ca. Nikki shares the process of her partner Miklos crafting a stylish and functional piece for their home, using affordable materials like scrap planks of pine and leftover stains. Learn how to measure, hammer, and apply a finish to your homemade furniture, ensuring it’s both sturdy and fits perfectly in your space. Ideal for adding a natural touch to your decor, this guide is perfect for anyone interested in home projects that combine beauty, practicality, and cost-effectiveness.
7. Rustic DIY X Base End Table
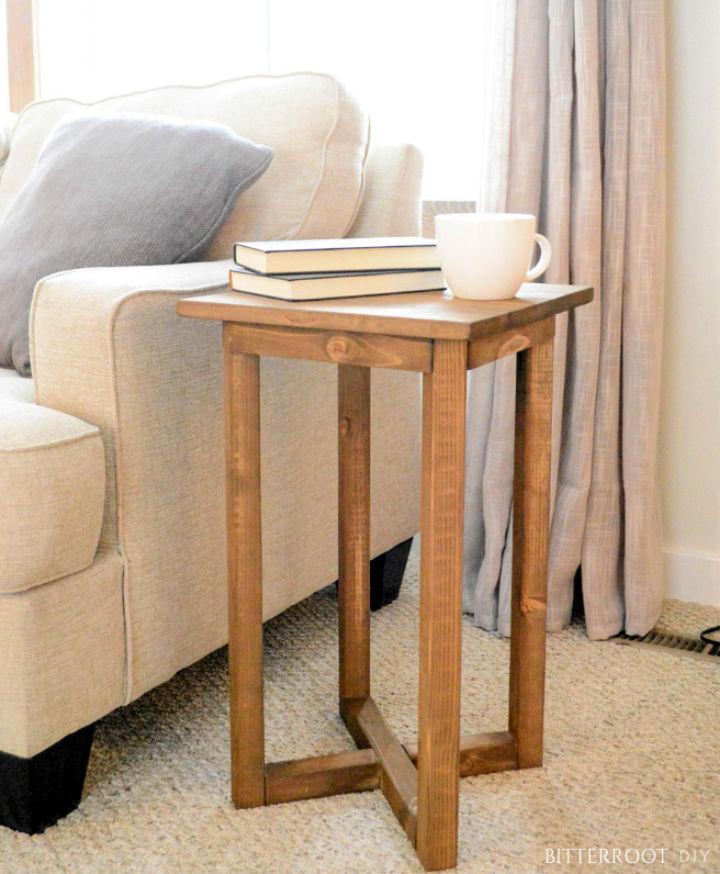
Ready to craft a rustic end table that adds charm to any room? Tylynn M offers free plans for a DIY project that’s as quick as it is rewarding. With a simple list of tools and supplies, plus step-by-step instructions, you’ll be on your way to building a functional piece of furniture.
This project is perfect for those who love woodworking and want to infuse a bit of rustic flair into their living space. From cutting the lumber to the final sanding and staining, each step is outlined clearly to ensure a smooth building process. So grab your miter saw and wood glue, and get ready to build an end table that’s sure to impress.
8. Making Rustic X End Table inspired by Pottery Barn
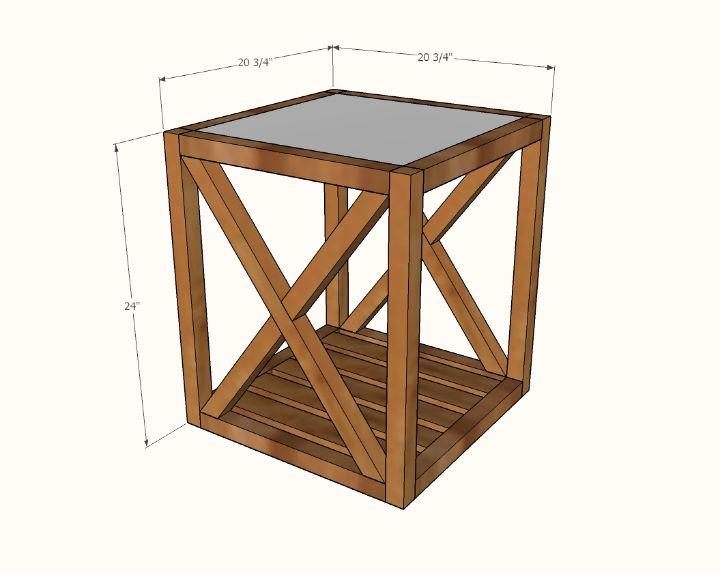
Crafting your own farmhouse-style end table is both a rewarding and cost-effective project, as detailed by Ana-White.Com. With clear instructions and a manageable shopping list, even those with intermediate DIY skills can make a piece reminiscent of Pottery Barn’s Grove Table without the hefty price tag.
The plans provided ensure a robust, functional, and aesthetically pleasing end table that fits seamlessly into modern rustic decor. Only about $20 in materials are needed, making this a budget-friendly endeavor for anyone looking to enhance their living space. Follow these steps, and you’ll have a charming and sturdy end table that adds both storage and style to your home.
9. Build a Wooden End Table
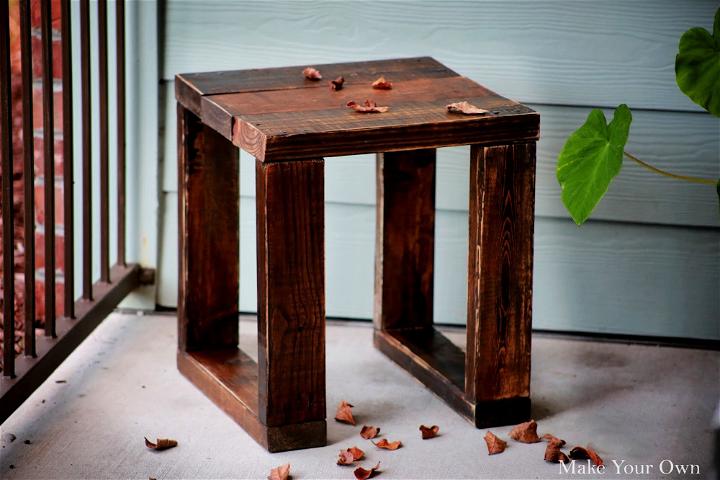
If you’re keen on adding a touch of rustic charm to your home decor, building a modern rustic end table is an engaging project to undertake. This step-by-step guide outlines the process, from selecting and cutting your lumber to achieving that desirable distressed finish.
Equip yourself with basic tools like a drill, saw, and sander, and get ready to work with materials such as wood screws, dowels, and stains to craft a beautiful piece of furniture. With precise measurements and thorough instructions, you’ll be able to assemble and customize your end table for a unique addition to your living space. Perfect for DIY enthusiasts, this tutorial provides clear, helpful advice to ensure your crafting success. Make Ur Own 1
10. Easy Buffet End Table Designs
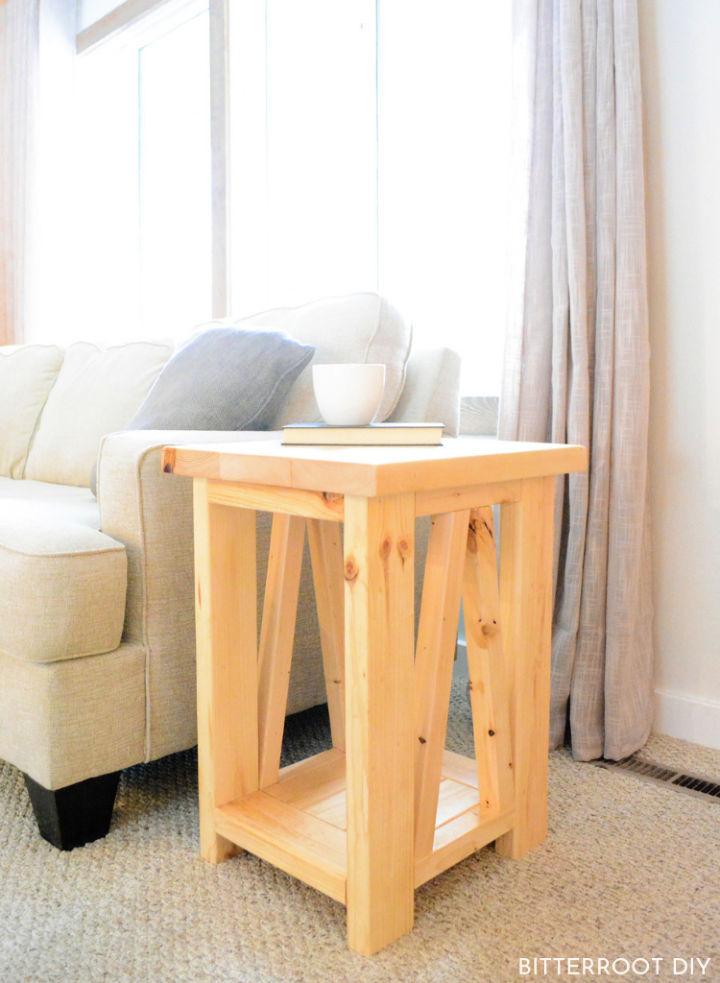
Make a sturdy, rustic end table with the DIY woodworking plans from Bitterroot DIY, featured on Tylynn M. Ideal for enhancing your cabin or home decor; this truss end table design uses robust 2x lumber for durability and cost-effectiveness. The tutorial guides you through the process, offering clear steps from cutting the lumber to assembling the frames and shelves.
With essential tools like a miter saw, drill, and Kreg Pocket Hole Jig, you’ll construct an end table that’s both functional and aesthetically pleasing. Sanding and finishing tips are also provided to achieve your desired look, complete with a natural pine color sealed with semi-gloss polyurethane for a polished touch. Dive into this engaging project and enjoy crafting a piece that brings rustic charm to any space.
11. Modern Rustic End Table Ideas
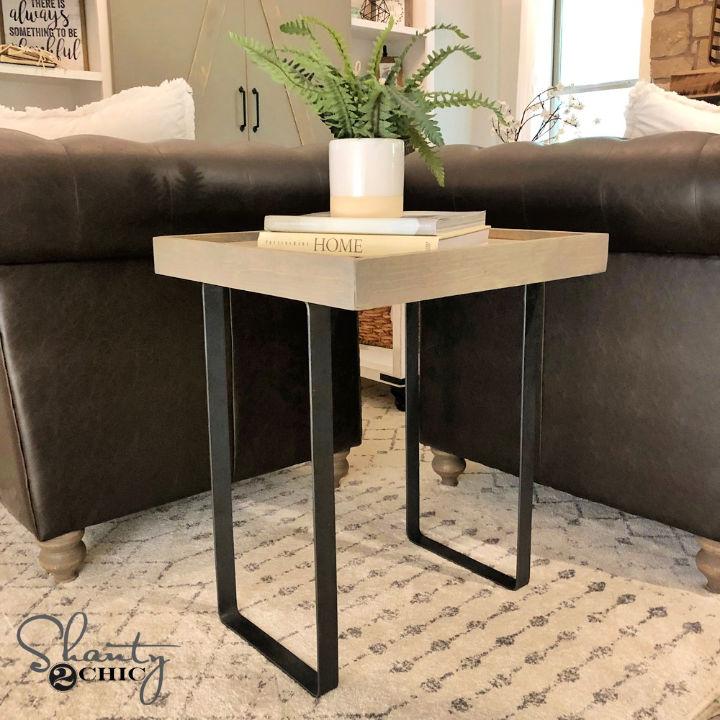
Discover how to make a charming DIY Modern Rustic End Table with the help of Shanty 2 Chic‘s step-by-step guide. For approximately $80, including the legs, this project is both affordable and stylish. Begin by attaching the 1×2 boards to the project panel with wood glue and brad nails. Then, proceed to craft the chevron pattern, ensuring precise 45˚ cuts for each board. It’s essential to measure and cut as you progress to ensure accuracy.
Continue by fitting the patterned boards to the panel, again using wood glue and brad nails for a secure build. The table’s edges receive a neat finish with 1×3 trim boards, mitered at 45˚ to make a clean, tray-like overhang. After measuring and cutting the trim to size, attach it to the panel’s exterior. Lastly, add the selected legs, and voila—a versatile piece that could also double as a stylish tray with added pulls on the sides.
Shanty 2 Chic offers downloadable plans for this project, ensuring a smooth and enjoyable crafting experience. This guide is perfect for anyone eager to add a personal touch to their living space with a unique piece of furniture. With clear instructions and an engaging approach, you’ll have a new side table or tray to boast about in no time.
12. Handmade Buffet End Table
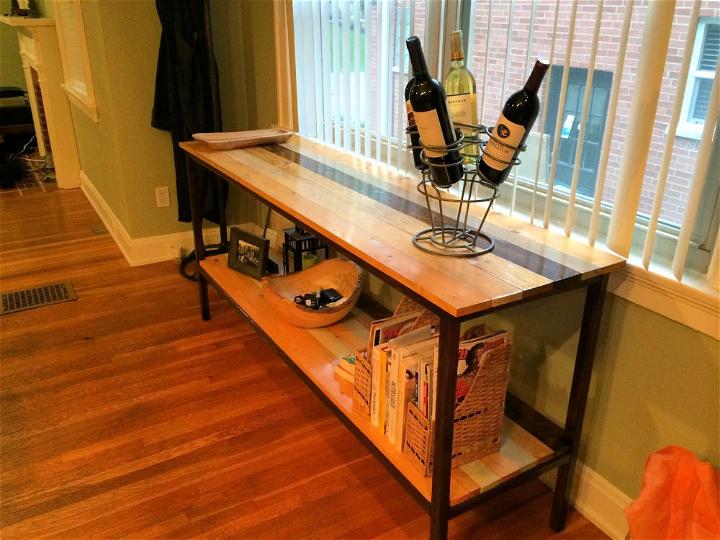
Making a rustic buffet end table just got simpler with a DIY guide from Rustic Cedar that walks you through the process with ease. This engaging tutorial takes you step by step from selecting materials to the final touches, perfect for adding that bohemian charm to your dining room.
With a detailed cut list and instructions for assembling the frame to stain and seal the wood, you’ll feel like a skilled craftsman as you construct a sturdy, polished piece. Emphasize durability and personal style in your home projects with this informative and helpful guide, and revel in the satisfaction of making a beautiful, functional piece of furniture with your own hands.
Related DIY Projects to Try
Discover fun DIY projects to enhance your home with step-by-step guides for all skill levels.
- DIY Coffee Table: Enhance your living room with a handcrafted touch using these DIY coffee table plans, a perfect match for rustic end tables.
- DIY Farmhouse End Table: Build a set of charming DIY farmhouse end tables to complement your rustic decor theme.
- DIY Sofa Table: Complete your furniture ensemble with a DIY sofa table that echoes the rustic style of your end tables.
- DIY Picnic Table: Enjoy outdoor dining with a DIY picnic table that brings rustic charm to your backyard.
- DIY Bookshelf: Display your book collection on a DIY bookshelf that complements the woodwork of your rustic end tables.
- Woodworking Projects: Expand your rustic furniture collection by exploring more woodworking projects that complement your end tables.
Conclusion
In conclusion, crafting DIY rustic end tables offers an excellent opportunity to bring individuality and a homely, warm ambiance to your living space. With the guidance provided, even those new to woodworking can successfully transform simple materials into stunning, functional furniture pieces. Remember, making these tables isn’t just about the end product; it’s about the rewarding experience and the skills you develop along the way. So, grab your tools, and let your creativity lead you to make that perfect rustic end table that resonates with your style and complements your home décor.
