Make your next sewing project more stylish and accessible by adding a matching zipper! Sewing a zipper onto fabric may seem like a challenge, but with a helpful few tips it can be quite easy to accomplish. Check out this tutorial on how to sew a zipper onto fabric. With only a few basic materials required, sewing a zipper is quick and fun. Use the information in this blog to learn or refresh your sewing skills. Whether you are just starting out, or have been sewing for years, follow along as we teach you the essential skill of how to sew a zipper.

Materials You’ll Need
Everything you need to sew a zipper can be found here. Fabric Wholesale Direct is the go-to online fabric store for everything fabric and notions! With a variety of high–quality fabrics for sale by the yard, Fabric Wholesale Direct also offers an assortment of accessories and notions – both sold at wholesale prices.
Here are the supplies you’ll need to thread a sewing machine:
- Fabric
- Zipper
- Thread
- Pins
- Seam Ripper
- Sewing Machine (optional)
- Iron and Ironing Board
- Scissors
Step 1: Choose A Zipper
- Purchase a zipper that is the correct size and style for your project. Zippers are sold in various lengths and widths in addition to being made from different materials like plastic, enamel, or metal. Furthermore, zippers come in different styles such as separating, non-separating, and concealed varieties.
- Ensure the zipper tape and hardware will match the style and color of the fabric you will be attaching it to.
Step 2: Prepare Your Garment & Zipper
- Lay your garment onto a flat surface with the right side facing up.
- Plan where you would like to place the zipper. Typically, zippers are positioned on the center back, or on the side seams of an accessory, décor, or garment.
- Ensure the length of the zipper opening on your garment matches with the length of the zipper.
Step 3: Mark & Pin The Zipper Placement
- Use tailor’s chalk to mark the exact placement of the zipper on both sides of the garment. Ensure your markings are straight and even with a ruler or yardstick.
- Place the zipper face down on the right side of the fabric. Align the top edge of the zipper tape with the top edge of the fabric.
- Pin the tape of the zipper in place, ensuring it lies flat and aligns with the lines you previously marked.
Step 4: Baste The Zipper
- Set your sewing machine to a long basting stitch. Alternatively, you can sew a basting stitch by hand with a needle and thread.
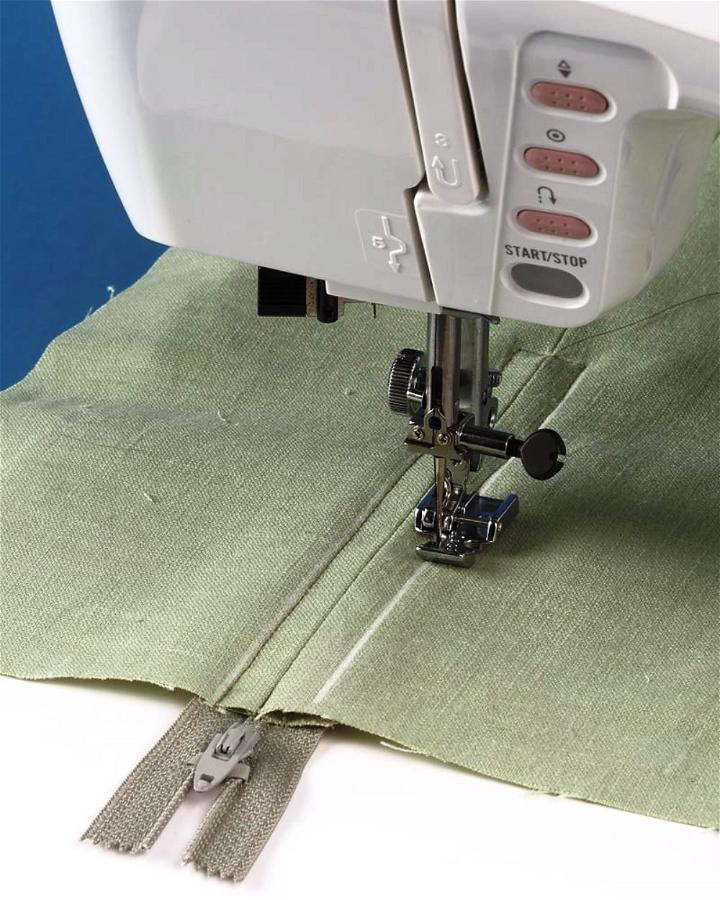
- Starting at the top, stitch along the marked lines to secure the zipper tape to the fabric. Make sure you remove any pins as you sew.
- When finished with one side, repeat the basting stitch on the other side of the zipper. Ensure that you maintain consistent placement.
Step 5: Check The Zipper Alignment
- When you are finished basting the zipper, close it.
- Check to see if the zipper aligns correctly by ensuring both edges and sides of the garment meet evenly.
- If the alignment is off, you can make any necessary adjustments by removing the basting stitches with a seam ripper and repositioning the zipper.
Step 6: Secure The Zipper
- Once you are satisfied with the alignment, it is time to permanently secure the zipper to the fabric.
- To prepare for this step, replace the basting stitch setting with a regular stitch option on your sewing machine. Ignore this part if you are hand sewing with a needle and thread.
- Starting at the top, stitch along both sides of the zipper tape. Remove any basting stitches as you progress. These seams can be further reinforced by backstitching the zipper tape at the top and bottom.
Step 7: Finish The Zipper Ends, If Desired
- You can hide each end of the zipper for a more concealed look if desired.
- To do this, fold the fabric at the bottom and top of the zipper inwards to create a clean edge.
- Topstitch or hand-sew across the folded edge or edges to secure it in place.
Step 8: Press and Finalize
- Using a clothes iron and ironing board, press the zipper area of the garment for a polished and professional appearance.
- Give your finished garment a final inspection to ensure the zipper functions smoothly.

Conclusion
Zippers are essential in sewing, upholstery, and DIY crafting projects. They can be used to make a variety of accessories, clothing, or décor items stylish, and more accessible. With a little know-how, sewing zippers onto fabric is a simple and fun task, regardless of your skill level. With the information presented in this blog, anyone can sew a zipper or improve their sewing skills. Happy Sewing!
